
Learning how to connect router to modem wirelessly is no mean feat. You may be required to change the router settings to be able to achieve the connection.
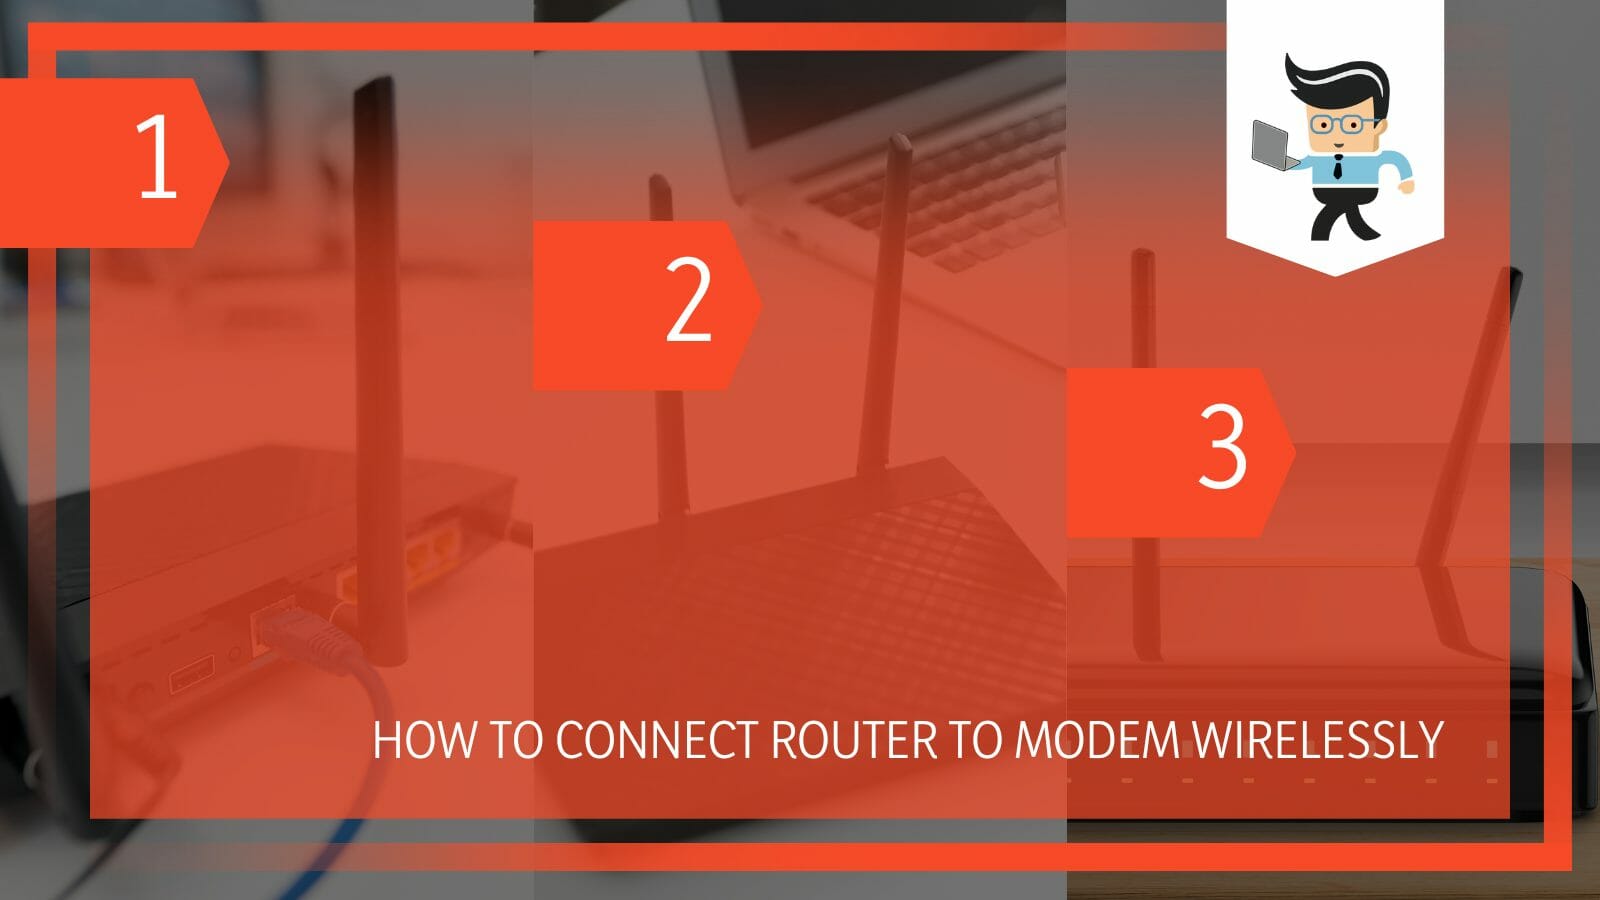
This post explains methods to connect your wireless router to a modem.
Contents
How to Connect Router to Modem Wirelessly
You can wirelessly connect your router to a modem by logging into a web browser, typing in your router’s default IP address, go to Operation Mode, and changing it to Repeater or Extender. If your router and modem have the same IP address, change it.
Here is how to connect router to modem without cable:
– Connecting Your Router To Your Computer
Connect your router to your computer. You can link the two via a wireless network or an Ethernet cable. Launch your browsers and type the router’s IP address. Use your router’s Admin password to log into the system.
If you have a TP-Link, Netgear, and Linksys router, its default IP is 192.168.1.1. If you changed it, use the new IP.
– Restart Your Router
Click on Connectivity and go to Internet Settings. Click on the Edit button and select Wireless Repeater.
In some routers, you will find this option under Operation Mode, Repeater/Bridge mode, or something similar, depending on the type of network. In this case, you must click Operation Mode to unveil the different modes. Select Repeater or Extender.
This will cause your router to restart.
– Fix Your IP Address
Check if your router’s IP is similar to the modem’s IP. If they have the same IP, change it. Usually, the Modems IP is listed next to the gateway on your PC. For instance, if the router and gateway IP address is 192.168.0.1, change the router’s IP address to 192.168.0.2.
Remember, an IP address is an identifier that allows information to be shared between devices on a network. Typically, it contains location information and makes devices accessible. The internet will need a method to differentiate between the router and the modem. For this reason, you must create different IPs for each.
– Configuring Settings
Check if your modem and router are on the same subnet. Your router IP address must be on the same subnet as the modem’s default IP. Keep in mind that the assigned default gateway address is for the modem.
The addresses for your router and modem must belong to the same IP address subnet as the modem’s IP address. Your router and modem should share an identical netmask within this range. So, the devices within this IP segment should have a netmask of 255.255. 255.0.
– Entering Router’s New IP
With the changes in the above step, your router will restart. Log in to access the router settings as in the first step. But this time, enter the router’s new default IP, i.e., 192.168.0.2, from step three above.
Find the network that you need to be repeated. To do so, select Wireless Settings and go to the Connect to Network setting. Click Scan for Networks or similar options. The list of available networks will pop up. The modem should appear in the list of available networks.
– Connecting Your Router To The Modem
Connect your router to the modem. You will need your modem’s Wi-Fi password. After successfully connecting the two devices, the router will start repeating the signal coming from the modem.
Your router and modem will mostly have the same service set identifier (SSID). Again, you will see only one network name when you search for available networks on your PC, tablet, or phone. But you can enable the display of two names – modem and router.
To do so, hover over to Wireless Settings and find your router’s Wi-Fi network name and password. Adjust the name and password and save the changes. Log out of the system. You should be able to see two separate names.
Note that the steps above may vary slightly from router brand to another. However, anyone willing to learn how to connect router to modem spectrum wirelessly should try the method above.
How to Use WDS Bridging to Connect Router to Modem
To use WDS bridging to connect your router to a modem wirelessly, reset your router, link to a computer via an Ethernet cable, log into its system and change its default IP to a different value, restart the router, and log in again. Go to settings and select WDS bridging.
The steps above might vary depending on the router brand. This section will use the TP-Link TL WR84ON router and ZTE F609 modem. So, here is how to connect TP-link router to modem wirelessly using WDS Bridging:
Reset Your Router
You need to reset your router before you proceed. Resetting the router wipes away all configurations you have saved and restores its factory settings. That means you must set up a new network name (SSID), password, etc.
To reset your router, follow the steps below:
- Get a paper clip or similar object
- Find the Reset button on your router. It is usually at the back of the router.
- Insert the pointed end of the paper clip into the Reset button, press it for not less than 10 seconds, and then release it. Pressing for less than 10 seconds will only restart the router.
- Let the router reset fully. After it finishes, it will power on. Therefore, do not unplug your router from power during this process.
– Change Your Router’s IP Address
As described in Step Three above, you will need a computer to change your router’s IP address. Take note of your router’s default IP (192.168.0.1), and change it to 192.168.1.2.
The modem’s default IP address is 192.168.1.1, and you need different IPs for both, but they must be from a similar subnet. To change the IP address, log into your router, and go to the Network tab.
Select LAN from the drop-down menu and go to the IP address section. Now, change it from 192.168.0.1 to 192.168.1.2. Press the Save Button and click OK.
Your router will restart. Thus, you will be logged out.
– Enable WDS Bridging
Since you were logged out of the router, log in again into the Wi-Fi router with your new default IP. So, you must type 192.168.1.2 in your Internet browser and enter the default username and password when the router’s web page appears.
On the left-side menu, click Wireless, then tick the Enable WDS Bridging option on the right. Scroll down to find the Survey button. This opens a new window.
Below the AP List option, you will find a table with network names. Go through the list of names on the network list to see if your modem’s Wi-Fi network is present.
Click on the Connect button when you find it. A new window will open – enter the modem’s password and click the Save button, then OK. Click Save again.
– Disable the DHCP Server
Since you will have two DHCP servers running on your network (router’s and Modem’s servers), you must disable one to avert issues arising from an IP address conflict. You do not need the router DHCP server, so that’s the one to disconnect. Follow the steps below:
- Log into your TP-routers web management page /Settings
- Go to the DHCP Server page or select DCHP> DCHP settings based on your router’s model
- Disable the DHCP Server> click Save
Before you start using the router, go to the WDS bridge mode, and change your router’s Wi-Fi channel to match your modem’s Wi-Fi channel.

This means you must change the Wi-Fi channel on both devices with the steps below:
- Log into your router with your Admin credentials and go to Wireless Settings.
- You will have a 2.4 GHz and a 5 GHz band. Find the Auto-Connect option and enable it.
- If you don’t want Auto-Connect, turn it off, select the 2.4 GHz band, and go to Channels.
- Select 1, 6, or 11 because they are the least crowded channels.
- Click Save and exit the settings.
Now, log out of your router and enjoy a wireless connection from your modem.
While the connection works, many internet users ask, can you connect a router to a modem that already has a router? Yes, you can add a second router to a modem that already has a router. In this case, the second router will act as a Repeater/Extender, as shown in the first method, improving the strength of an internet connection.
FAQs
1. How Do I Connect Netgear Router to a Modem Wirelessly?
To wirelessly connect your NetGear router to your modem, connect it to your computer, log in to the router, and change IP. Restart the router and log in again. Find the Extender/repeater mode under Settings. Search for available networks to find your modem. Now, connect it to your router.
If you want to learn how to connect netgear router to modem wirelessly, you must know how to enable the Extender feature on your NetGear router. Typically, you will find this option under the Advanced tab>Advanced Setup > Router/AP/Bridge/Repeating Mode.
Proceed to select Enable Wireless Repeating Function for your band (2.4GHz or 5GHz) and select Wireless Repeater. Go to the Repeater IP Address field, and type the router’s IP. Find the IP on the sticker on your router. This method works for netgear nighthawk C7000 and Netgear cm500.
2. What Can Make a Router Not Connect to a Modem?
Your router may fail to connect to your modem wirelessly due to an IP address conflict, outdated firmware, low internet speed, a temporary bug or glitch in the router or modem, or both, or one of your devices may not be connected to a power source.
You can quickly solve the issue by turning off your router and modem and turning them on in a few seconds. If you enabled WDS, disable DHCP to eliminate IP conflict. When changing the IP, know what needs to be plugged into a router, and plug it in correctly.
Conclusion
We have shown you how to connect router to internet wirelessly using a modem. We can summarize the topic in the points below:
- Your router’s IP must differ from the modem’s IP Address, but both must be on the same subnet.
- The process of changing IP varies with the router’s model, but they need a wireless router/wireless network or wired connection.
- When using WDS, disable DHCP and select the correct channels
Whether you own a Motorola MB7621, Arris surfboard sb8200, or any other cable modem, pair it with your router and follow the steps above.


