
Knowing how to remove hard drive from the laptop is crucial, especially when it is faulty, you want to replace it, or dispose of your old laptop.
Since your laptop hard disk drive stores all your information, properly uninstalling it is crucial. This post shows you how to remove hard drive from laptop and transfer data.
Contents
How to Remove Hard Drive From Laptop
To remove the laptop hard drive, switch it off, remove the battery, open the back panel, and unscrew the main access panel. Lift the main access panel, and remove the drive mount to access the hard drive. Disconnect all the wires from the disk drive and get your hard drive.
Note that hard drives are located at different points within a laptop. While some can be easily accessed by removing the lower panel, others are set deep within the system. Nonetheless, you will access it in all cases via the access panel beneath the laptop.
So, here is how to remove hard drive from laptop before recycling it:
– Backup Data
Data backup is a necessary step in preventing data loss. So, ensure you back up all the files you wish not to lose if something goes wrong. You can copy the files to an external HDD, USB drive, or cloud storage services like Dropbox or Google Drive.
You may also choose to clone hard drives using cloning tools.
– Detach the Cables From Your Laptop and Turn It Off
If the laptop is already plugged into the power source, unplug the adapter from the power source. Then unplug the charger from the laptop charging port.
If other cables are attached to the laptop, e.g., USB charging cables, USB Type C cables, network cables, or any other cables, unplug them. Now, turn off your laptop by clicking the Windows icon at the bottom-left, selecting the power icon, and choosing “Shut Down.”
– Remove the Battery and Drain Charges
Close the laptop’s lid and turn it upside down. The laptop battery is usually on the bottom side. Depending on your laptop size and model, you will see one or two release latches holding your battery in place. Press the release latches and pull out the battery.
In some laptop models, the battery will pop up once you press the latches. Just remove the battery and place it aside.
Turn the computer to its normal position and open the lid. Long press the power switch for about 15 – 20 minutes. This action drains all the remaining electricity in the laptop. Thus, preventing you from getting shocked while working on the laptop.
Note that working on a laptop while it has a source of power will cause an electric shock. That is why you must remove the battery and unplug the power cord.
Also, if you have any magnets, keep them away from your working area because powerful magnets can erase electronically stored information.
– Remove the Main Access Panel
Use the Jeweler’s screwdriver to unscrew the fasteners or screws holding the main access panel. Place the screws in a safe place since you will need them later.
For most laptops, the main access panel is just a small panel at the center or on the sides, depending on the mode. Usually, the access panels have a symbol resembling a stack of CDs. So you will not need to remove the entire back panel. If this is your case, go to step five.

Still, in some laptops, such as HP, you may need to remove the entire back panel to access the hard disk drive as it is under the mouse pad.
In some brands and models of laptops, the hard disk drive is under the keyboard or the motherboard. In this case, go to step seven and proceed with the steps that follow.
– Remove the Drive Mount
Inspect your laptop’s drive mount to check the type of mounting mechanism because they vary from one laptop to another. If it has additional screws, unscrew them and put the screws safely. In most laptop models, there could be only a button or a latch that you may need to press to release the drive mount.
Once you release the drive mount, separate it from the connectors. You can do that by pulling the hard drive away from the connectors to delink the hard drive and remove it from the bay.
The hard drive may have a tab that you can pull to remove the drive easily. However, in some cases, you may need a flat-bladed tool to remove the hard drive.
However, how to remove hard drive from laptop Dell laptops varies slightly because you will need to unscrew the drive. Locate the screws on the sides of the drive that hold the brackets in place.
– Separate Your Hard Drive From Its Bracket
The next step after disconnecting the hard drive from the laptop is to remove it from its bracket. This way, you remain with an empty bracket to install a new one.
Ideally, the brackets have four screws on the sides of the hard drive. Unscrew them to separate your hard drive from its bracket. If you are replacing the hard drive, place your new drive now.
– Remove the Keyboard
Before removing the keyboard, remove the CD/DVD reader by pulling the entire unit out. Now, remove the keyboard by pressing the four tabs at the top of the keyboard and lifting it. Depress one tab at a time using the Jeweler’s screwdriver.
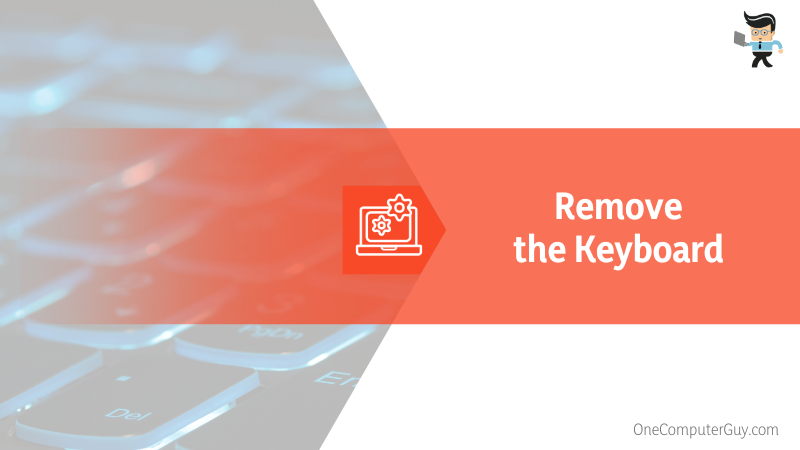
To easily remove the keyboard, start from one corner – depress the tab and pull the keyboard, and then move to the next tab. Note that the tabs are part of the surrounding case, not the keyboard. They typically protrude out on the keyboard, keeping it in place.
After detaching the keyboard, lift it out to reveal the keyboard cables. These are thin cables, so be careful not to destroy them.
– Remove the Plate
There is a plate beneath the keyboard, which you must remove to access the hard drive. Strips hold the plate and screws. First, remove the strips from the plate. Now, lift the black connectors using the Jeweler’s screw.
Unscrew all the screws on the plate to free it. After all screws and strips are removed, lift the plate and set it aside.
– Find Your Hard Drive
Once you remove the plate covering the internal components, you will see the hard drive. Note that the hard drive is secured using screws from the bottom side of the computer case.
So, turn your laptop upside down and remove the screws beneath the hard drive. Return the laptop to the upside position and pull out the hard drive.
How to Safely Remove External HDD From Your Laptop?
To safely remove an external HDD, double-click the Safely Remove icon in the Windows System Tray, click on your external hard disk from the list of devices, and click stop. Click OK when the confirmation window opens, then safely unplug your external disk drive.
Here is how to remove external hard drive from laptop running on the Windows operating system. This procedure covers drives, such as Seagate backup plus slim portable drive from your Windows system:
– Selecting the “Safely Remove” Option
Go to the Windows System Tray and double-click on the Safely Remove icon. This nation will launch the Safely Remove program. If this option is hidden, click on the up arrow to proceed.
A window showing all detected USB devices attached to your laptop will pop up. You can click the Display device components box to expand the view.
– Removing the Device
Since all devices are listed by their names, click your device and select the Stop button. When a confirmation window pops up, select the device you want to remove again and click OK.
You will get a pop-up notifying you that it is safe to remove. So, unplug the device from your laptop.
The question, “if I remove hard drive from laptop will it erase everything,” is common for people wishing to remove their hard disk drives. For external disc drives, you must use the safe removal program. This will not affect your data.
However, if you remove the internal disk drives, you are not guaranteed a safe process. Therefore, it is essential to back up your data before attempting to execute how to remove hard drive from laptop and use as external.
FAQs
1. Does Removing a Hard Drive From a Laptop Erase Data?
No. Removing the hard drive from your laptop does not erase the data from the hard drive. All your files will still be on the hard drive. What happens is that the laptop will not have any data because it lacks a storage device.

Therefore, removing a hard drive from a laptop removes everything from that laptop. This is an important step to take when you want to recycle your laptop. Just keep your hard drive and dispose of the laptop.
2. Where Do You Find the Hard Drive in Your Laptop?
You can find the hard drive in your laptop by looking from laptop’s bottom or side, depending on the model. In all these cases, the hard disk is within the PC case and is lined to the motherboard via a data cable and to the PSU via a power cord.
So your HDD can be:
- Front-mounted hard drive: Found at the front of the laptop, but you’ll still access it from the bottom panel.
- Bottom-mounted hard drive: Found beneath the laptop, where you can access it by opening the bottom panel.
- Side-mounted hard drive: Located on either the left or right side of the laptop. You can access it by unscrewing the screws.
Conclusion
The procedure described above works for different types of hard disks, including Seagate barracuda 3.5” SATA iii HDD, Samsung 870 evo sata 2.5” SSD and Seagate Ironwolf NAS 3.5” HDD. Here is the summary:
- Turn off the laptop, remove the battery, and press the power button for about 20 seconds before removing the internal drive.
- To remove an external disk drive, use the safe removal program rather than unplugging directly, as it may cause data loss or corruption
- Back up all your files before attempting to take out the hard drive.
Hopefully, these steps will help you safely remove your laptop hard drive from your laptop.


