
Having the right NZXT H500 fan setup can be a game-changer for your PC components. The H500 is a case that leans towards negative pressure, which means that you need to have the right configurations to get optimal air flow. While the case doesn’t look like it on the outside, NZXT designed it to provide excellent airflow.

Come with us as we share insights from our computer experts on the case and NZXT case fan setup.
Contents
Let’s Talk a Little Bit About the Case
Build and Smart Module
The NZXT H500 is a mid-tower case that offers a minimalist design. There’s an H500i model that’s often confused with the H500.
Both cases feature a minimalist design and offer excellent cable management routes that make building inside them easy. The major difference between both cases is that the H500i comes with a smart module.
The insides of the H500 chassis features a solid build except for the fan mount on the front panel. The fan mount bends easily, unlike the PSU shroud and the motherboard plate, which are so thick you’ll need to apply significant force to bend them. However, even though it’s flimsy, the fan mount is removable, making for a convenient radiator or fan installation, so there isn’t much to complain about.
Since there’s no smart module on the NZXT H500 like there is on the H500i, the price difference between both is quite significant. While the H500 costs about 70 bucks, the H500i sits in the $100 range. However, the absence of a smart module means you’ll need to connect your case fans to your motherboard’s fan headers.
Cable Management
The NZXT H500 features an excellent cable management system. The cable management is similar to what you’d find on the H700i and H700. There are many different tie points built all over the back of the motherboard plate that allows you to manage your cables easily.
Additionally, the middle of the case houses a well-built cable routing channel that uses velcro straps to tie in all your thick cables. With these pre-built channels and tie points, you’ll be able to plan your cable routing and work conveniently inside the NZXT H500 chassis.
Cooling
The NZXT H500 offers excellent cooling capabilities. You’ll be able to install up to a 280mm radiator on the front panel. The top panel doesn’t hold out much as you can only install one 140mm or 120mm intake fan at the top. You get two fans pre-built into the chassis with one 120mm exhaust fan at the back and another 120mm fan at the front.
Storage
In the storage department, the NZXT H500 features a smart method for modular SSD trays. Thanks to the perforated PSU shroud, you can attach the two storage trays built into the case anywhere on top of the PSU shroud. You can also move them to the back of the motherboard plate, but note that doing so will affect the cables at the back, so that’s not recommended.
As for the HDD trays, you can install those in the drive cage, underneath the PSU shroud. The drive cage can fit up to three different HDDs, although you’d need to take out the drive cage from the cage.
This installation method can be a bit inconvenient, unlike the tool-less methods featured on many other competitors. You can also create room for your PSU cable by unscrewing the screws on the bottom of the case and moving the drive cage forward.
Input and Output Ports
The NZXT H500 features a useful input and output port connector. Normally, you’d need to connect each cable connected to the reset and power buttons.
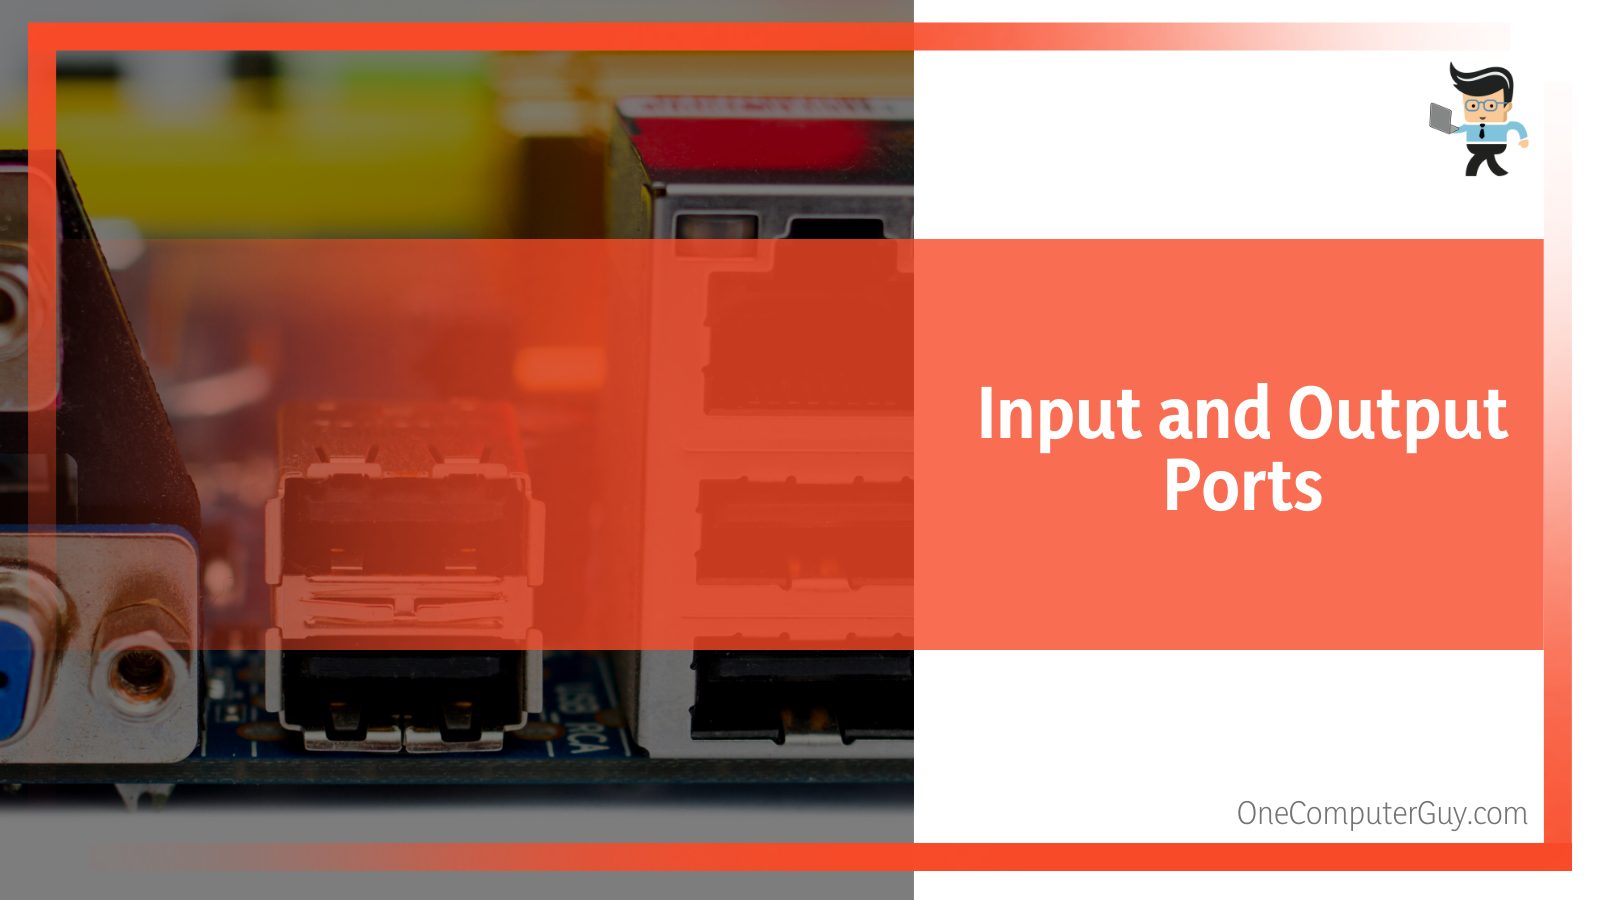
However, the NZXT H500 is designed with a single connector that bundles all of these connectors together. The single connector can be attached like a USB connector, thereby making your build a lot easier.
NZXT H500 Case Specifications
| Dimensions | 210mm x 460mm x 428mm |
| Motherboard Support | Mini-ITX, Micro-ATX, and ATX |
| Input and Output Ports | Two USB 3.1 Type A, one mic/audio port |
| Expansion Slots | Seven |
| Filters | Bottom front, right side, top exhaust, and PSU intake |
| Radiator Support | Up to 280mm in front |
| Fan Support | 120mm and 140mm |
| Number of fans supported | Up to five 120mm fans |
| Cable Management | 19-23mm |
| GPU Clearance | Up to 381mm |
| Rear Radiator Clearance | 60mm |
| CPU Cooler Clearance | Up to 165mm |
| Front Radiator Clearance | 60mm |
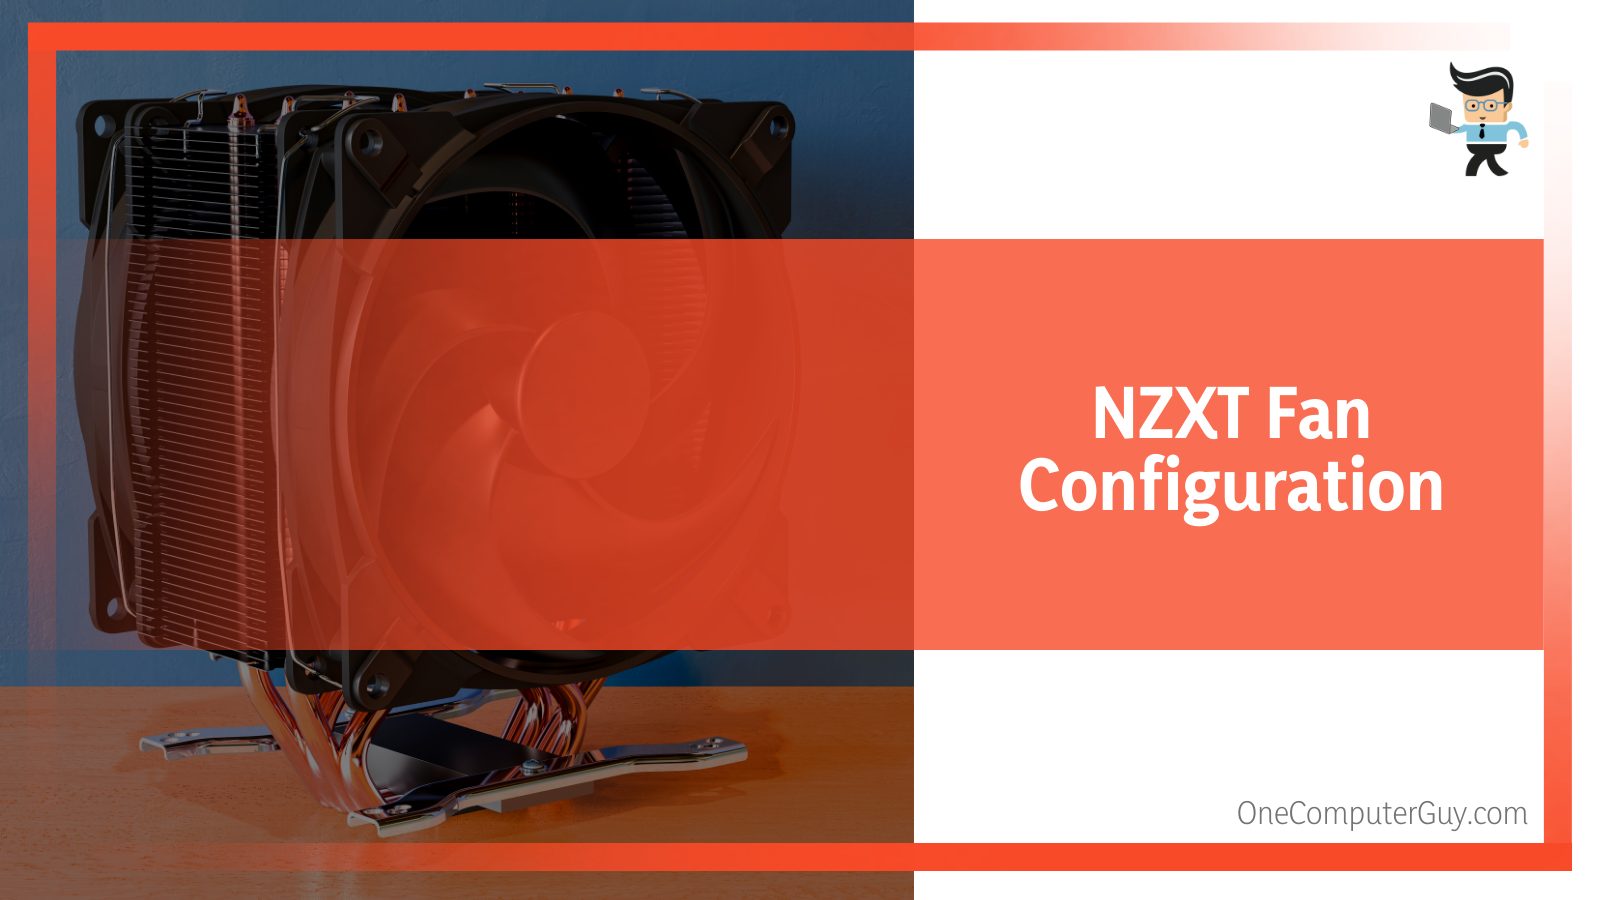
NZXT H500 Fan Configuration
As we noted earlier, you can use both 120mm and 140mm fans as your NZXT H500 case fans. Ideally, you want your NZXT case fan setup to have two intake fans in front. Where the problem lies is the exhaust department, where you’ll need to decide whether to put a fan at the back, top, or both sides.
Now, the issue is putting a fan at both the top and rear may have a negative impact on your exhaust as the air may be dispersed inside the chassis instead of going out to the fans and outside of the case. The ideal thing to do here will be to test if both fans work well as exhaust or if using one fan at the back or top for exhaust is more efficient.
Another thing to note is that while this case is a mid-tower chassis, it’s still a small case. Therefore, you want to consider the kind of cooler you use when creating your NZXT H500 airflow.
If you’re utilizing a tower cooler that has up to two fans, you may not need to install a fan at the back to act as an exhaust. The reason is that the tower cooler will effectively send air out by itself.
However, you can still install a fan at the back if you want. But note that while doing so may slightly improve your exhaust, it’ll also increase the overall noise level.
NZXT H500 Fan Setup
The NZXT case fan setup can be done using the following method. Since the front supports up to two 140mm fans, it’s recommended that you use those in front. The reason is that 140mm fans tend to run quieter than 120mm fans.
As for the exhaust, using a 120mm fan at the back is enough. As we noted above, using two fans as exhaust may not be the best move for the NZXT H500, as a second exhaust may cause unfiltered air to get into your PC via adjacent openings.
However, if getting the best cooling isn’t what you’re after, you could install a second 120mm fan on the front as intake. Note that the tower-type air cooler you buy should fit into the 165mm space available. If your CPU is not overclocked, you can use a stock cooler; otherwise, a custom cooler would be best.
Thermals and Noise
Like we noted earlier in this article, the NZXT H500 is one of the smallest and blankest minimalist PC cases on the market. Thanks to this design, the front edge of its steel side panels features a strip of filtered ventilation.
The usual hole beneath the front panel and top fan mount also comes with thin filters. But according to the brand, these filters will still allow for optimal airflow as they won’t have a negative impact on thermal performance.
NZXT has built two 120mm stock exhaust fans into the case, one at the back of the CPU cooler and the other in front. This means that there’s no fan pointing towards the GPU and you’re going to get 100 percent negative pressure. With this NZXT case fan setup, you may be expecting the internal temperature to be a little higher than normal.
However, the temperature is likely to stay within normal limits with your CPU going to a maximum temperature of 36 degrees and GPU sticking around 34 degrees when the system is idle. On the other hand, a typical Prime95 stress test bumps the temperature to over 50 degrees for the CPU and about 70 degrees for the GPU.

We recommend installing a radiator instead of adding multiple NZXT H500 fans for optimal airflow. The reason is that adding more fans as intake won’t significantly affect the overall cooling of the case.
Also, instead of adding an exhaust fan to the top of the case, it’s recommended that you use a high airflow fan as the latter will help reduce the overall temperature inside the case by a few degrees.
FAQ about NZXT H500 Fan Setup
What is the recommended fan configuration for the NZXT H500 case?
The NZXT H500 comes with two Aer F120mm fans for intake and exhaust. Generally, the optimal setup includes the front or bottom for intake and rear or top for exhaust, but the H500 design calls for an exception. NZXT recommends using the pre-installed fans in the rear and the top of the case as exhaust, leaving the front panel as a dedicated intake area.
Can I install additional fans in the NZXT H500?
Yes, you can install additional fans. The NZXT H500 supports up to four 120mm fans. You can mount two 120mm fans at the front, one 120mm fan at the top, and one 120mm fan at the rear of the case.
Do I need to purchase additional fans for my NZXT H500 case?
While the NZXT H500 comes with two 120mm fans, whether you need additional fans depends on your specific needs. If your computer has high-performance components that generate a lot of heat, such as a high-end CPU and GPU, you might want to consider adding more fans for better cooling. However, the included fans are often sufficient for a basic or moderate setup.
Conclusion
We’ve touched on the NZXT H500 specifications, interior build, and NZXT case fan setup.
Here are a few points to keep in mind when setting up your NZXT H500 case fans:
- The NZXT H500 can accommodate up to five 120mm fans
- Adding an exhaust fan to the top of the case may not be as effective as you’d hoped
- Make sure you have at least two intake fans at the front
- Adding a radiator to the mix allows for optimal airflow
- It’s recommended that you use 140mm fans as your front intake because they tend to run silently than 120mm fans
- You can use a stock cooler for your build if it’s not overclocked
- The case supports Mini-ITX, micro-ATX, and ATX motherboards
- This case can accommodate up to a 280mm radiator in the front and comes pre-built with two exhaust fans
The NZXT H500 is a case touted to be designed specifically for airflow. Following the setup recommendations above will help you lower the temperature on your components, thereby ensuring that you enjoy excellent performance.
The price of this case makes it one of the best cooling performance cases in that price range. And if your system isn’t overclocked, you can rely on the fans to provide your components with efficient cooling.


