The blue screen errors “MEMORY_CORRUPTION” or “X64_MEMORY_CORRUPTION_LARGE” may be caused by a couple of different issues. We’ve compiled a guide with different solutions to try to find and fix the underlying problem.
 Because these are blue screen errors, first we’ll go over some common fixes for blue screen errors. If these don’t fix the problem, then it’s probably something related to your drivers or your memory.
Therefore, we’ll first walk you through using Driver Verifier to determine if you have any problems with your drivers. Then we’ll guide you through using MemTest which scans your RAM For any issues.
Contents
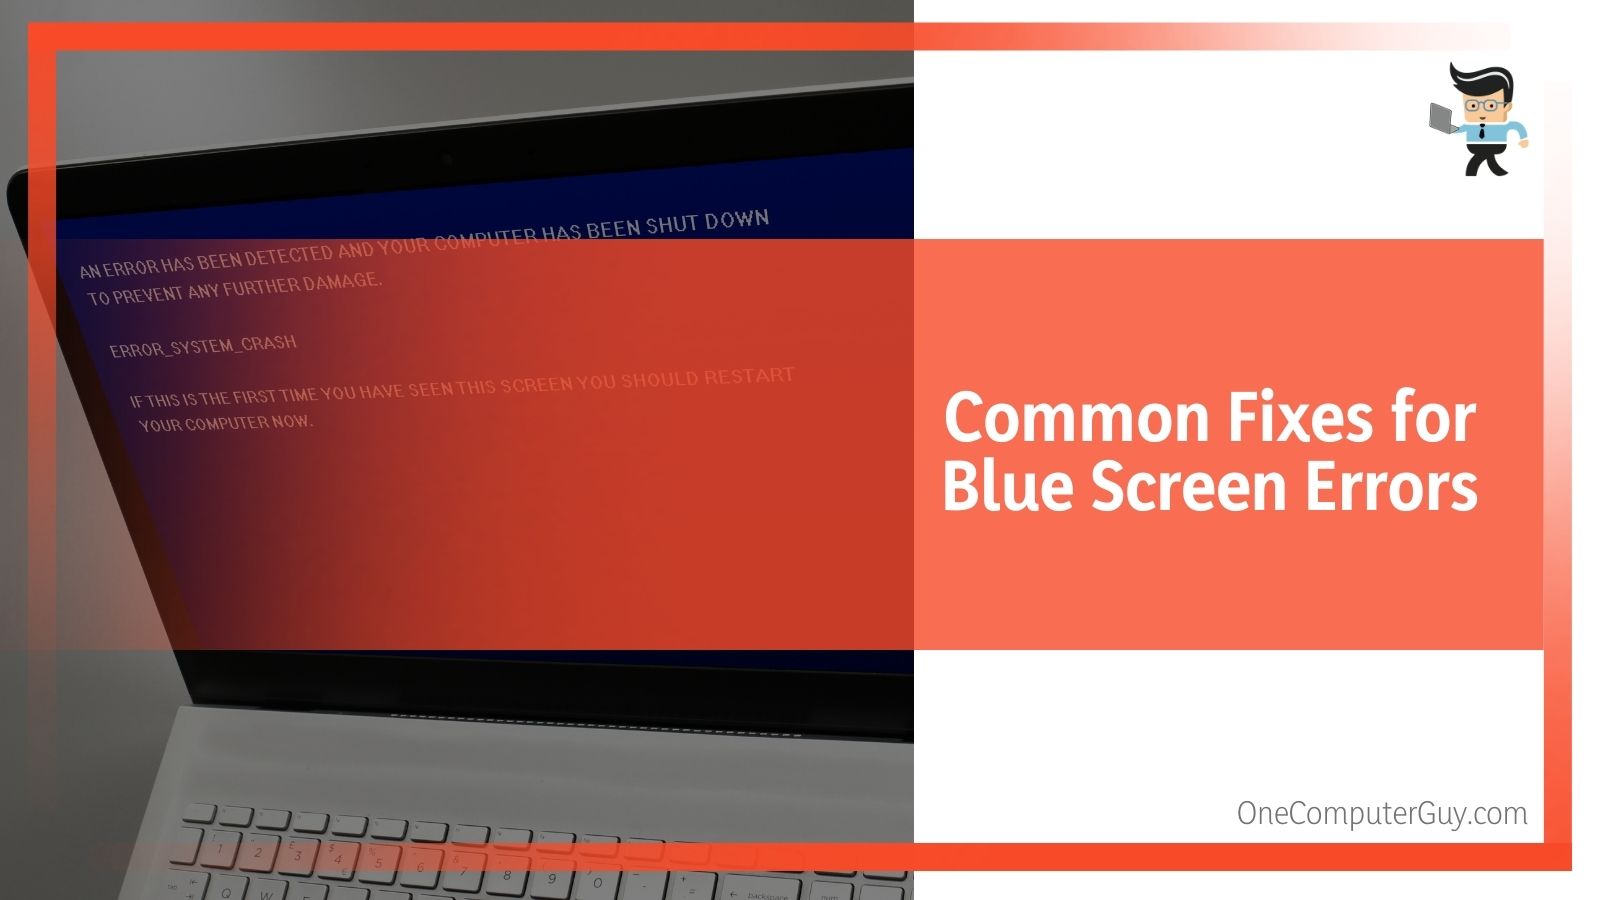
Common Fixes for Blue Screen Errors
Blue screen errors occur when a problem causes your PC to suddenly restart or shut down.
The blue screen will display a specific error message which indicates where the problem might lie.
Memory_corruption messages usually point to issues with drivers or your RAM. However, that’s not always the case so it’s worth doing some of these simple things to see if it resolves the issue.
1. Scan for Viruses
It’s always good to scan your PC for viruses after getting any kind of blue screen error. Use your security software to scan for viruses and make sure you eliminate any malware found on your PC.
2. Uninstall Third-Party Security Software
This might sound counter-intuitive considering the previous step, but actually, some blue screen error messages can happen after your third-party antivirus/security software automatically updates. If you have third-party security software, uninstall it and restart your computer. It’s best to do this in safe mode.
If you’re still getting the blue screen error after removing your security software, then you can be assured it was caused by something else. In this case, reinstall the latest version of your security software.
3. Start Windows in Clean Boot State
If this didn’t resolve the blue screen issue, then try starting your computer in Clean Boot State which is used as a diagnostic and troubleshooting tool for Windows programs. This will be able to identify what program caused your PC to crash.
To do this, open up your Start menu and type in “msconfig” and you should see System Configuration come up as the result. Right-click on System Configuration and select “Run as administrator”.
 When the System Configuration window opens up, select the Services tab and check the box in the left bottom of the window that says “Hide all Microsoft services”. Then click on the “Disable All” button. Then select “Apply” and “OK”.
Then, restart your computer. It should now reboot in a Clean Boot State. If everything is working great on your PC in Clean Boot State and you’re not receiving the blue screen error, then you’ve confirmed that one of the programs you disabled is responsible for your problem.
From here, you’ll have to go back into System Configuration and re-enable one or a few of the apps and again restart. Keep doing this until you again encounter the blue screen error. At this point, you’ll be able to point out which program is responsible for the error. Once you identify the program, uninstall it from your computer.
4. Uninstall and Reinstall Your Game
This step is only applicable if your PC shut down while you were gaming and then displayed the blue screen with the memory corruption message. There might be an issue with your game, so it’s best to try uninstalling it and reinstalling it to see if that fixes the issue.
Driver Verifier
If you tried the above methods and are stills seeing the memory_corruption error, it’s best to proceed to use the Driver Verifier.
The Driver Verifier is a diagnostic tool built into your Windows PC that is made to find the driver or drivers that are the underlying cause of blue screen errors or crashes. It is the best way to narrow down the possibilities as to which driver might be causing your problem.
Before using the Driver Verifier, make sure to back up your data and create a system restore point. Why? Because the Driver Verifier is essentially a stress test for your drivers and is built to push your drivers to their limits. This means that crashes can happen, and if you receive a blue screen error then it’s best at that point to disable the Driver Verifier. While it’s unlikely that your files and data would be affected, it’s always better to be on the safe side.
 It’s also very important that if you are overclocking anything on your PC to turn it back to default settings before running the Driver Verifier.
Begin by typing in “verifier” into your Start menu. You’ll see the result “verifier” with the word “Run command” underneath. Click on “verifier” and hit “Yes” on the User Account Control popup. Then the Driver Verifier Manager will appear, on which you should select “Create custom settings” and hit “next”.
You’ll be presented with a list of individual settings. The only ones you need to check is “I/O Verification” and “Force pending I/O requests” and “IRP logging”. Then click on “Next” and on the next page select the option “Select driver names from a list”. Hit “Next” again and wait.
Then, you’ll be shown a list of drivers to verify. You won’t need to verify Microsoft Corporation drivers, so only check the ones with something other than Microsoft under the “Provider” column. Then click “Finish”.
Once this is done, you’ll need to reboot your computer for the Driver Verifier to activate. Restart your computer and log in. Driver Verifier should be enabled. Wait for your system to crash. The objective is actually to let your system crash so that you can find out which drivers are causing the problems on your computer.
When your PC crashes, pay attention to what message it shows you. It should display the message “DRIVER_VERIFIED_DETECTED_VIOLATION (xxxxx.sys)”. The problematic driver’s name will be written the (xxxxx.sys) spot. You’ve now located your problem driver!
Now that you know which driver is responsible, turn off the Driver Verifier. At this point, you’ll need to research how to solve the issue with that particular driver. Microsoft Answers should be able to provide you with this information.
MemTest86
If the Driver Verifier didn’t find any errors with your drivers, then it finally could be an issue with your PC’s memory. If one of your computer’s memory sticks has started to go bad, this can often lead to blue screen errors. Luckily, MemTest86 is an easy way to test your computer memory and find the problem. The only thing you’ll need is an empty USB stick before you get started.
First, open up your browser and go to memtest86.com. When you’re there, click “Download” to download the zip file. Once it’s downloaded, extract the content of the zip file to a folder and run “ImageUSB.exe” by clicking on it. Make sure your USB stick is currently plugged into your computer.
Under “Step 1”, click the checkbox next to your USB drive’s name. This is to confirm the install destination. Now under “Step 2”, make sure “Write Image to USB” is selected. Finally under “Step 3” make sure the memtest86 file is indicated. Now under “Step 4”, click “Write”. The system will ask you to confirm the installation to your USB drive and warn you that the content of your USB stick will be erased. Click “Yes” to start the install process. The install will take a few minutes.
 Once the install is finished, you’ll need to shut down your computer. At this point, you’ll need to open up your case to access your RAM. We will be testing each RAM stick in your computer individually, so at this point remove all but one RAM stick from your PC. Now, start up your computer and boot to the USB flash drive.
You should now see a screen with “Memtest86 Vx.x Diagnostic” on top. Here you have the option to do a Default scan or a Single Pass. The default scan is more comprehensive, so we recommend choosing this even though it will take longer. This may take a long time, especially if you have a lot of RAM. Some may want to let it run overnight if it’s taking particularly long.
Once it has finished scanning, you’ll be met with a window saying either that your RAM has no issue or that does have an issue. Now shut off your computer, remove the RAM stick and mark it with the result (for example, with a sticky note). Now insert one of your other sticks of RAM and repeat the above process.
Repeat this process with each stick of RAM in your computer. Once you’ve finished, you should have identified which RAM stick was faulty. Now, it’s simply time to replace it! If none were faulty, then it’s likely due to another issue. Check out the earlier methods in this guide and make sure you tried them all.
Before buying a new stick of RAM, check if your RAM is under warranty. Some companies even offer lifetime warranties, where you can send in your faulty RAM and they will replace it for free.


