
Learning how to watercool GPU can help you effectively manage temperatures, especially during those intense gaming sessions.
When building a liquid-cooled PC with a full loop, you may opt for a GPU and CPU water cooling kit with a pre-installed waterblock or buy a normal card and install the waterblock yourself.
Whichever route you take, this post describes the most effective process of liquid cooling your GPU.
Contents
How to Watercool Your GPU Efficiently?
You can install a custom GPU waterblock or get a GPU water cooling AIO to keep your Graphic Processing Unit cool all of the time. Such a system has a water block with tubes that allow water to flow through the system drawing heat away from the system components.
Furthermore, it has a heatsink and a fan that help move the warmth away from hotter parts. Here are the steps to use a GPU water block to cool your system components:
– Get Your Tools and Cooling System
You will need a screwdriver to unfasten the screws on the GPU block and the cooling components. Also, you may need a pair of tweezers and scissors to complete the task.
Assemble your new water blocks or GPU water cooling kit, such as the NZXT Kraken G12 GPU cooler kit. The Kraken G12 bracket lets NZXT Kraken AIOs be mounted to a graphics unit without maintaining a custom circuit.
It supports both Nvidia Geforce and AMD graphics units-reference and most non-reference designs. So, it perfectly works with the water cooled GPU 3090. It works with 30+ liquid coolers and 40 different GPUs.
You may also consider the Alphacool Eiswolf 2 AIO. This full-cover GPU AIO waterblock is another powerful option for gaming PCs.
– Disassemble Your GPU
Before disassembling your graphics card, check to ensure it is working well. While replacing the stock cooler with a waterblock may not void its warranty, it is important to be sure that you are dealing with a functional GPU before tearing it apart.
So, run a GPU benchmark to determine its performance. Use tools such as GPU-Z or MSI Afterburner.
While some things in the process of deconstructing a GPU vary from manufacturer to manufacturer, the process is generally similar. Remove the tiny screws on the rear part of your video card. Removing all the screws will cause it to pop off. However, in some cases, it might need a small nudge.
To remove the stock cooler from the GPU, unscrew the screws from the perimeter of the card. Some graphics cards use thermal glue that might need heating to loosen up.
So, gently heat the adhesive before twisting the cooler gently to the side. Avoid pulling it straight off. Keep the screws safe, such as in a tiny plastic bag.
After removing all the screws, carefully separate the PCB from the cooler assembly. Apply a little pressure to break loose the paste; do not force it. If you cannot separate the two components, check if you forgot a screw.
– Detach the Fan Shroud
After removing the cooler assembly from the mainboard, remove the fan shroud from the stock cooler. This step is necessary for specific brands, such as Corsair, which wants you to reuse the stock fan. So, you will not need the stock fan if you have a different brand.
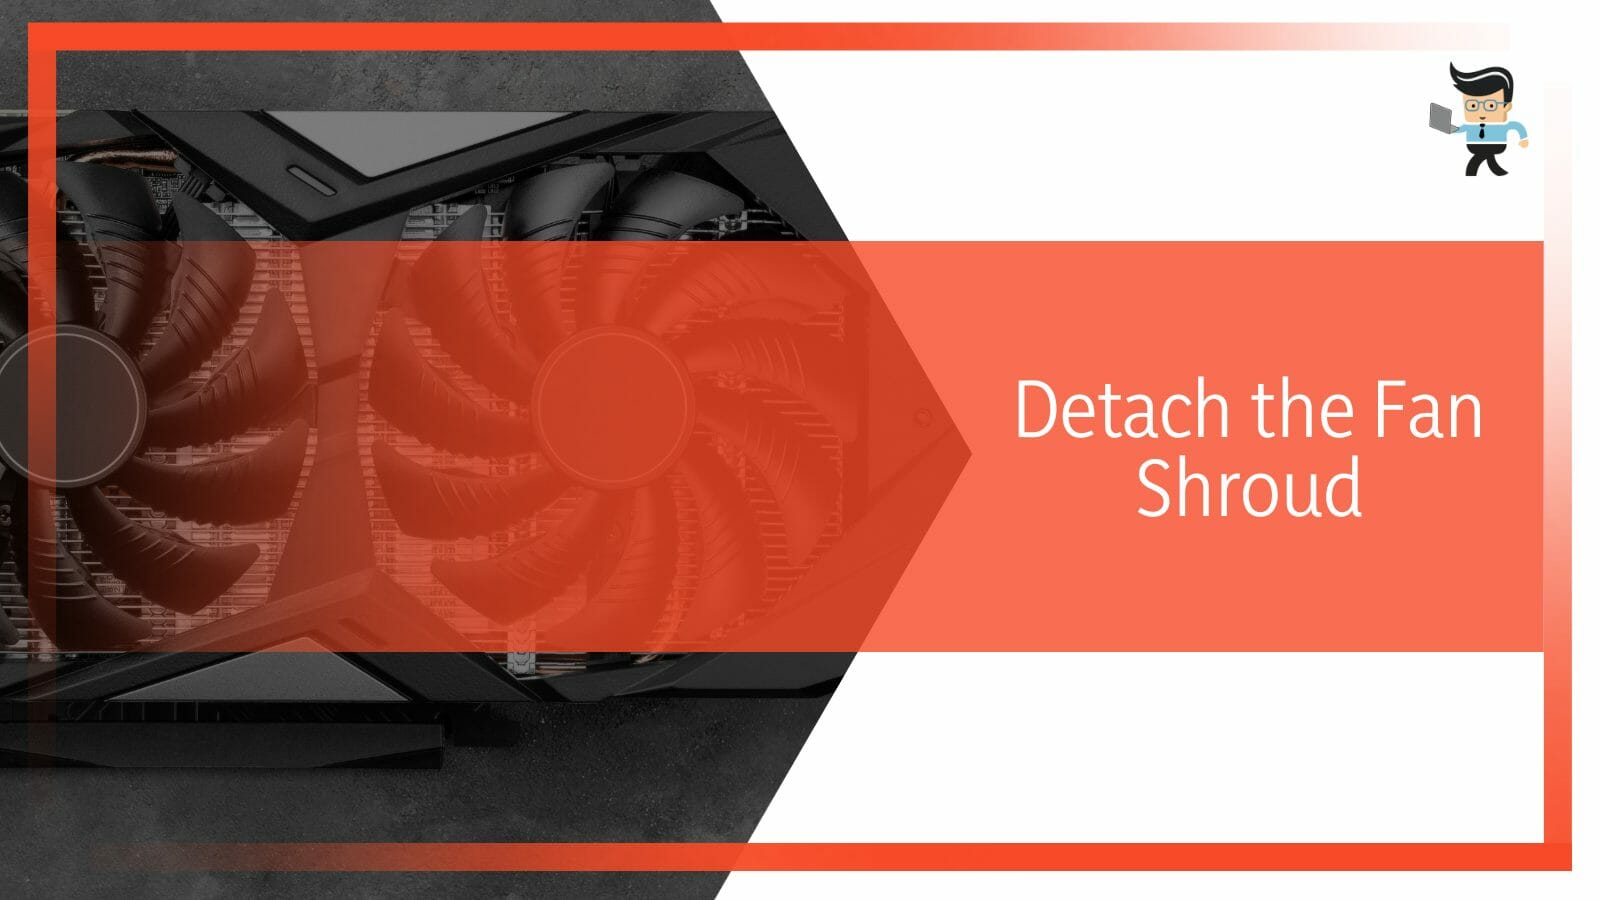
Remove the small black screws around the fan shroud. Gently pry apart the fan and the cooler assembly to separate them. Flip over the heat sink assembly and unfasten the screws that hold the fan to remove the stock fan.
– Clean the Graphics Unit
Typically, this majorly involves removing the thermal paste from the surface. You will need 99 percent isopropyl alcohol, lint-free cloth, q-tips, and a toothbrush. Use alcohol and clothe to remove the paste – for finer work, use the toothbrush and the q-tips.
You can also use ArctiClean to remove the gunked-on paste. Always be careful when you torque down the GPU water block because it is an exposed GPU core. Chipping or cracking it means you have destroyed it.
Some video cards have a cooling plate fixed between the GPU and the cooler; remove it. This leaves you with a clean GPU, allowing you to work on it without issues.
Now, clean your working surface by removing and disposing of the cloth and q-tips. Also, box up the screws and the cooler and keep them safe. Assemble your new water cooling components ready for installation.
– Install the Fan Shroud
This step is necessary if you have a mounting bracket and a fan for your water cooling system; otherwise, skip it.
Attach the fan to the bracket using the provided screw, but route the fan wiring to reach the fan header connector on your graphics card. Typically, lay the fan on the bracket, then lay the frame on the graphic unit’s PCB to confirm the correct orientation.
Once you have attached the fan to the bracket, install the fan shroud that comes with the bracket. If the mounting bracket has standoff studs, install them before mounting them on the PCB. Attach the mounting bracket to the PCB and install the water blocks as in the last step.
– Test Your Waterblock
This step is necessary if you are unsure whether you bought the correct waterblock. You can test-place it to see if it sits correctly. While testing, ensure that you have your waterblock’s manual ready. This is a handy tool for helping you correctly install the cooling components.
– Install the Paste
Waterblocks ship with thermal pads and paste to cool the VRM and the memory circuitry. In most cases, the thermal pad is pre-cut; therefore, use tweezers to carefully place the pads on the memory module around the video card. Ensure that you follow the manual.
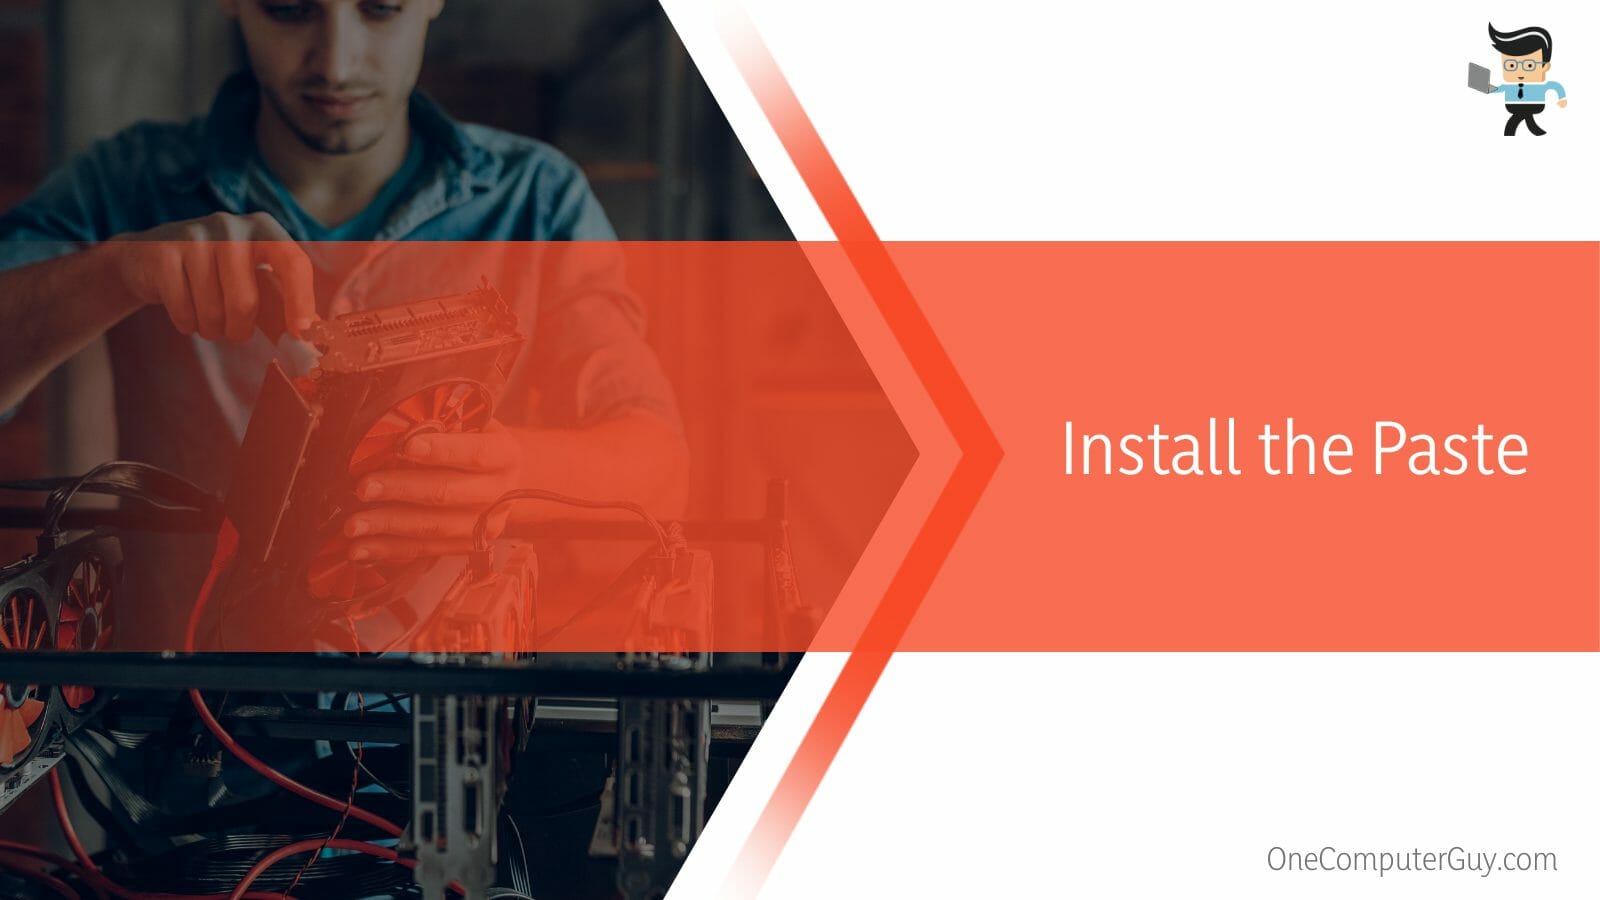
The waterblock might also come with a non-conductive heat sink paste tube. Apply thermal paste (a pea-sized amount) at the center of the graphics card, and leave it there since the waterblock will spread it out when you tighten it on.
Some coolers already have a thermal pad or paste, so applying new ones is unnecessary.
– Fix the Liquid Cooling System on the Bracket
Your mounting bracket must be compatible with the AIO – for instance, the NZXT Kraken AIO CPU cooler RGB RL-KRX is compatible with the Kraken G12 bracket.
Attach the cooler to the bracket using the provided thumb screws that come with the bracket, and go to the final step.
– Install the Waterblock
Lower the waterblock onto the GPU, ensuring it is as close to its intended place as possible. Accurately getting it into place ensures you avoid ending up smearing the paste. When in place, install the assembly alongside the I/O bracket over the edge to ensure that the graphics unit rests over the waterblock.
Reinstall the screws around the video card in a crisscross pattern. Start by lightly installing each screw and tighten them in an X-design. Do not tighten much, as you may crack the graphics card. Finally, tighten the remaining screws to secure the waterblock onto the graphics unit.
– Power up the System
Plug the pump and fan into the nearby header connector on your motherboard. Sometimes, you may need to go to the mainboard’s BIOS to increase the voltage to the power cable. Typically, some mainboards will need more voltage to run the pump at the correct speed, thus, causing problems.
But is water cooling GPU worth it? Yes, especially if you want to overclock your GPU, CPU, or both.
How to Choose the Best Water Cooling System for Your PC?
You can choose the best water cooling system by checking if it has the correct thermal design power (TDP) rating and fits within your budget and use case. Also, consider how easily you can install the AIO system on your computer.
So, beyond knowing how to water cool CPU and GPU, you need to find the right cooler for your system. Here are key considerations.
– AIO System vs. Custom Loop
An All in one (AIO) system comes as a complete kit. So, when you buy, you will directly install it on your computer. This quick process does not require making any decisions about the system. You only need to attach it to your specific components and power it.
These versions of coolers are most available for CPUs than video cards. However, different manufacturers have developed them for GPUS nowadays. So when buying AIO coolers, ensure they are compatible with your GPU model.
A custom CPU/GPU loop is a liquid cooler setup that ships in pieces. Typically, you will purchase tubes and other components, sometimes separately. Then you will need to fill the tubes with the liquid before putting the system together. This can be a lot of work and a complicated process for novices.
It is worth pointing out that custom GPU loops can be more extensive than the All in one system. For this reason, most people use them when they need a more effective liquid cooler.
– Thermal Design Power Rating
The thermal design power (TDP) is the heat produced by the core of the graphics card or central processing unit and is used to design the cooling solutions for the graphics cards. Both the GPU and GPU coolers have a specified TPD rating.
If you buy a GPU cooler with a lower TDP rating than your graphics unit, it will not adequately cool the unit. The good idea is to get a cooler with a TDP rating that exceeds your GPU’s TDP rating. This is particularly vital if you plan to overclock.
Stock coolers have a TDP rating to accommodate the TDP rating of their GPU. However, most third-party AIO liquid coolers exceed the TDP rating of most video cards in the market.
– Your Budget
Liquid coolers come at different prices. Therefore, it is important to set a budget depending on your needs. It is more straightforward if you are upgrading your coolers.
However, the budget is higher if you pick a system cooler for a new system build. You need a cooler that adequately handles your system’s heat requirements without overspending.
– Compatibility With the Motherboard
The water cooler must be compatible with your motherboard socket to do the cooling work adequately.
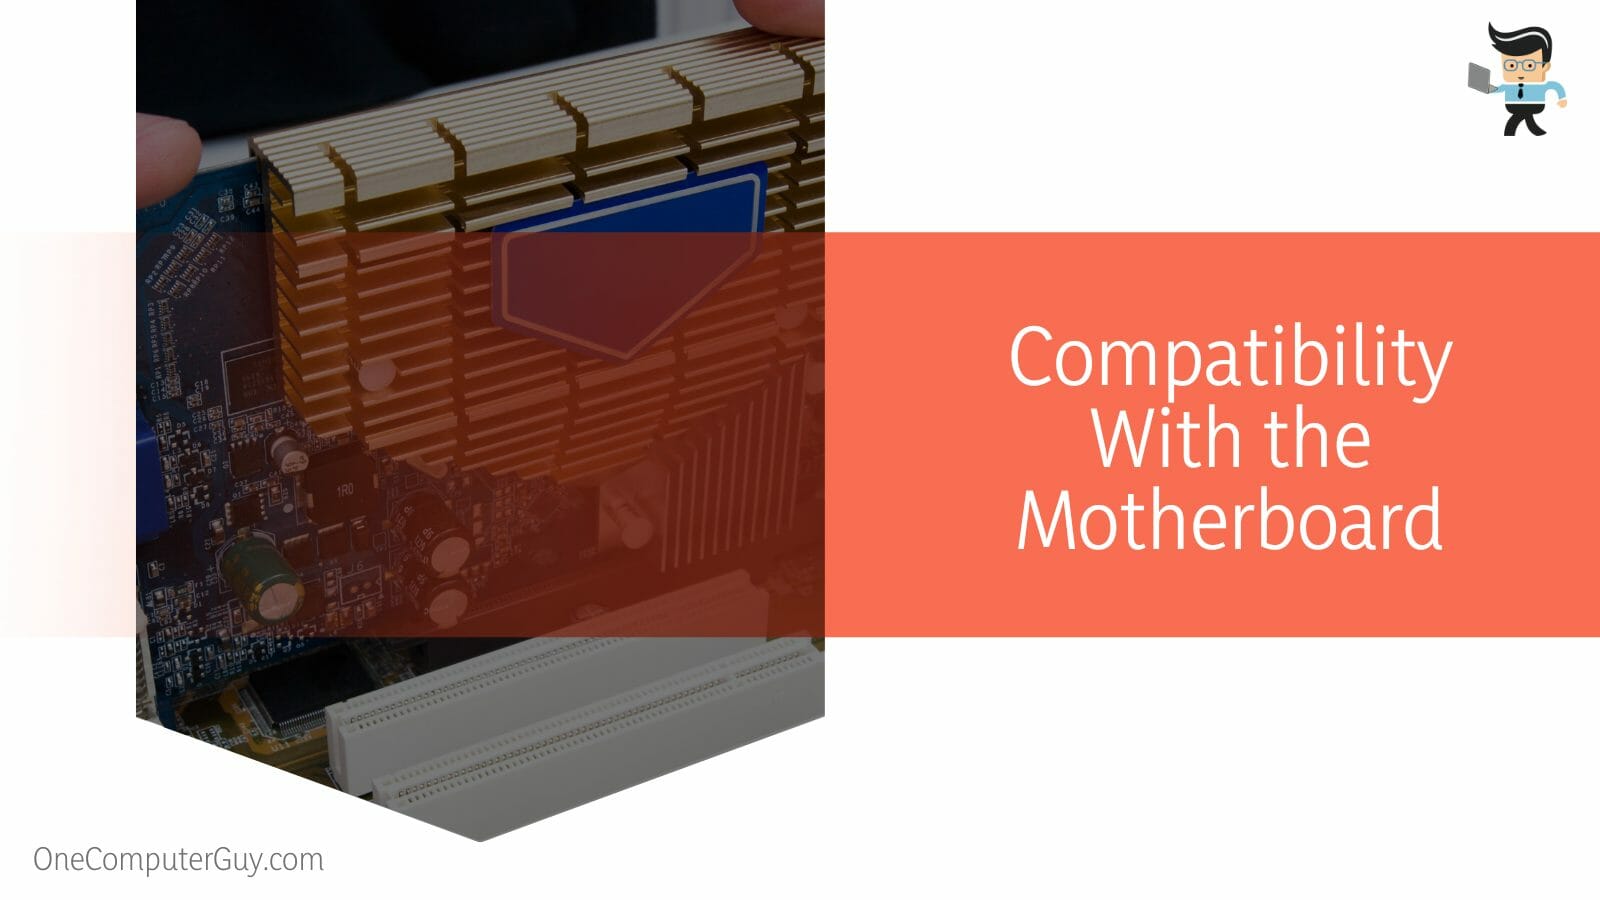
Also, ensure that the cooler has the correct:
- Height – While some coolers are too tall, others might be too short. So, check the cooler’s height on the specification sheets to ensure it fits on your GPU perfectly.
- Radiator size – AIO cooler’s radiator size is the most significant clearance factor. Since the radiators come in different sizes, ensure you get a cooler with a GPU radiator that fits your GPU case.
- Bulkiness – Most high-end coolers are bulky, which can get in the way of the DIMM slots on your motherboard. This, in turn, can interfere with taller memory kits or may hang over the PCIe lane, forcing you to install your GPU in a lower lane.
– Cooler Aesthetics
Some PC builders prefer installing more aesthetically pleasing coolers in their systems. For instance, NZXT Kraken AIO liquid CPU cooler RGB RL-KRX features RGB lighting, adding flair to your system.
Still, others may prefer the sleek, low-profile look of AIO coolers, the extreme look of custom liquid cooling setups, or a big bulky high-end air cooler.
Conclusion
We have discussed how you can cool your graphics card using water in detail in this post.
Here are the highlights:
- AIO or custom GPU loops are the best way to water-cool your system.
- You may need to water-cool your CPU more than your GPU, as most video cards can keep cool with better thermal management.
- You may opt for a graphics unit water cooling kit with a pre-installed waterblock or buy a founders edition GPU and install the waterblock yourself.
- When choosing a liquid-cooled system, ensure it is compatible with your GPU model for better performance.
The steps in this article will guide you to water-cool your GPU or change the entire cooling system. Follow them carefully.
References
- https://www.forbes.com/sites/marcochiappetta/2015/05/29/evga-steps-out-with-custom-water-cooled-geforce-gtx-titan-x-graphics-card/
- https://www.forbes.com/sites/antonyleather/2016/10/31/how-to-build-a-liquid-cooled-gaming-pc/?sh=6e6823dc5b46


