
With knowledge of how to test a motherboard, you’ll be able to determine whether there are shorts or leaks on your motherboard, and check the voltage, power connectors, and the general health of your motherboard.
A multimeter is often needed to test motherboards. Therefore, we’ll be taking a look at the different ways you can use a multimeter to check your motherboard’s health.
Without further ado, let’s dive right in:
How to Test Your Motherboard Visually and With a Multimeter
You can test your motherboard visually by looking for any apparent physical damage or the effects of environmental factors. You’ll be able to decide whether or not your motherboard is in good condition while being conversant with the parts that are working normally and those that aren’t.
– Visually and Physically Testing Your Motherboard
Physically testing your motherboard involves using your eyes and hands to check every nook and cranny of the motherboard. Conducting this test allows you to ascertain the kind of condition your MOBO is in.
Regularly checking and maintaining your motherboard allows you to enjoy better performance and quickly eliminate any potential damage. There are some important indicators to look out for when conducting a physical test, including
– Checking for Physical Damage
This is one of the most important reasons why you need to conduct a physical test on your motherboard. Check for signs of wear and tear, scratches, and cracks because if any of these indicators are present on your MOBO, then your unit is not in good condition. You should also check for loose connections and motherboard components.

Your motherboard connections are supposed to be tight and secure. If any of your connectors, plugs, or ports are loose or disconnected, you’re likely to experience subpar performance on your system. Therefore, always make sure to check if there’s any loose connection, tighten up any loose ends, and fix any loose ports or connectors.
Motherboards have an average lifespan that lasts between 15 and 20 years. However, with proper care and maintenance, your motherboard can last longer than that.
– Corrosion
If you have an older motherboard, you should make sure to look out for corrosion when you’re visually inspecting and conducting a physical test on your motherboard. Corrosion can lead to irreparable damage as it can seriously damage the components on your motherboard. It can also lead to fire hazards as well. In most cases, when corrosion starts to occur on a motherboard, it’s a sign that you need to replace the motherboard as soon as possible.
Conducting regular physical tests and properly maintaining your motherboard will increase its lifespan and ensure that your MOBO is always in good condition. You’ll also be able to avoid potential problems easily and if a problem does occur, you’ll be able to take care of it before it leads to serious problems or accidents.
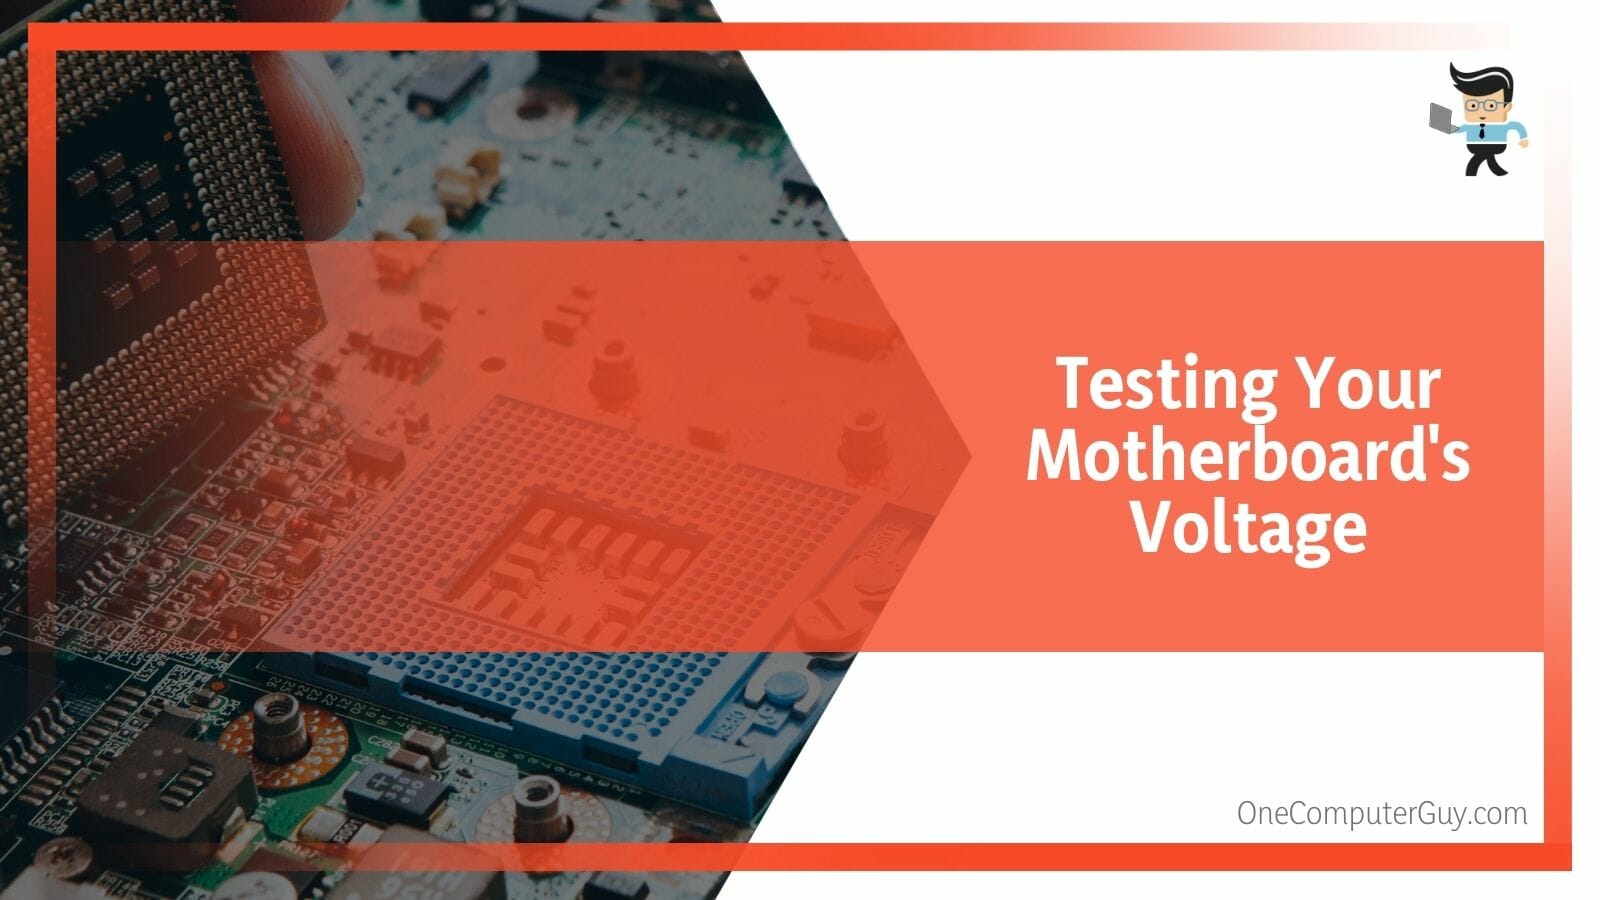
– Testing Your Motherboard’s Voltage
Once you’re done with the physical test, the next test you want to conduct is the voltage test. Testing your motherboard’s voltage can help you figure out why your system is crashing, developing blue screen of death problems, or having startup issues. The good thing about this test is that you can do it at home as long as you have a multimeter.
Once you’ve gotten the multimeter, follow the steps below to test your MOBO’s voltage:
- Remove every accessory connected to your computer and shut it down.
- Disconnect your power supply cables from the computer and turn off the power switch and the wall socket.
- If there are any batteries powering your computer, remove them as well.
- Now, look for the 20-pin ATX power connector that’s on your motherboard; it’s usually situated close to the top of the MOBO.
- Once you’ve found the connector, take your multimeter and set it to the DC voltage configuration.
- Place the red lead of the multimeter on the motherboard power connector’s positive terminal and the multimeter’s black lead on one of the ground terminals of the power connector.
- Your multimeter should start providing readings in volts on its display.
- If you’re not getting any readings, then there’s a chance that you’ve connected the multimeter the wrong way.
- Reconnect the multimeter and check the display again.
- If you’re getting readings that are within the normal range, then the problem you’re having with your system may not be from your motherboard.
- On the other hand, if the readings are below or way above the normal range, then your motherboard could be the reason why you’re experiencing frequent shutdowns, startup problems, and crashes.
- You may need to consult a professional technician for a better diagnosis or visit your computer’s technical center if you still have a valid warranty.
Motherboard’s Capacitors
Once you’re done testing your MOBO’s voltage, the next component you want to test is the capacitor. Capacitors help your computer store electrical energy and provide the stored energy whenever your computer needs it. Therefore, if any of them becomes faulty, your system is bound to produce different beep codes and experience all sorts of problems. Fortunately, testing your motherboard’s capacitor is relatively easy.
All you need to do is to grab your multimeter and follow the steps below:
- The first thing you want to do is identify the components that are actual capacitors on your motherboard.
- Most capacitors have a cylindrical shape and they often have a “CAP” label on them.
- Once you’ve found your capacitors, take your multimeter and change its configuration to Ohms.
- Now, take the leads of the multimeter and place it on either end of the capacitor you want to test.
- If you get an infinite reading where the multimeter needle stays on the infinity symbol, then your capacitor can be regarded as open, which means that it’s bad and needs to be replaced.
- Also, if the reading is at zero and doesn’t change at all, then the capacitor can be regarded as shorted and you’ll have to replace it.
- If your capacitor’s values stay between zero and the infinite symbol, then you have a good capacitor that doesn’t need to be changed.
- Once you’ve tested all your capacitors and determined the ones that are okay and those that aren’t, you can buy new capacitors online or in an electronic shop and replace the bad ones.
- Make sure to take the size and type of capacitor into consideration when buying new ones for your motherboard.
- If you don’t have the technical knowledge or you’re not confident about changing your motherboard’s capacitor, employ the help of a qualified technician.
– Testing Your Motherboard for Short Circuits
Testing your MOBO for short circuits can be done in many different ways. However, one of the most common methods is using the multimeter tool.
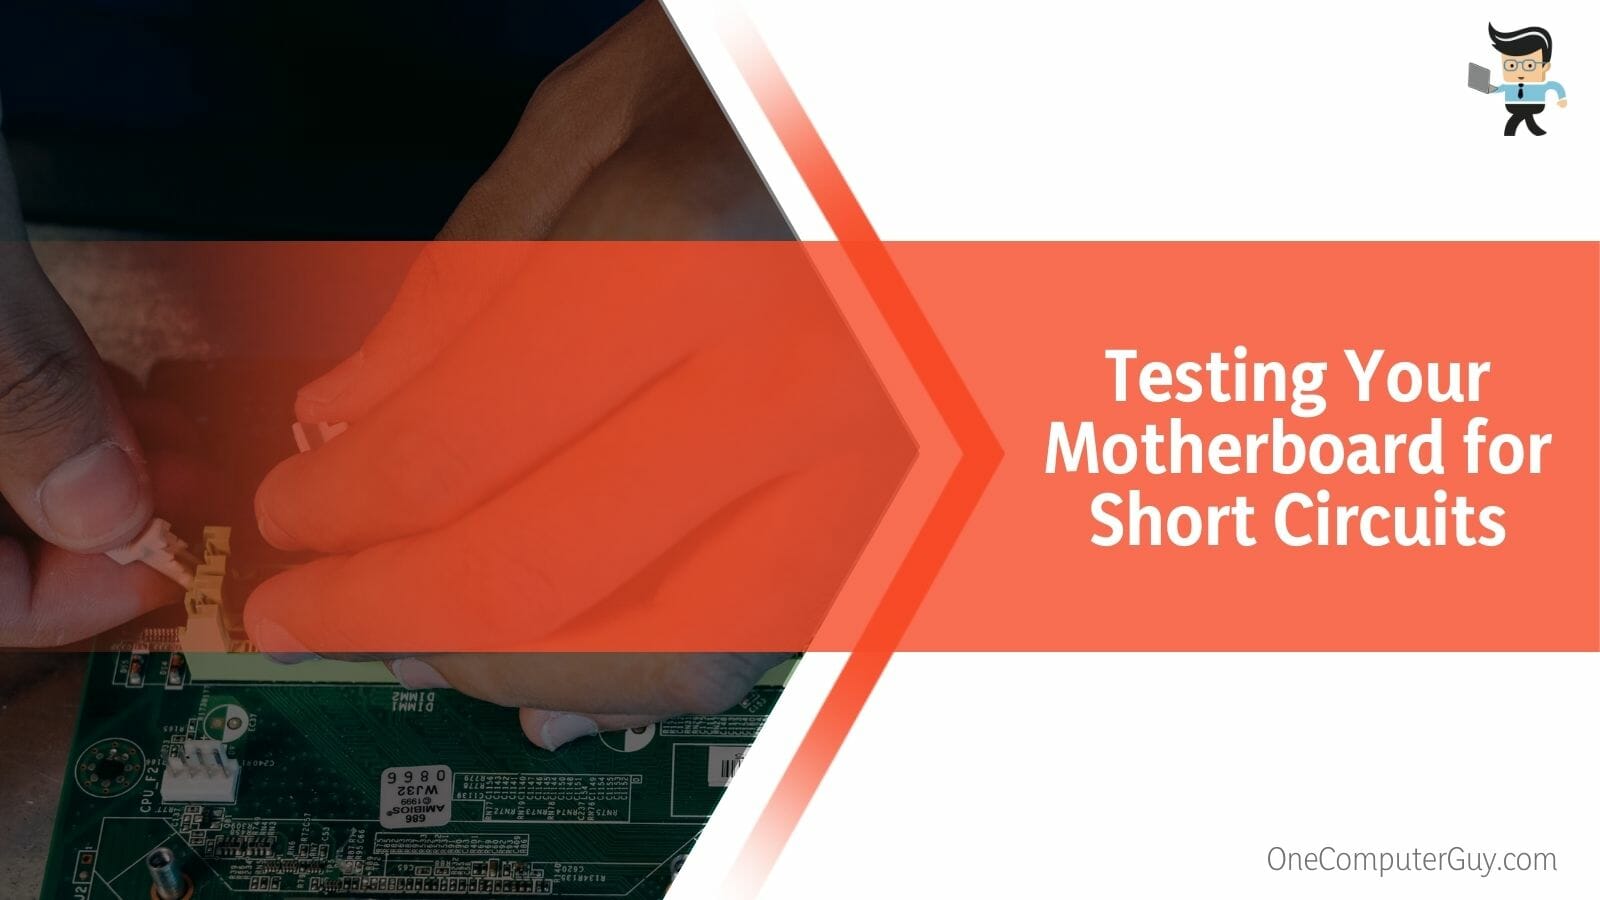
This method allows you to measure the continuity between two different points, which refers to the presence of a complete current flow path.
You can also use the ohmmeter to test for short circuits on your motherboard as it allows you to test the resistance between two points.
Performing a Multimeter Test
- If you’re using a multimeter, the first thing you want to do is change the configuration to continuity.
- Now, place the probes on the points you feel are shorted on your motherboard.
- If your multimeter shows a low resistance reading or produces beep sounds, then the two points have a short circuit between them.
– Performing an Ohmmeter Test
- If you’re using an ohmmeter, set the tool to the highest setting possible.
- Next, place the probes on the points you feel the short may have occurred.
- If you get a low resistance reading on your ohmmeter, then you indeed have a short between the two points.
If you’re unable to get a multimeter or ohmmeter, you can try providing a visual inspection of your motherboard. Look out for signs of charring or burning as these two signs show that a short-circuiting has happened on your MOBO and something has been damaged. Once you’ve been able to figure out whether or not a short circuit happened on your MOBO, the next step is to figure out the cause and the right way to fix it.
Short circuits can happen as a result of loose connections, damaged motherboard components, or loose or incorrect wiring. If you’re unsure about what the cause might be, consult a professional so you can resolve the problem without issues.
– Using Motherboard Test Software
You can also use motherboard testing software to check your MOBO’s health. There are many different software you can choose from, such as motherboard diagnostic tool Gigabyte, Ultra-X, PC-Doctor, and more to test your motherboard. Note that your PC needs to be in working order for these tools to work, and many of them conduct motherboard test online.
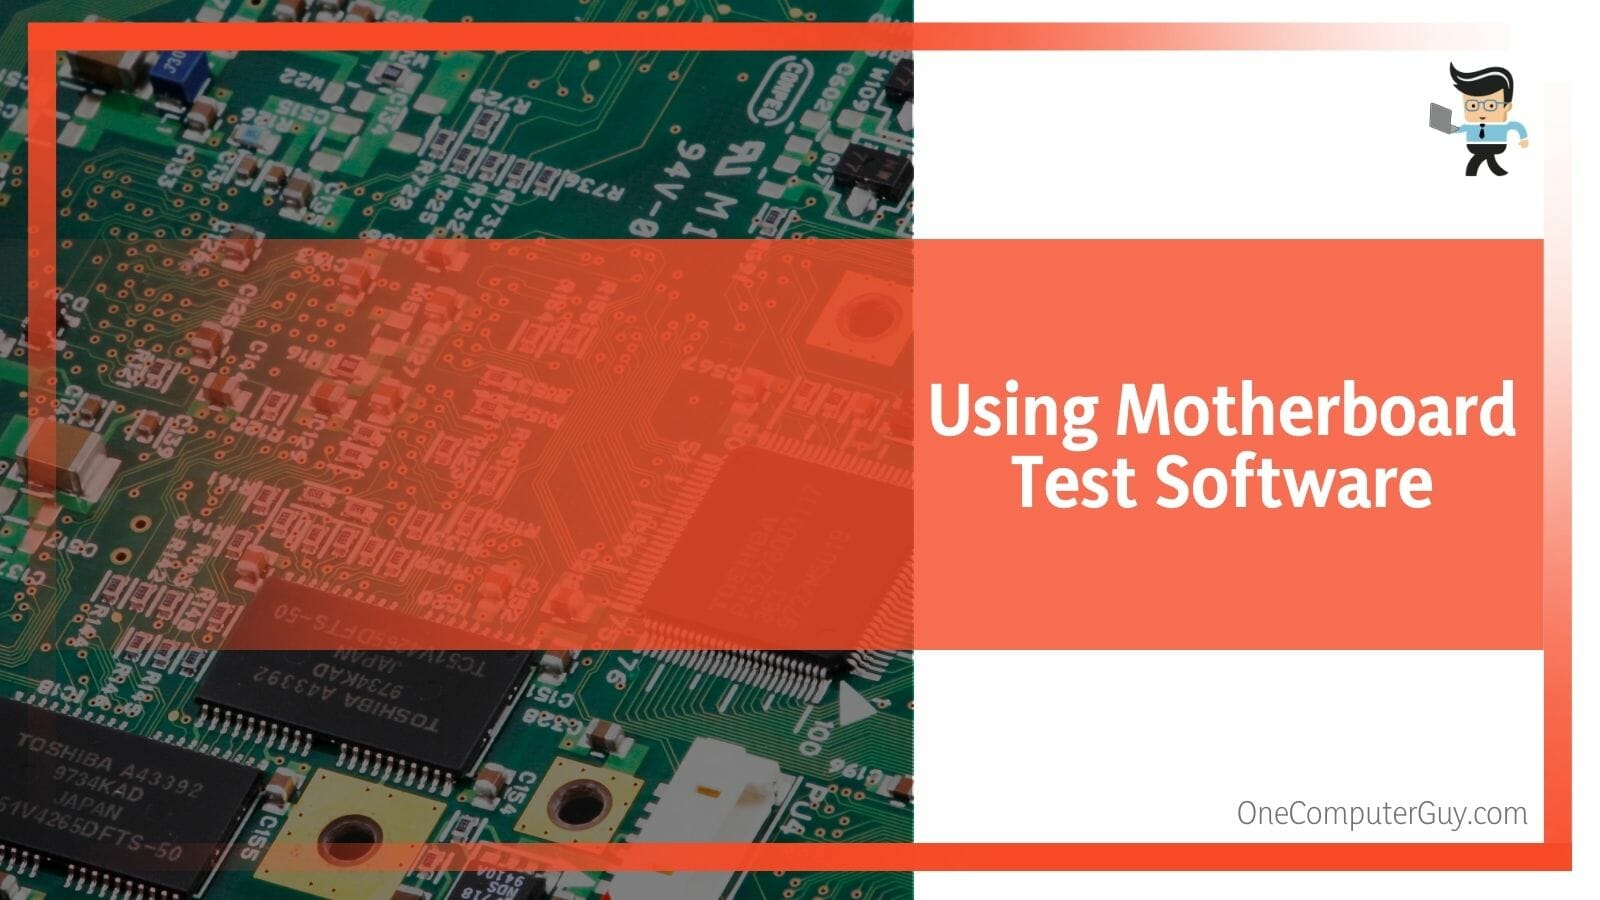
If you’re keen on how to check if motherboard is working without CPU, you can download the Intel Processor diagnostic tool or any other motherboard diagnostic tool windows 10. However, keep in mind that many diagnostic tools won’t be as accurate or reliable as the multimeter and visual test.
FAQ
1. Can a Dead Motherboard Still Work?
Yes, a dead MOBO can still work, depending on the part that’s faulty. For instance, while a motherboard with just one faulty RAM slot will still work, a bad motherboard that has all or most of its components dead will not work.
2. What Is the Right Range to Set My Multimeter When Testing for Voltage?
When testing for voltage, set your multimeter to the 20 DC range. Once that’s done, put the black probe of your multimeter on the GND pin and set the red probe on your power supply unit’s connectors that are colored purple, green, or grey.
Conclusion
That’s all on the different ways methods for testing motherboards, what to test for, as well as the tools to use.
Below is a quick rundown of our discussion to make sure you have the necessary information needed to test laptop motherboard and desktop units as well:
- Performing a visual or physical test on your motherboard allows you to detect factors such as corrosion and loose connectors.
- You can figure out the status of your capacitors, short circuits, and voltage with the help of a multimeter.
- Low or high voltage on your motherboard can cause your system to experience subpar performance as well as incessant crashes.
- Make sure the values for your capacitor reading stay between the infinite and zero to determine whether or not it’s in good condition.
Using a multimeter or ohmmeter to test your motherboard is a relatively easy process that can be achieved in a few easy steps. Make sure to test the different components on your MOBO to figure out potential problems, fix them as fast as possible, and ensure the longevity of your motherboard.


