
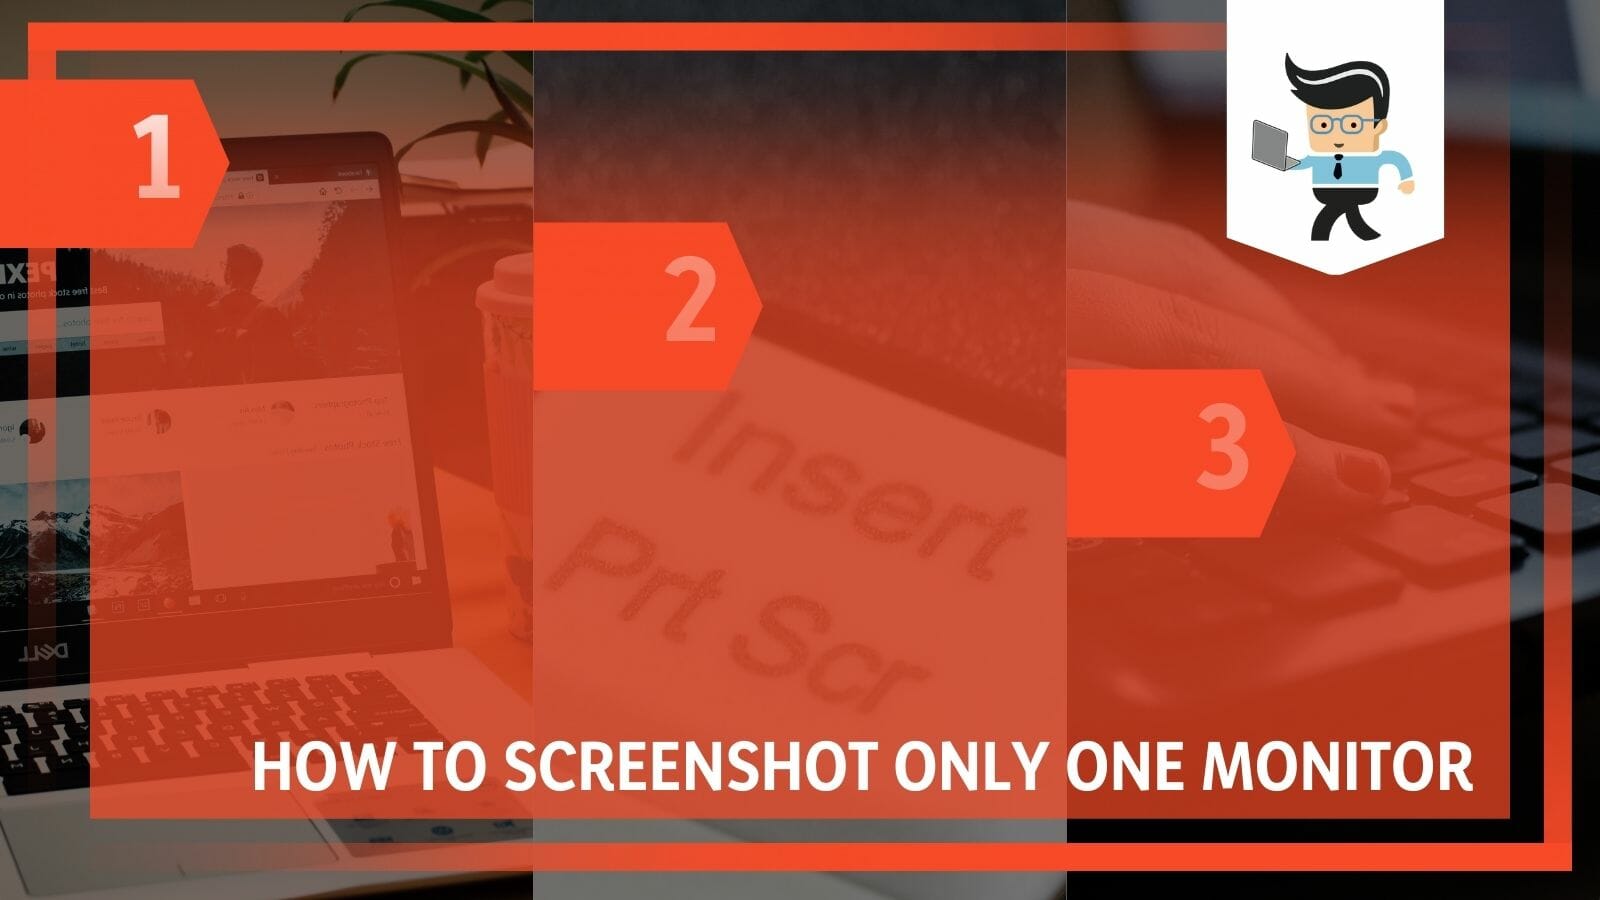
How to screenshot only one monitor when you have set up that is working with multiple screens at a time is crucial knowledge to know about because it allows you to store the display of just one screen.
The process may be complicated, especially compared to the direct and easy method of taking screenshots on a default screen.
While you might be using multiple monitors to boost your productivity and efficiency, it is equally important to know how to focus your work on one screen and collect just the information on one monitor.
The following guide will shed light on the methods you can use to do just that, using both third-party and in-built functions to get the desired screenshots!
Contents
How Can I Screenshot Only One Monitor? Easiest Methods Around
You can screenshot only one monitor in a setup using the Print Screen key, the Windows Snipping Tool, or the Snip & Sketch software. You may also use keyboard shortcuts or a third-party program to take screenshots of your monitor’s display, such as StreamLabs or FreeCam.
– Using the Snipping Tool on Windows
Set up your primary display to the monitor you wish to utilize to take a screenshot of only that one. The Snip & Sketch software has been added to Windows 11 to improve the Snipping Tool.
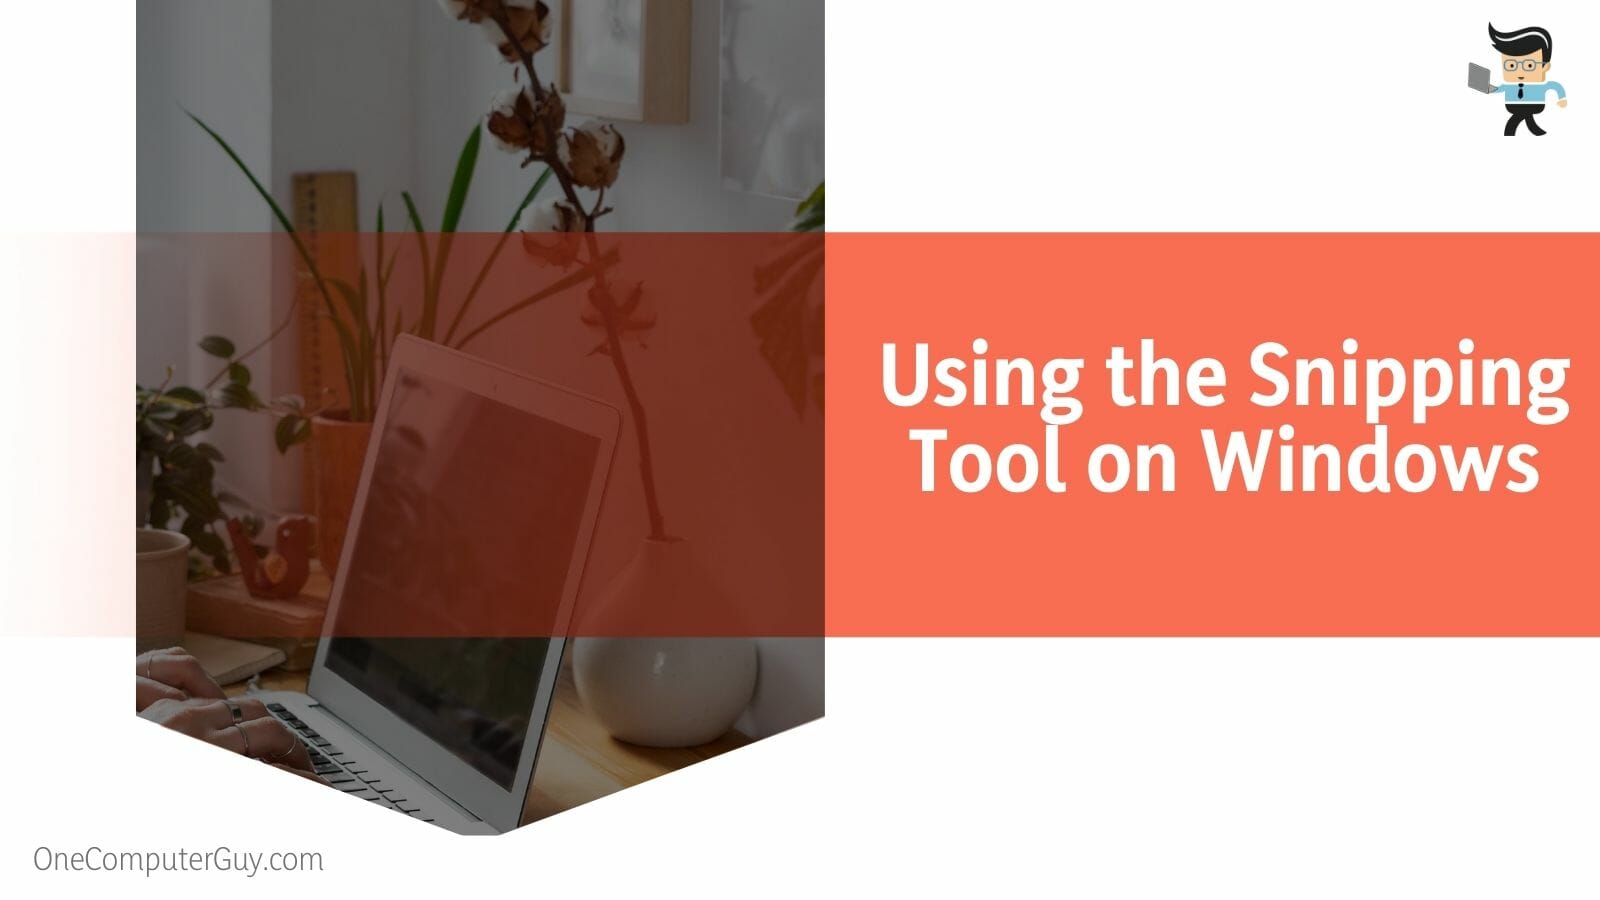
It’s still the best choice for taking screenshots on the main display of your dual-monitor setup. You may use the “Search” feature by clicking the search icon in the bottom-left corner of your screen.
The snipping tool may be found by searching the Start Menu. When it launches, press “New” or Ctrl + N in the upper left corner of the screen. The “rectangle tool” will allow you to select the desired portion of your monitor’s screen. To select a part of the screen to take a screenshot of, move the cursor over it. The screenshot will be shown inside the Snip & Sketch tool.
Click the floppy disc icon or press Ctrl + S to save the snapshot to your file manager. The chosen folder will get the screenshot as an image file. Until you change the settings for your primary screen, this technique won’t function for your secondary display.
– Via the Print Screen Button
Using this method, you can take a screenshot of the display on your monitor. Still, you must open a program to ensure this technique will work immediately. Once you have opened the program on the monitor of your choice, you will need to take your cursor and place it right on the part of your computer screen that you would like to save as an image.
Once you have done this, you can use the keyboard shortcut to print your display by pressing CTRL + ALT + PrtSc keys simultaneously. Thus, you will be able to take a screenshot of your monitor.
You can save this screenshot in software like Microsoft Word by pressing the CTRL + V shortcut. Alternatively, you may save it directly to the computer’s file manager using the saving shortcut of CTRL + S.
– Using Microsoft Word or Paint
Another method you can try out when you want to take screenshots of both your monitors, but separately, is using the keyboard shortcut on your PC. First, you need to open your current display and press the CTRL + PrtSc buttons simultaneously. Doing this will allow the display to be captured as an image and saved to your clipboard.

Once you have done this, you can head over to software, such as Microsoft Word or Paint, and once you are there, you can paste it on the interface by pressing the CTRL + V buttons as soon as your screenshot is inserted there successfully, head over to the next display and repeat the process. This way, you can store the screenshots of both your displays without a problem.
– Using the Snip & Sketch Tool Shortcut
You may also use Windows’ Snip & Sketch tool to capture screenshots of one screen on a dual monitors‘ setup. Start by clicking the Start button. Please search for the Snip & Sketch app in the start menu to launch it.
To take a screenshot, go to the upper left corner and click the New tab. To capture a screenshot, use “Windows + shift + S” on your keyboard. At the top of the device screen, there will be a toolbar. From here, you have to choose the rectangle icon.
Put your mouse on one of the borders of the rectangle. Then, to capture the screenshot, click, and drag the monitor from one end to another to cover the entire screen. You may save the screenshot by clicking the disc icon.
The interface’s upper right corner has this disc icon that allows you to save the screenshot. To “save as” the screenshot, use the Ctrl+S keyboard shortcut.
– Windows 10 Game Bar
The Xbox Game Bar is a feature of Windows 10 that lets you take videos and photos while playing PC games. Press the Windows logo key plus G on your keyboard to access the Xbox Game Bar while playing a game. If your PC is linked to an Xbox 360 or Xbox One controller, click the Xbox button.

When you are ready to stop recording, simply click the square icon. To begin a clip, click the circle button. From here, choose “Take screenshot,” denoted by the camera icon, and this will enable you to take a screenshot of the game.
To start and stop recording when playing full-screen PC games, use the Windows logo key plus Alt + G. To edit a clip, choose Captures in the Xbox app by pressing the Xbox button.
StreamLabs
StreamLabs is one of the best free screenshot tools for third-party applications. You may play mobile games and stream your screen or broadcast your camera to social media at the same time.
Additionally, Streamlabs Prime enables premium capabilities like multistreaming and expert mobile themes, enabling you to advance your stream. Not only that, but users of this program can get free live streaming and professional recording tools. It is simple to make a video and post it as well.
You may adjust the layout of your recording application using a layout editor. You can design a unique user interface for your recording software by dragging and dropping items. You may also record only what you want using the selective recording tool. You can choose the sources in your live stream or recorded content.
– FreeCam
For Windows 10, FreeCam is a free screen recorder that doesn’t feature obtrusive pop-up adverts. This package includes video and audio editors, making editing the screen recording material simple. The Free Cam program’s interface is simple and easy to use, making it simple to utilize.

You can record the full screen, a select area of it, or just a single window. You can quickly record a voice-over using the microphone to make your video lesson more educational.
You may add music as a background to your video or record the sounds of the various programs and applications. To emphasize crucial components and procedures, turn on mouse click noises and highlight your mouse pointer.
After you have captured your screen, you may quickly remove any unnecessary video portions. You may instantly remove any background noise from the whole clip if it was present in your voice-over.
Conclusion
In this comprehensive guide, we discussed several techniques that may be applied to screenshot a single screen when you have a setup of multiple monitors.
Since configuration and functionality might be a problem for users as they try to make the most of their setup, let us have a look at the concise summary of all the points discussed above:
- If you want to take the screenshot on only one monitor in a dual monitor system, you can achieve this by using the Print Screen key.
- Alternatively, you can use the Snipping Tool on Windows, or you can utilize the similar Snip & Sketch software.
- You may also use keyboard shortcuts to take screenshots of just one monitor, such as the CTRL + PrtSc shortcut.
- Moreover, you can also utilize a third-party program to take a screenshot of your monitor’s display, some options being StreamLabs or FreeCam.
- If you are on Windows 10 and want to take a screenshot of any game on your monitor, you can use the function in the Game Bar as well.
So now you know how to screenshot a single display from your multi-monitor setup, and you know that many techniques can be utilized to achieve the desired output. Following the methods above, we are confident that the screenshot process will happen seamlessly!


