How remove printer from MacBook can be a tedious process if you don’t know how to do it properly. Removing printers from MacBook computers compared to other devices is a little different.
This complete guide will look at the various techniques you can use to remove a printer and its related software entirely from your MacBook device.
Contents
How To Remove Printer From Macbook Computer?
To remove any printer from your MacBook computer, first, delete the printer from the system and then remove all related software from the drivers. You must ensure you have deleted all related cache data, and finally, remember to clear out your computer’s trash.
– Uninstalling the Printer
The primary thing you have to do is remove the printer as a device. This can be achieved by going to the Apple Menu and selecting System Preferences. Then click on Printers and Scanners, which will display a list of installed scanners and printers on your device.
You can choose the printer you intend to uninstall, and you can do this by pressing the minus button with it. Once this is done, confirm your decision by following the relevant instructions when the confirmation prompt appears.
– Deleting the Related Driver Software
Once you have uninstalled the printer itself, it is time to remove all relevant driver software and files. The names of these files will vary depending on the printer manufacturer. To remove them from your computer, you must navigate to Finder and, from there, to Applications.
Once in Applications, look for files matching the name of your printer’s manufacturer. Select and delete them in one go, or select and move them to the Trash folder.
– Wiping Out Related Cache and Service Files
After uninstalling the desired printer and all its driver software, remember that you also have to remove all related cache and service files. There are some folders in the MacBook device where such files are generally stored such as Cache, Preferences, Printers, Containers, Logs and Application Support.
– Clearing Trash
Now you have uninstalled the printer and have also taken care to remove all related cache files and the printer’s driver software.

All that is left to do now is ensure you clear out the Trash folder later.
How To Manually Remove Printers From My Macbook Computer?
To manually remove a printer from your MacBook device, first delete the printer and then remove all relevant files and software related to the printer drivers and other cache data. Clearing out the deleted files will also prevent further storage issues on the device.
– Removing the Printer First
Navigate to the Apple menu on your computer and select Printers and Scanners from System Preferences. The printer you wish to uninstall should be visible here, so proceed to select it and then the minus button to delete it. To confirm your decision, select Delete Printer, and you are all done with the first step of the manual process.
– Removing Driver Software and Cache Next
Once your desired printer is out of the picture, remove your printer manufacturer’s driver software. Not doing so can result in both performance and storage issues on your device as a whole. On your Mac computer, go to Applications, which you can locate in the Finder feature.
Here, you will find the files you have to delete. They will be labeled according to your printer manufacturer’s name so that no files will be identical. After completing this removal, we will move on to the remaining cache data and other service files related to the printer manufacturer.
You can locate them in various folders, namely Cache, Preferences, Logs, Application Support, Containers, and Printers, all in the Library. Move all this unneeded data to the Trash folder.
– Clearing Out Any Remnants in the End
Once you have put all the unnecessary files in the Trash folder, the final step you have to take is to make sure you clear out all of them. After this, the printer and all its related data will be entirely wiped from your Mac computer.
How To Reinstall Printer to My Macbook After Uninstalling It?
To reinstall a printer on your Mac OS after uninstalling it, you can try connecting it wirelessly via Bluetooth or the printer’s IP address. It is also possible to add a printer using a Wi-Fi Protected Setup, also known as WPS or USB, through your computer’s settings.
Uninstalling your printer will generally take away any problems you were facing first, and reinstalling it now might be a good idea. Look at the detailed methods listed below for more information on how to do this.
– Adding a Printer to Your Macbook Computer Using an IP Address
The main thing you need to know to go through this step is the IP address of the printer in question. Once you know this, go to System Preferences by clicking the Apple icon and then to the Printers & Scanners menu.
Under the given list of printers, there will be a plus sign, which you must click first. After that, locate the blue globe icon and the IP icon and click it.
In the address field given, type in your printer’s IP address, after which your computer will start gathering all the information it can find about the relevant printer. Make sure the IP address you put in is completely error-free.
After this, you will have the choice to rename the printer. Select your desired printer driver from the Use field and press Add.
– Adding a Printer to Your Macbook Computer via WPS
Using a WPS is a popular method of connecting wireless printers. It usually involves pressing the relevant Wi-Fi button on your printer and then the WPS button on the router.
Of course, depending on the router and printer you own, the steps of carrying this method out will vary. Consult with the user guides with your router and printer to know the exact instructions.
Generally, to get started, you have to access System Preferences, and you can do so by clicking the Apple icon on your screen. Select Printers and Scanners, or Print and Scan, as it would be on some older models. Here, under the list of available printers, select the plus sign.
Keep in mind that if you are using an older Mac model, you may also have to click on the Add Printer or Scanner option after clicking on this sign. Another thing you may also see is printers being detected by the computer under the Nearby Printers tab in the sub-menu.
If you cannot select the plus sign, try clicking the Lock button at the bottom of the open window and then type your password to confirm changes in the Print and Scan menu. After all the above fixes, choose your preferred printer, which will be visible in the Default tab of all discoverable printers.
You can select your preferred printer’s driver software in the Use field. Click Auto-select to download the correct one, then click Add.
– Adding a Printer to Your Macbook Computer via USB
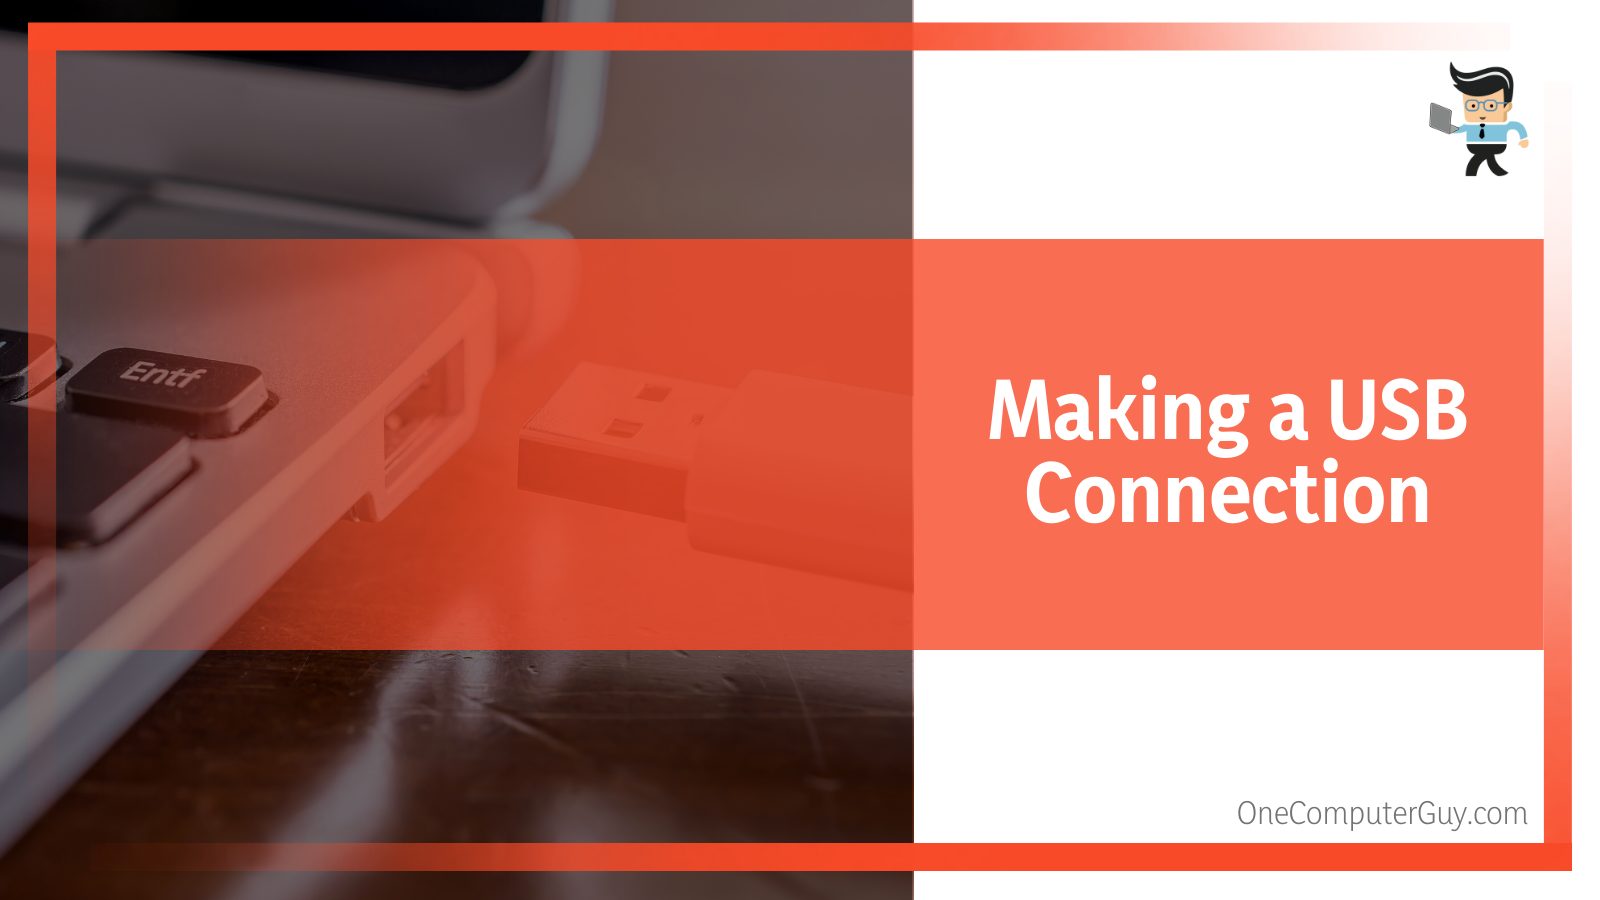
Making a USB connection is especially if you use a printer that doesn’t have the networking capabilities to make wireless links. This is also true in the cases of other printers, which can undertake wireless printing but need a USB connection to be set up on your computer.
To begin, insert your printer’s USB into your MacBook computer. The computer should auto-detect any printers in the connection and thus download the necessary software.
If that is not the case, then navigate to the Apple icon on top of your screen and then to System Preferences, where you will find and select Printers and Scanners. This may also appear as Print & Scan under the Hardware tab on older models.
When you click the plus sign below the printer list, you can choose the printer you want to add. Discoverable printers on the network will automatically list themselves in the Default tab, and from these, you should spot a printer name with a USB in the “Kind” column. Once located, select Add, and you have successfully installed the printer onto your computer system.
How To Delete Printers Using HP Uninstaller?
To delete your HP printer using the HP uninstaller, you must first download and install the relevant software from the manufacturer’s official website. You will also be able to uninstall and remove all software related to the printer and its drivers and finish off by wiping out the trash.
– Deleting the Printer From the System
The first thing you will do is go to the official website of HP and, from there, download the HP Uninstaller. To launch this software, navigate the menu bar and open the Uninstaller. After you launch the program, you must follow the instructions on the screen, and you will have the uninstallation completely done in no time.
During this process, you might face a prompt requiring permission for the changes needed for the uninstallation. To allow it, you must type in your password and username, after which the procedure will go seamlessly.
Be patient, however, as it usually takes up to a few minutes to thoroughly delete the files from your device.
– Deleting the Related Software
Removing the remaining software is mandatory as it could cause all kinds of performance issues on your computer. Using the official software to uninstall your printer and its drivers will do a thorough cleanup, but you will still have to delete the remaining data.
To carry this out, access System Preferences from the menu bar then navigate to the Printers and Scanners tab. Once you are on this screen, delete your printer’s icon and move on to the next step.
– Deleting the Remaining Cache
When it comes to removing everything related to the printer completely, there is still some work you will have to do manually despite the Uninstaller software.

One such step includes deleting all the service files and cached data available in various folders in the Library of your computer system.
Conclusion
We have come to the very end of our extremely detailed guide on removing the desired printer from your MacBook computer, discussing each step in elaborate detail from removing the cached data and driver software to uninstalling the printer itself. Let’s have a look at the concise summary of the things we covered in this article:
- To remove a printer from your MacBook, you have to uninstall the printer in question either through the manual process or you can also install the relevant uninstallation software from the printer manufacturer’s website.
- After uninstalling the printer, you must make sure you have deleted all the related driver software, but if you use the uninstallation software, it will take care of it automatically.
- You must ensure that you locate and uninstall printer-related cached data or service files related to the deleted printer.
- To finish up the removal process, you have to clear out the Trash folder on your MacBook computer so nothing in the printer remains in your device.
We hope that by going through all the factors above, you will know how to easily remove your printer from your MacBook and will not face any further issues. You can now continue with your work schedule without a hitch!

