
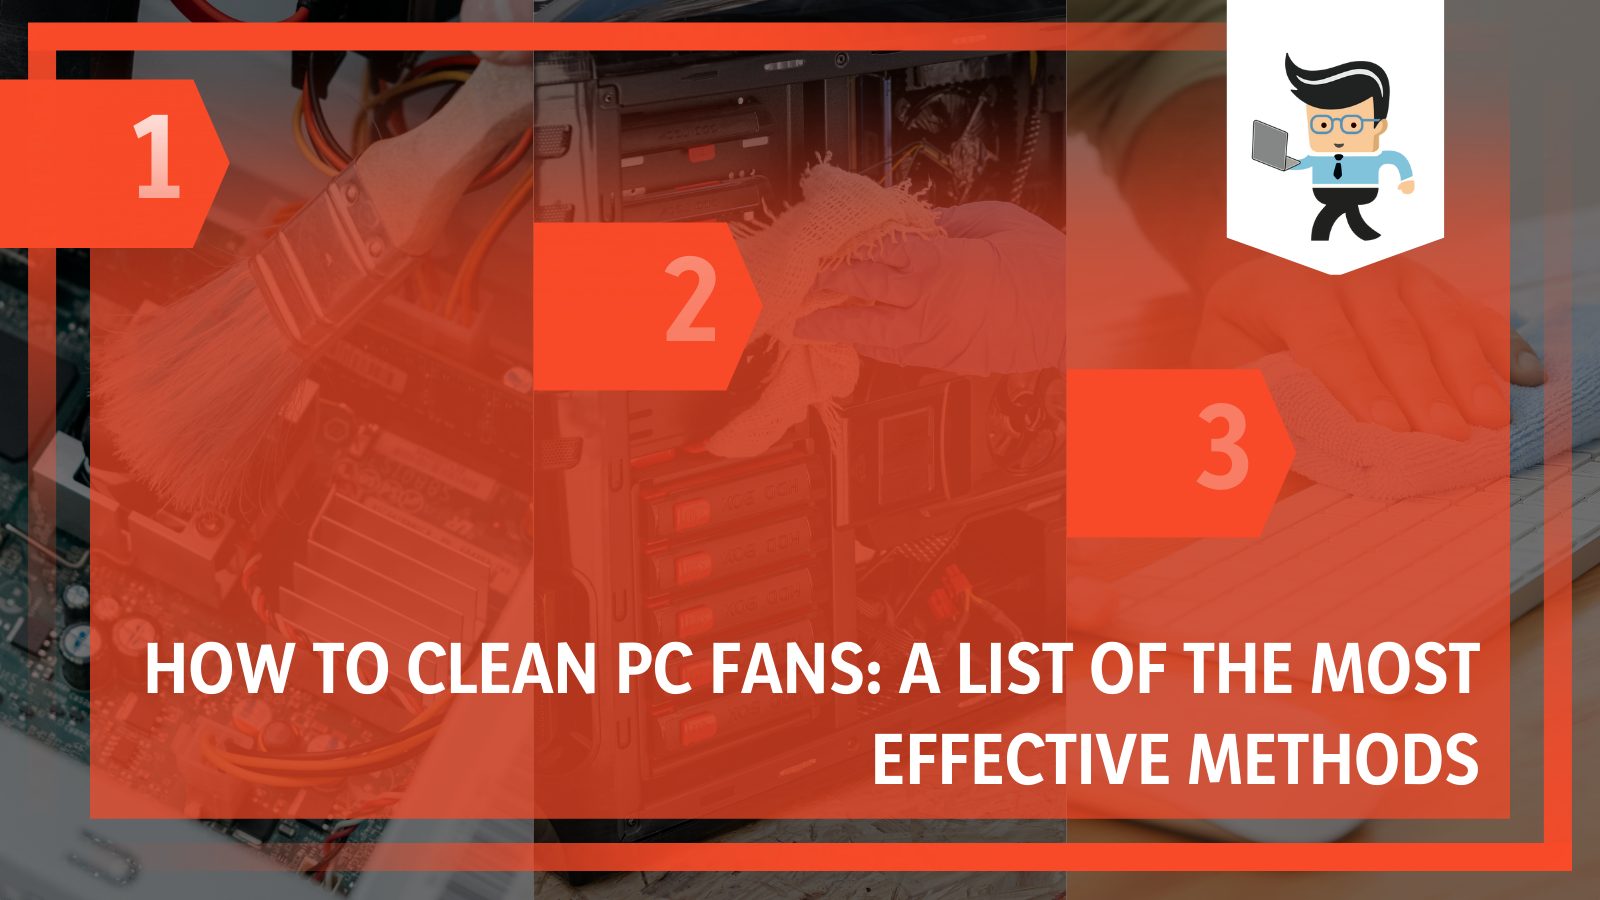
How to clean pc fans is essential information you need to keep on hand if you are a computer user. Computer fans with dust coagulated inside their system will function poorly.
This means the device’s heat won’t go anywhere, which, in turn, will negatively affect your PC performance.
Our expert-curated guide below covers all the different methods to avoid the deteriorating health of your computer fan.
Contents
- How Do You Clean Computer Fans Effectively?
- 1. Preparing for the Cleaning Process
- 2. Removing Your CPU’s Cooling Fans
- 3. Removing the GPU Fans on Your PC
- 4. Removing the Case Fans of Your PC
- 5. Removing the AIO Cooler Fans
- 6. Removing Your PC’s PSU
- 7. Cleaning Your PC’s Heatsink
- 8. Cleaning the PC’s Fans With Alcohol
- 9. Cleaning the PC’s Fans Bearings
- 10. Cleaning the PC’s Fans With Canned Air
- 11. Reconnecting All The Computer Fans
- Conclusion
How Do You Clean Computer Fans Effectively?
You can clean your computer fans using several methods like compressed air and alcohol, but most of these methods require you to remove the fans from your computer so you can clean them using different materials like wet cloths. After this, you will also need to reassemble your hardware.
Every computer fan has a specific Rotation Per Minute (or RPM) set. When dust accumulates inside the system, it cannot properly do its work, absorbing the temperature of the heatsink and cooling the CPU down. This happens because of the blockage of airflow within its system, and regardless to say, it can affect your PC performance negatively.
Not to worry, though, because luckily, there are many methods you can apply to solve this problem and get on with cleaning your computer fans with the best efficiency. The following sections cover everything you need to know to clean the fans in your desktop PC, as you will learn by reading on!
1. Preparing for the Cleaning Process
It is possible to clean your computer fans by using a can of compressed air without taking them out. However, the consequences of doing this are that your fan blades are still connected to the computer system, so it is more than probable that the dust will settle in various parts of your PC.
In addition to damaging the computer’s internal components, the dust will not be removed. It will contribute negatively to the temperature of the device.
Therefore, it would be in your computer’s best interests to remove the fans from the PC case before going through with any cleaning method, so we are going to discuss how to clean PC fans without compressed air.
Before you do this, make sure not to use any electrical device to blow out air because the components inside the computer could be damaged easily by the static electricity created. Such devices could include machines like hair dryers and vacuums.
After all due cautions have been taken, let’s find out how to remove PC fan. Start by carefully removing your computer from the power supply. Make sure you discharge all capacitors by pressing and holding the power button for around ten seconds. There are fair chances of having electrostatic discharge from your own body, and you can prevent this by being sure to ground yourself.
Now you can undo every screw that holds up the side panel of the PC case and then remove the board to access the computer fans inside.
2. Removing Your CPU’s Cooling Fans
To remove the cooling fans of your CPU, start by removing the cord that links the motherboard and the CPU cooler together. You can spot it on the motherboard by seeing the one that plugs into the CPU_FAN header.
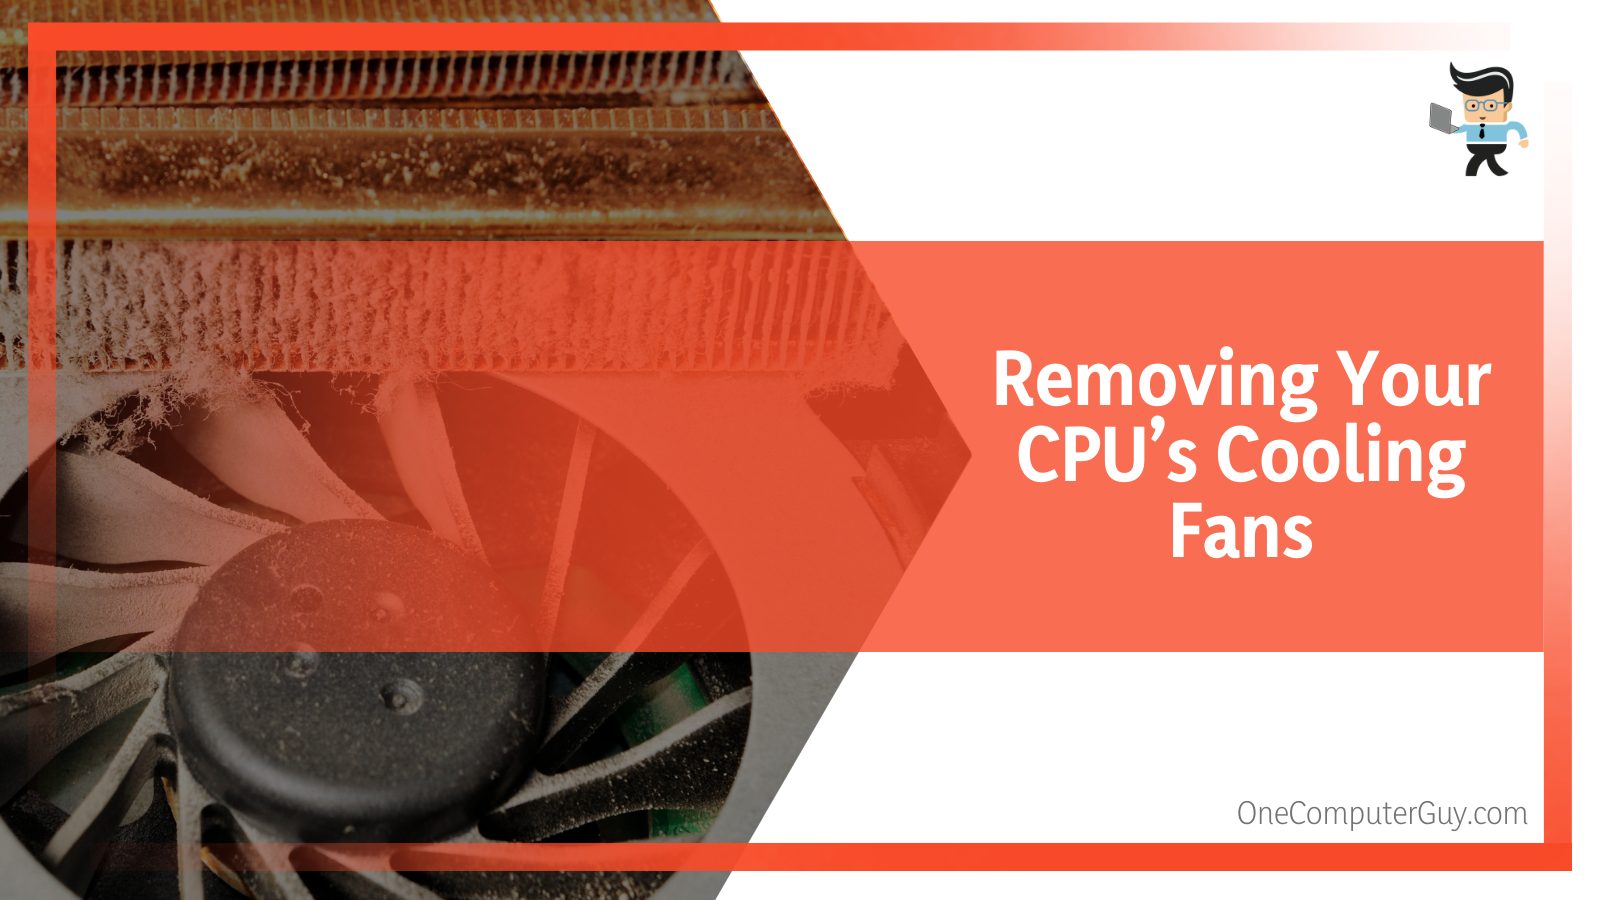
You will find plastic screws holding the cooler and the heatsink in four corners. Turning them in an anti-clockwise direction will loosen them and pull them out, after which you may pull the heatsink out but take care with being gentle.
It would be ideal for your computer performance to clean both the heatsink and the CPU fans as they generally are an attached package.
3. Removing the GPU Fans on Your PC
To remove the GPU heatsink and the related fan, you first have to remove the display card located in the motherboard.
After that, you will have to remove the screws that connect both components to the GPU plate, which you can spot on its back side. Take a look under the heatsink to make sure there aren’t any screws there, and if there are, be sure to remove them as well.
After removing all screws, you can also take out the fan and heatsink. Now you should be seeing two cables here. One cord would be for LED and the other for the GPU fan; you will have to remove both to finish up.
4. Removing the Case Fans of Your PC
To remove the fans from the case, you need first to remove the cable connection with the motherboard, for which you need to identify where the fan cables connect.
Depending on the type of CPU you are using, these cables are connected to either a controller (in case of an RGB CPU) or the SYS_FAN header that can be found on the motherboard.
The case fans can be found on the top, front, or back of the case. Because they are responsible for getting rid of hot air and accumulating cool air, they have to face the dust filter, making them the first component to gather dust.
So after removing the connected cables, you will have to remove the screws in the four corners, and you will now easily be able to remove the fan from the CPU.
Remember to be gentle with it, and check for any cables that might still be attached if the fan seems to have problems coming out quickly.
5. Removing the AIO Cooler Fans
Instead of an air cooler, you might be a user of an AIO cooler, so if that is the case, you will have to work on removing the AIO cooler’s fan . To achieve this, you can remove just the fan connected to the radiator or take out the whole AIO cooler.
In order to remove the radiator that holds the cooling fan, you will have to take out any cord that maintains a link between the motherboard and the AIO cooler.
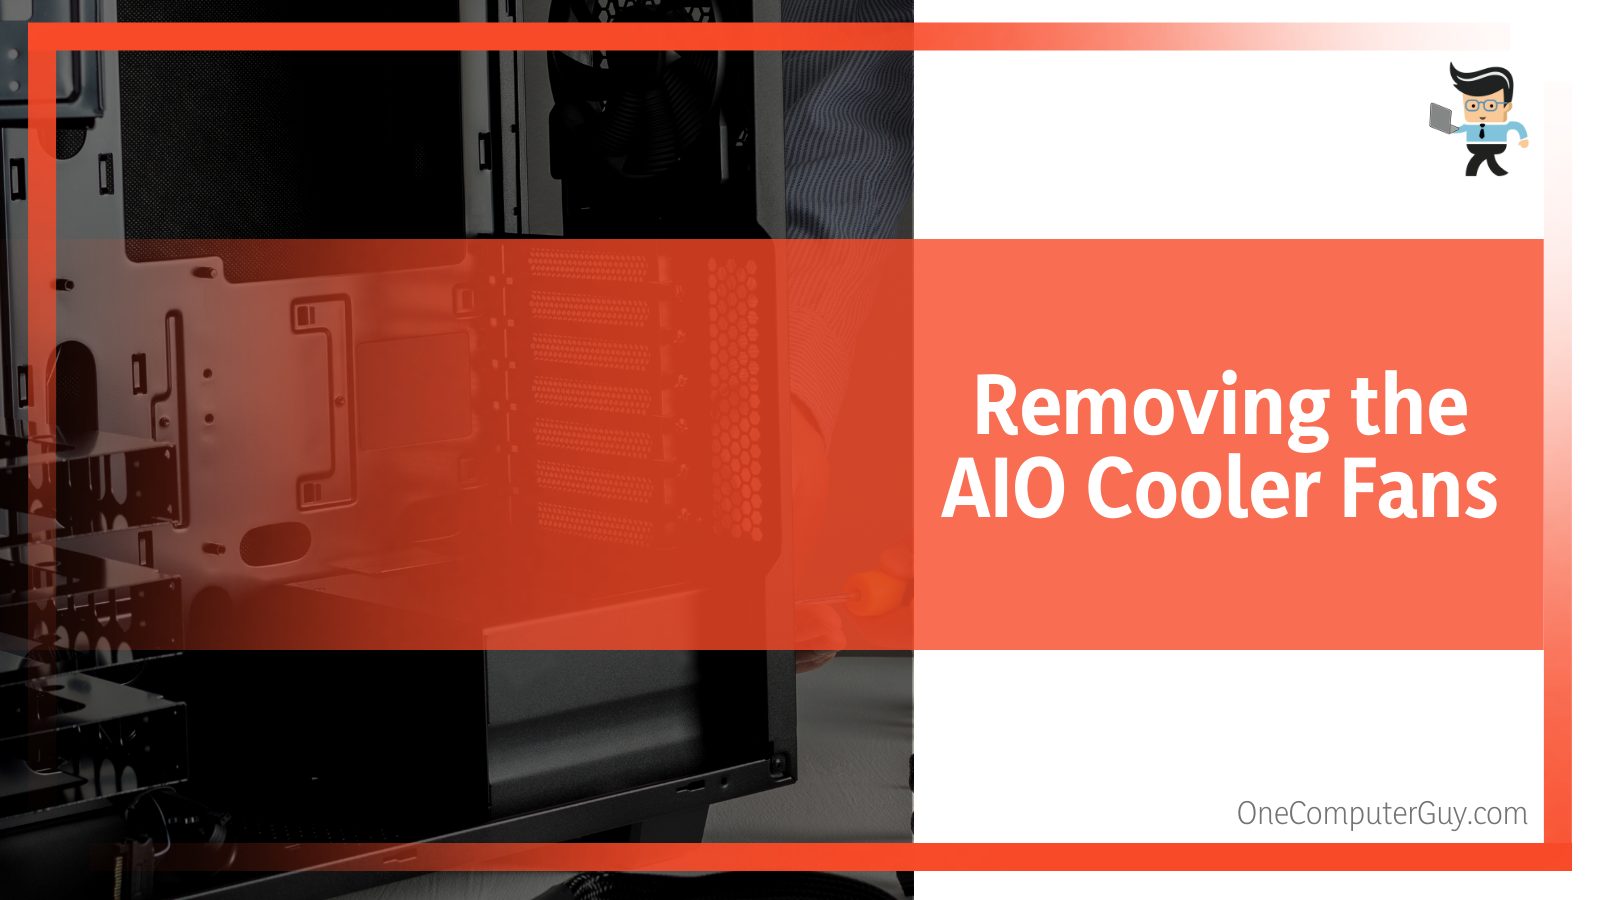
Like any other air cooler, you can find the connection of the cable in the CPU_FAN header. After removing the cable, take out any screws that hold the radiator together with the CPU case.
Once this is done, you can ease the radiator out of its place in the case and the cooler. A cooling pad here connects to the CPU, and it is up to you if you want to take it out too. If you do, apply the thermal paste again when you place it back inside.
To finish up your AIO cooler fan removal, undo all screws connecting the fan and the radiator, and you are all set for cleaning!
6. Removing Your PC’s PSU
To access the fans inside the PSU, you must first unplug any cables that connect the PSU to any part of your PC, such as the motherboard. After that is done, you will have to remove the PSU from its PC case, which you can achieve by undoing all screws. These will probably be found at the back of the case, and make sure you unscrew every last one.
You can clean dust off the PSU fans once you have taken the PSU out of the case. While it is possible to remove the PSU case wholly, it would be wise to avoid trying something like that because the danger of short-circuiting in this scenario could be fatal.
7. Cleaning Your PC’s Heatsink
Now that you have removed and separated all the components, you can start the cleaning process. To begin with the heat sink usually attached to GPU and CPU fans, you can start by taking some soap and water and applying it around generously.
A heat sink has no electrical parts, so it is perfectly safe. Once you are done, make sure to let it dry properly before you place it back and reconnect it.
Another method you could use to clean your heatsink is compressed air. For this, you will be taking the nozzle from the air can. Insert it into the heatsink, and make sure to blow plenty of air until there are no more dust bits left to blow out.
8. Cleaning the PC’s Fans With Alcohol
Canned air does get plenty of the work done, but there is still cleaning left. You can now use a cotton swab or an unused microfiber cloth to clean the fans. Taking some 70 percent ethyl alcohol and soaking your material well in it, begin to wipe all the bits that the canned air couldn’t get rid of.
As you do so, make sure to be thorough, especially with the corners. This is where dust is most likely to remain stuck. In case your microfiber cloth gets dirty and stained, you can change the side of the fabric, soak it in a bit of alcohol again and continue cleaning until you are satisfied.
9. Cleaning the PC’s Fans Bearings
One of the main reasons fans do not spin on their designated RPM is dust accumulated in the fan bearings, which are basically the parts responsible for the spinning. In order to get the bearing to get it cleaned up, you will first have to remove the logo of the company, which will be at the center of the fan.
Fabric and cotton swabs will not do the tricky job of cleaning bearings, which is why the ideal method would be to blow small puffs of compressed air into them.
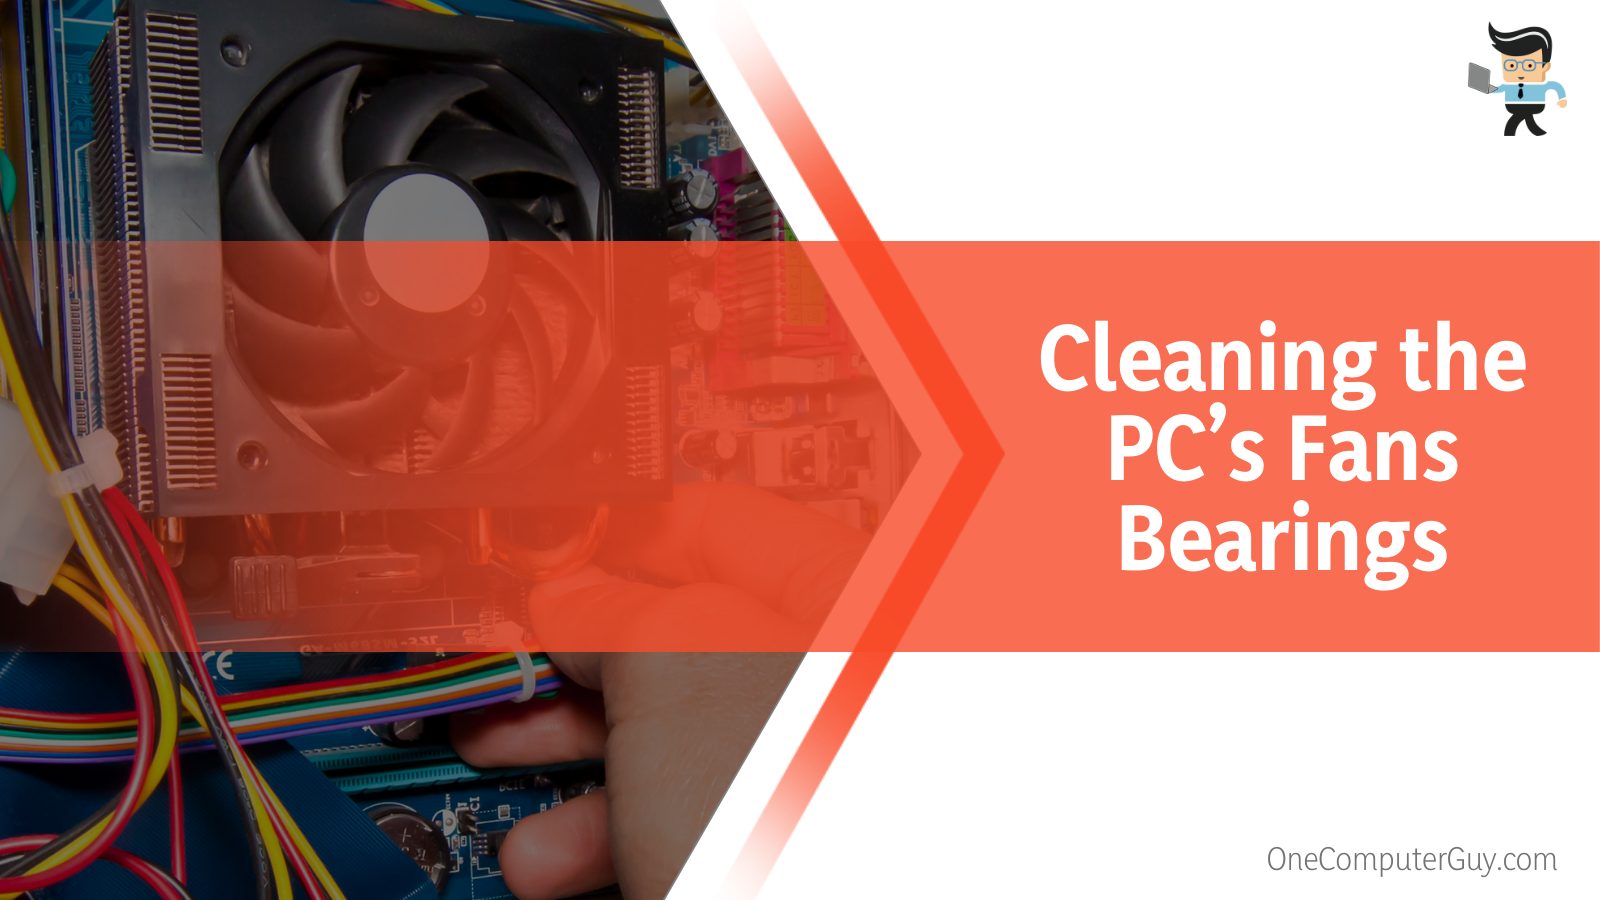
Even after a thorough cleaning, the RPM might not be satisfactory due to excess friction. You can eliminate this problem by using lightweight mechanical oil on the bearings.
Apply a drop or two of the oil, and gently spin the fans. Once they begin to turn with no restriction, you are good to go!
10. Cleaning the PC’s Fans With Canned Air
We have gone through a long list of sections, discussing the accurate removal of computer fans to achieve the best cleaning results. However, if you want to know how to clean a computer fan without taking it apart, then canned air is the answer. Nevertheless, there is a catch here that you won’t find in other methods: the accumulation of dust on nearby PC components.
If you are reading on to find out how to clean PC fans with compressed air, know that it is ideal to use the canned air at a certain angle and ensure you are not constantly spraying on the fans.
If you do this, the fan could start spinning at a higher RPM than it is supposed to, and it could be damaging. Instead, it would be better to use quick and short bursts of canned air to clean it without any risk.
11. Reconnecting All The Computer Fans
Once you are done thoroughly cleaning your computer fans, you will have to reconnect them. Start by screwing all case fans right where you undid them, and place the cable wires back in their respective headers. The CPU_FAN header will have the AIO/air cooler cable plugged in, while the SYS_FAN title will bear the CPU case fan cable.
As for all cables that are supposed to connect the graphics card to the GPU heatsink and fan, join them back to their place and re-insert all the screws you took out from the back.

This will attach the card to the GPU and back plate; you can then reconnect the motherboard and card.
Finally, all that is left to do is screw the PSU back into the PC case. Once you plug in the cables from the PSU to the motherboard, you have connected the PSU. Here is where your cleaning and reassembling will come to a fruitful end!
Conclusion
A good routine for keeping your computer and its fans clean would be to perform a cleaning process at least once or twice every year.
The health of your PC must ensure fans are spinning and clean so that no component comes in danger of overheating, and you can review our detailed methods in the quick list jotted down below:
- To achieve the most efficient cleaning, you must remove the various components of your computer fans and heat sinks.
- For the heat sink, you can thoroughly clean it by using soap and water or canned air.
- Depending on the different kinds of fan components, you can use canned air, ethyl alcohol, damp cloth, or cotton.
- Lubricating the fan’s bearings is vital to keep them functioning correctly and thus maintain the cooling temperature of your computer.
With this guide, you have now learned the many ways you can make sure to keep your computer fans in the best condition. If you are looking for a way to finally solve the troubles with dusty fans, we hope our article gave you some excellent advice on achieving the top results!


