
If you want to use SSD and HDD for gaming, you need to set them up properly on your hard drive so that everything works. By doing it correctly, you will have a better user experience and computer performance.
 However, most people who think they know how to configure SSD and HDD for gaming, but they really don’t. If you aren’t too computer savvy, this may feel a bit complicated, but it isn’t really that hard once you get down to it.
You can do this by yourself and you don’t need a professional, as long as you follow each step precisely. I recommend reading the steps through one time and then going through them.
Contents
How To Get SSD And HDD Setup For Gaming On Windows 10
As mentioned, setting up an SSD and HDD for gaming looks more difficult than it is. SSD uses flash memory to store data.
As it has no moving mechanical components, it isn’t likely to be damaged and hence enjoys better reliability. More importantly, at least for gamers, is that it performs better than HDD.
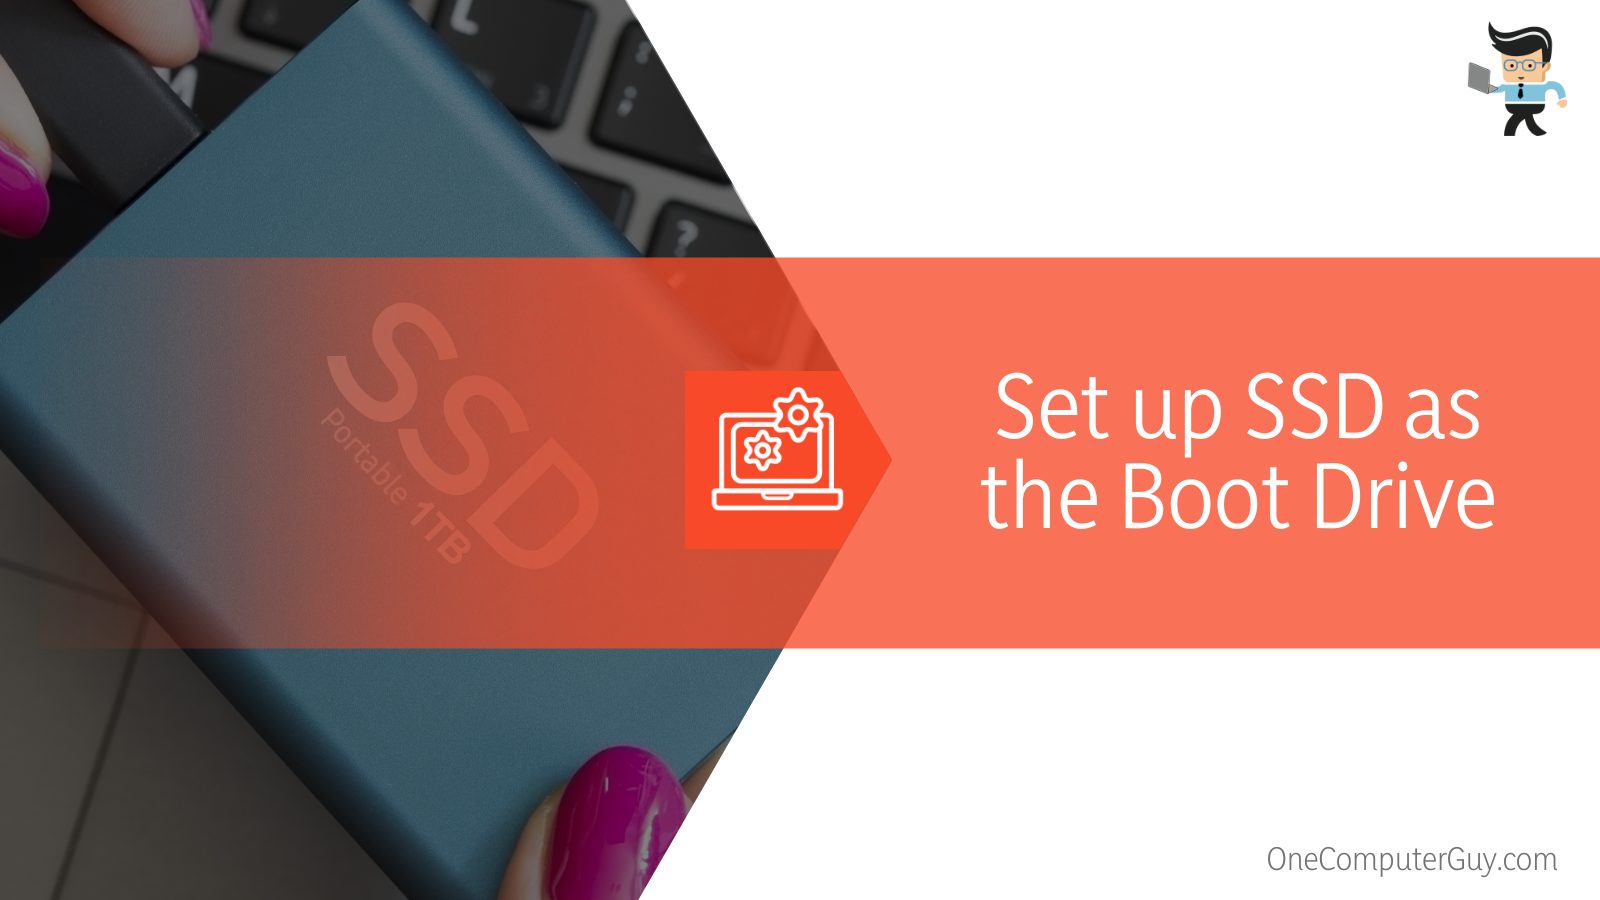
A PC that uses SSD as a boot drive will run faster, boot faster, and transfer files faster. It is less likely to get damaged and has greater reliability. This is why we suggest setting up your SSD as the boot drive.
Of course, the HDD is still important. It offers more capacity than an SSD does and it is far less expensive. You can choose HDD as a storage option or you can choose both. You will be able to enjoy the performance of the SSD by using it as the boot drive and the large capacity of the HDD by using it as the storage drive. This is the optimal SSD and HDD setup for gaming.
So how do you set up the SSD as the boot drive and the HDD as the storage drive? It isn’t all that hard as long as you follow our instructions.
Install HDD and SSD Together For Gaming
In order to set up your SSD as the boot drive and HDD as storage, you will need to install your operating system and the most frequently used software on SSD. Save all of your personal files, such as videos, pictures, music, and documents, to the HDD.
There are actually two ways to accomplish this task. You can install SSD with an existing HDD. Remember to back up important files to an external hard drive, just in case something goes wrong.
Move Your Operating System To SSD With A Tool Like MiniTool Partition Wizard
MiniTool Partition Wizard is one of the most popular all-in-one partition managers. It can help you to manage both SSD and HDD on your computer.
It is also a great way to manage everything from extending partition, resizing partition, converting MBR to GPT, aligning partition, surfacing tests, wiping disks, and more. It is also the perfect tool to help you to set up SSD as the boot drive and HDD as storage.
 Use the tool to migrate your operating system to SSD, and you will be able to use your older OS directly. All of the programs installed on your computer will then be copied to your SSD drive.
To migrate the OS to SSD, follow these steps:
1. Launch the MiniTool Partition Wizard. It may take a little time to boot up the first time you open it.
2. Click “Migrate OS to SSD/HDD” on the main interface.
3. This will start the migration process. It may take some time. Be sure to follow the next steps closely.
4. Choose a method to migrate the OS and then click “Next.”
a. If you want to completely replace the system disk with SSD, you should choose the first mode.
b. If you want to migrate Windows OS to SSD only, then you should the second mode. This will copy the system required partitions to the SSD.
5. Choose a destination disk that you will remember and click “Next.”
6. A window will pop-up, be sure to click on “Yes.”
7. Look over the changes that you are going to make.
8. Click “Next.”
9. This next page will tell you exactly how to book from the new disk. Be sure to read the note and make a note of anything that you won’t remember. Click “Finish.”
10. Click “Apply” on the upper left corner to allow the pending operations.
11. You will then have to change the BIOS boot order to boot from the SSD drive.
With this tool, it is easy to boot from the SSD drive. It takes just a few clicks. If you want to resize the SSD partition after you finish these steps, you can do that within the tool as well. If you have problems with your SSD at any time (such as freezing) you can perform the SSD alignment to align the SSD partition.
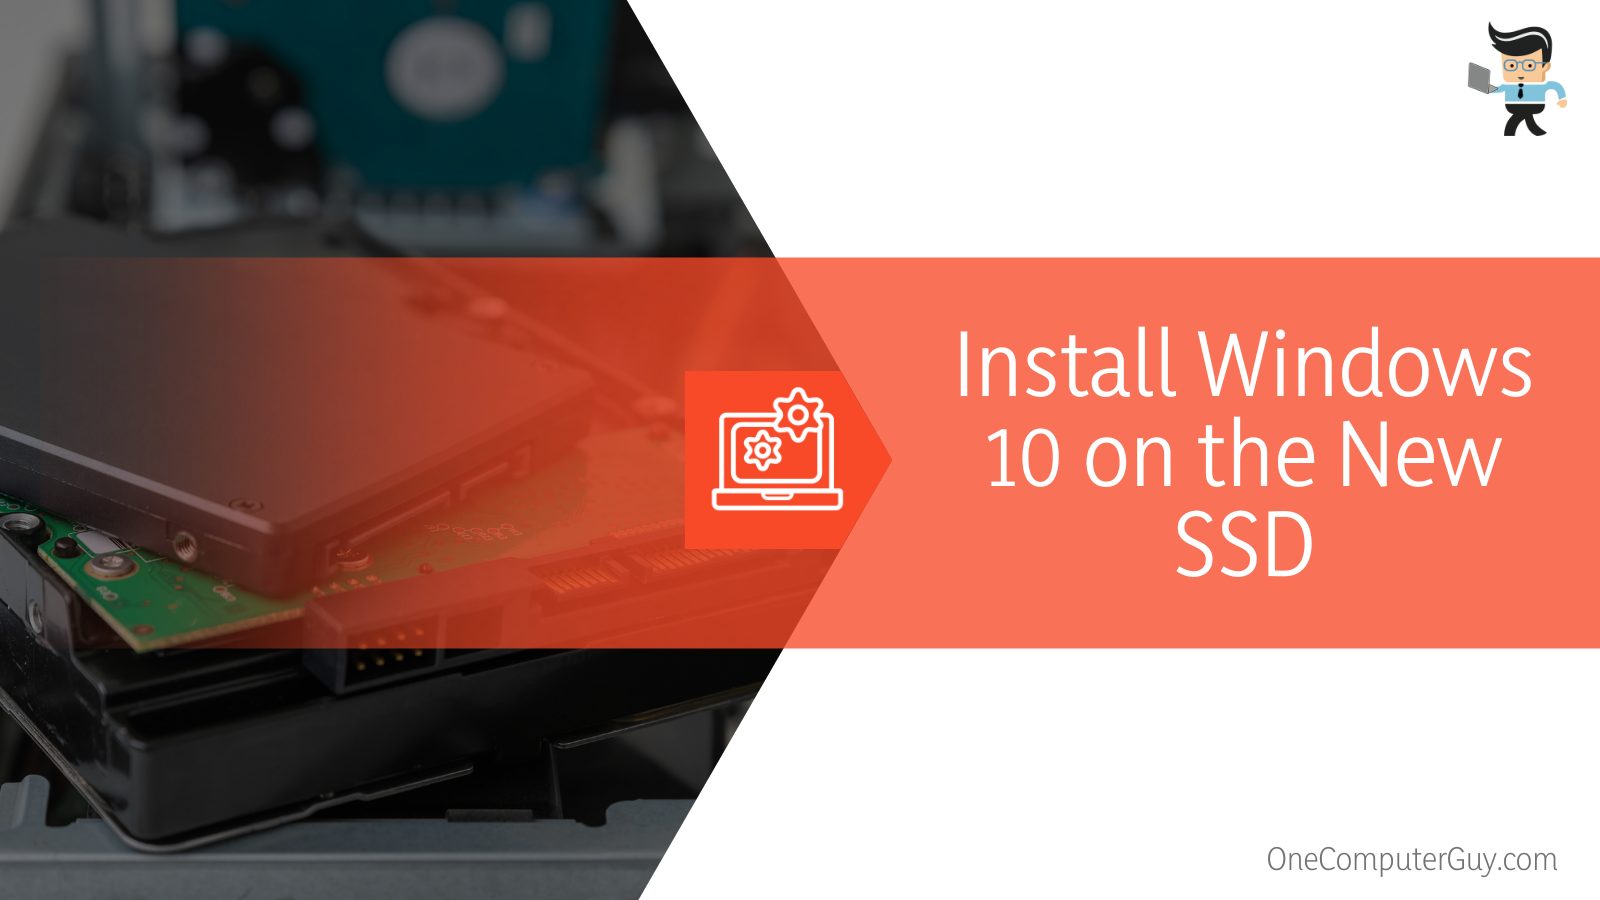
How To Install Windows 10 on the New SSD
If the want to set up the SSD as the boot drive and the HDD as storage without going to your older operating system, you can also try to perform a clean install with Windows 10 and the Windows Media Creation Tool. This is certainly the more complicated way to do it and it will take much longer, but it is still possible.
 Follow these steps:
1. The first step is to create a Windows 10 installation media bootable drive.
2. You can use the Windows Media Creation Tool to do this. Use the USB drive or a DVD disc to perform a clean install or to repair your unbootable computer. This isn’t difficult and will benefit you.
3. Prepare your USB drive and connect it to your computer. You want a USB drive that is clear.
4. Download the Windows 10 Media Creation Tool from Microsoft’s official website.
5. Launch the tool.
6. On the “What Do You Want To Do?” page, select “Create Installation Media (USB flash drive, DVD, or ISO file) For Another PC.”
7. Click “Next.”
8. On this next page, you will choose your Language, Windows Edition, and Architecture.
a. If you aren’t sure what your settings should be, you can just click on the “Use the recommended options for this PC” option. It will choose the options that match the PC you are using.
9. Click “Next.”
10. Choose the correct USB flash drive that you are using.
11. Click “Next.”
12. You will see a step-by-step wizard that helps you to create the bootable drive.
13. When you are finished, you will get a pop up that says “Your USB flash drive is ready.”
14. Click “Finish” to exit.
15. You will not boot from the USB drive.
16. Restart your computer completely. Give it time to boot everything up.
17. Enter the BIOS settings.
18. Set the USB drive as the first boot option in the BIOS.

19. Restart your computer again and boot from the USB drive.
20. Next, you will install Windows 10 from SSD.
21. Select your language preferences. Then, click on the “Next,” button to continue.
22. On this next page, click on the “Install Now” option.
23. Enter the license key and click on “Next.”
a. If you do not have a product key, you can click on that and it will skip it. You will have to enter a license key at some point. If you don’t enter one, you will have an Activate Windows watermark on the Windows desktop to remind you until you enter a key.
24. Accept all of the license terms and click on “Next.”
25. Choose the [Custom: Install Windows only (advanced)] option to perform a clean install.
26. Next, choose the SSD to install Windows 10.
27. Once your installation has completed, Windows 10 will reboot.
28. Go to BIOS to change the boot order so that you will boot from the new SSD.
You should now be able to boot from the new SSD successfully. You will be able to delete any partitions that you don’t think are necessary on the old HDD with the MiniTool Partition Wizard or any similar tool.
Everything should now be set up as you like. If you can’t do either of these methods or they seem too complicated, you should go to a professional and they can usually set it up for a fairly low price.


