
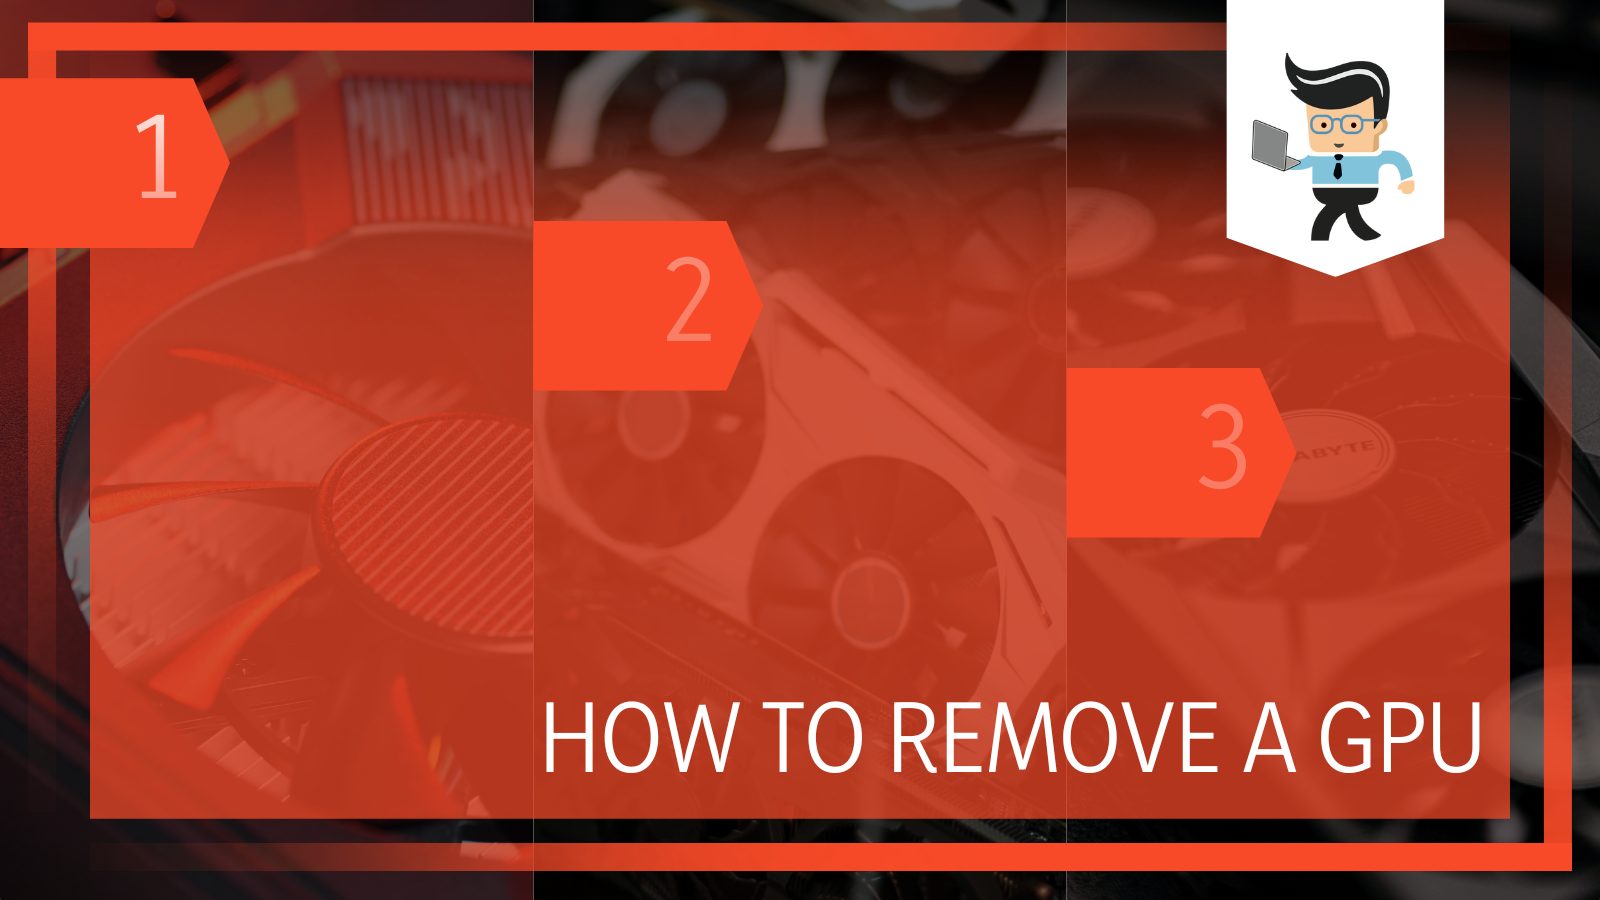
How to remove a GPU from the motherboard? People ask this question when they need to replace the existing GPU with a newer one, or they want to fix a broken GPU.
Either way, it is of utmost importance and is a sensitive task as the GPU is located on the motherboard, and any small accident can turn into a big blunder.
In this article, we bring you all the information on How to get to the GPU and, most importantly, how to remove the GPU safely from the motherboard without any damage, so let us get into the process.
How To Remove a GPU From Your PC Without Damage?
The process of removing a GPU from a PC sounds pretty easy and is actually very easy. People might be fretting at the start if they do not have prior experience with handling an open PC or its content, saying that they can’t remove graphics cards, but everything inside a PC is designed for a specific and unique purpose and is not that hard to deal with as it seems.
There are so many wonderful guides on how to get inside a PC and get to the part of your need. Anyone who has the will to operate on a PC can surely operate inside and on a PC with no trouble and a little guidance.
If you don’t know much, the full form of GPU is the Graphics Processing Unit and is one of the most important technologies inside a system. It is an electronic circuit that helps your system to manipulate memory to create the images inside a frame buffer.
This may sound very technical, but that is what the exact job of a graphics processing unit is.
Following is a step-by-step tutorial on how to get a GPU out of a computer system without any hassle and just a screwdriver:
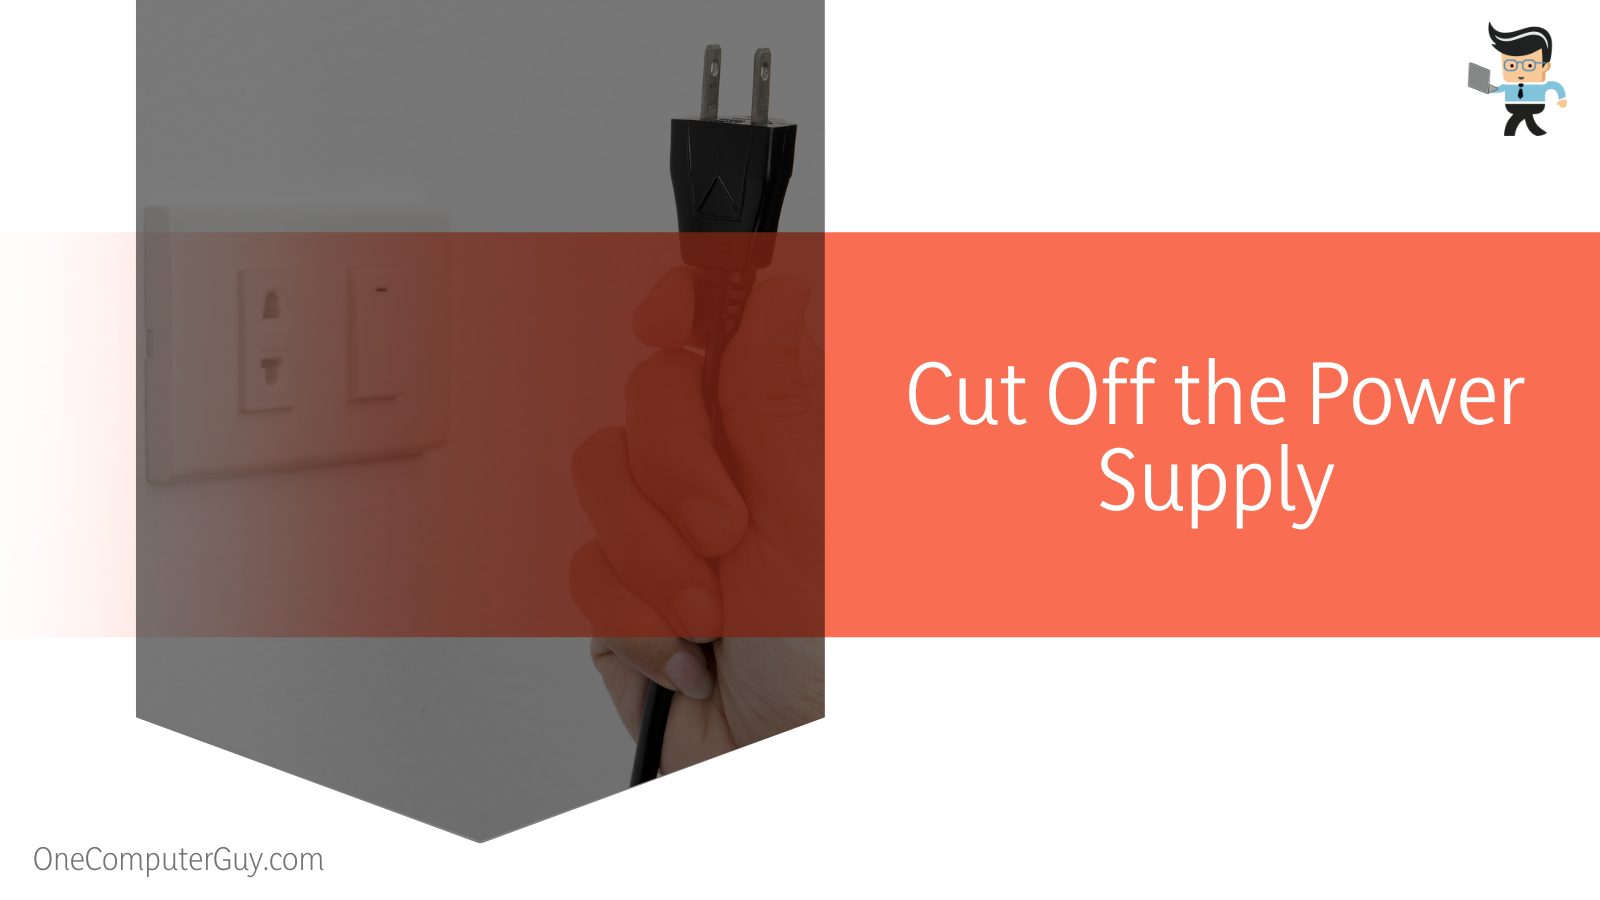
1. Cut Off the Power Supply
The first and most important step in this tutorial is the removal of all sorts of external wires going inside the PC and also all sorts of plugs that are responsible for the power supply.
This step is important because if you start opening your PC with the power supply on, you will surely get electrocuted and might also put the PC on fire. So in order for this to be a safe space for you to work and proceed, unplug the PC completely.
Also, before going forward, make absolutely sure that it is of utmost importance that you need to get the GPU out of the motherboard. You don’t want to needlessly rip out the GPU from the motherboard.
Another important tip here is to wait 20 seconds after you have stopped the power supply to plug out all the cables. This will give the cables ample time to drain the electricity and this will also ensure that there is no damage to the cables or any of the hardware.
2. Open the PC Case
The second step is to open the PC itself. Now, this step depends on a lot of what type of PC you are currently using and how to open it. For detailed instructions about specific PCs, head over to their website or tutorial so you can open the PC in the correct way possible.
The manual instructions should also be available inside the package that the PC came in but in case you have gotten rid of it, ask the company for it.
Generally, any PC can be opened with a nudge to the side or by any clips that you can possibly see on the sides. These clips should unclip without a problem.
3. Locate the GPU
The next step in the tutorial is the locating of GPU inside the PC and on the motherboard. The location of the motherboard will be different according to the make of the PC so it is important that you open the instructions given by the company to look for its location.
Another important thing here to notice is that the PC will have a lot of cables and hardware inside, so make sure to be extra cautious when you are looking for the motherboard so as to not damage anything sensitive.
After successfully locating the motherboard, you need to unplug any and all wires that are attached to it. In most cases, there will be only one wire that will be attached to it. In case there are more, remove all of them. This will ensure that the motherboard is safe to pick apart now.
The motherboard acts like a port where much different hardware, which is important to the PC, can be attached, like the GPU, floppy drive, and hard drive. It has a fan to cool down the system and also is responsible for the power supply.
4. Locate the Retention Clip
As soon as you have located the GPU and are ready to detach it, look for the retention clip. This will be a small clip on the side somewhere; again, it depends on the make of the products, which will free the motherboard. The motherboard will be held in its place by it, so it will be strongly placed. Make sure to give the appropriate amount of force on it and break it in the process of opening it.
The retention clip can be tricky to reach sometimes because of its small size and location. It should be present near the motherboard and not far from it. This small clip is such an ingenious piece of hardware that gets the job done.
5. Get the Screwdriver
Sometimes, unclipping the retention clip might not get the job done. In some cases, the motherboard is mounted and for that, you will need a dedicated screwdriver. Dedicated because the screws will be smaller than usual and with specific heads.
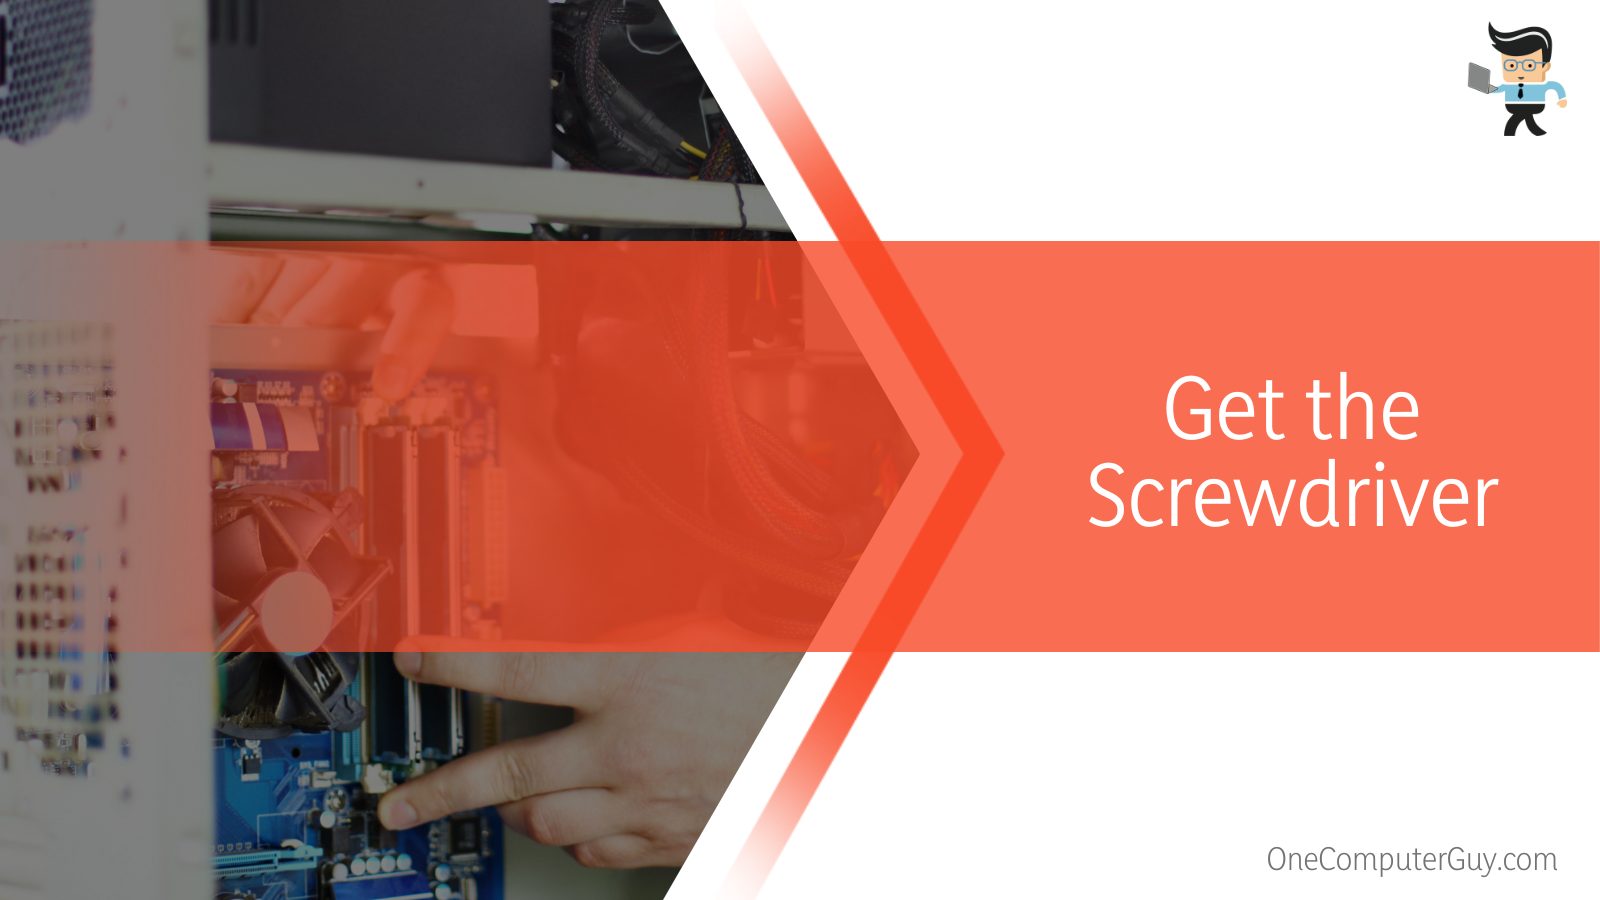
Make sure to get the screwdriver which will not be invasive and gets the work done. You can check up at your nearest hardware store for it or order one online.
What if you have no idea what type of screwdriver would work best? In such cases, the manual comes in very handy. The company’s manual will have a detailed overview of what type of screws are used and what you can use to open them. Now you can easily get your motherboard out.
6. Remove GPU
The last and final step after getting the motherboard out is removing the GPU from it. It should be fairly easy and would not require any sort of additional tool. Look how simple the whole procedure was. It may seem scary at first if this is your first time but remain calm as there’s nothing to be scared of.
After you have successfully removed the GPU, you can place a new one in its place, and viola, you have successfully removed the old GPU and replaced it. Make sure to attach the motherboard back in its place in the exact way it was before, and also mount it back if it is required.
Make sure that all the screws that you have unscrewed are placed properly back on also, those little things can get lost in a second, so make sure you keep them safely until you have to put them back on.
This was the tutorial on how to remove the GPU from a motherboard of a PC. Make sure to follow it thoroughly for the best results and undamaged hardware. Placing a new GPU in place of the old one will effectively replace the GPU.
FAQs
– How Much Does a New Graphics Processing Unit (GPU) Cost?
A GPU from a good company will cost you around $1600 to $2000. This is the standard price range for any graphics processing unit. You may get a used card that might be cheaper in price, but there would be no working guarantee.
It is always best to tally and compare prices from different vendors before you make up your mind on an expensive purchase, and the same is the case with the GPU. Make sure that it is of absolute need that you replace it with a new one because nothing can beat the original one that came from the company with the PC.
– Are All Graphics Processing Units (GPU) Removable?
Yes, every GPU connected to your motherboard can be removed easily with the use of only a screwdriver and a few sane decisions. The GPU is never mounted to the motherboard, which would make it non-removal, so we can say that all GPUs are removable.
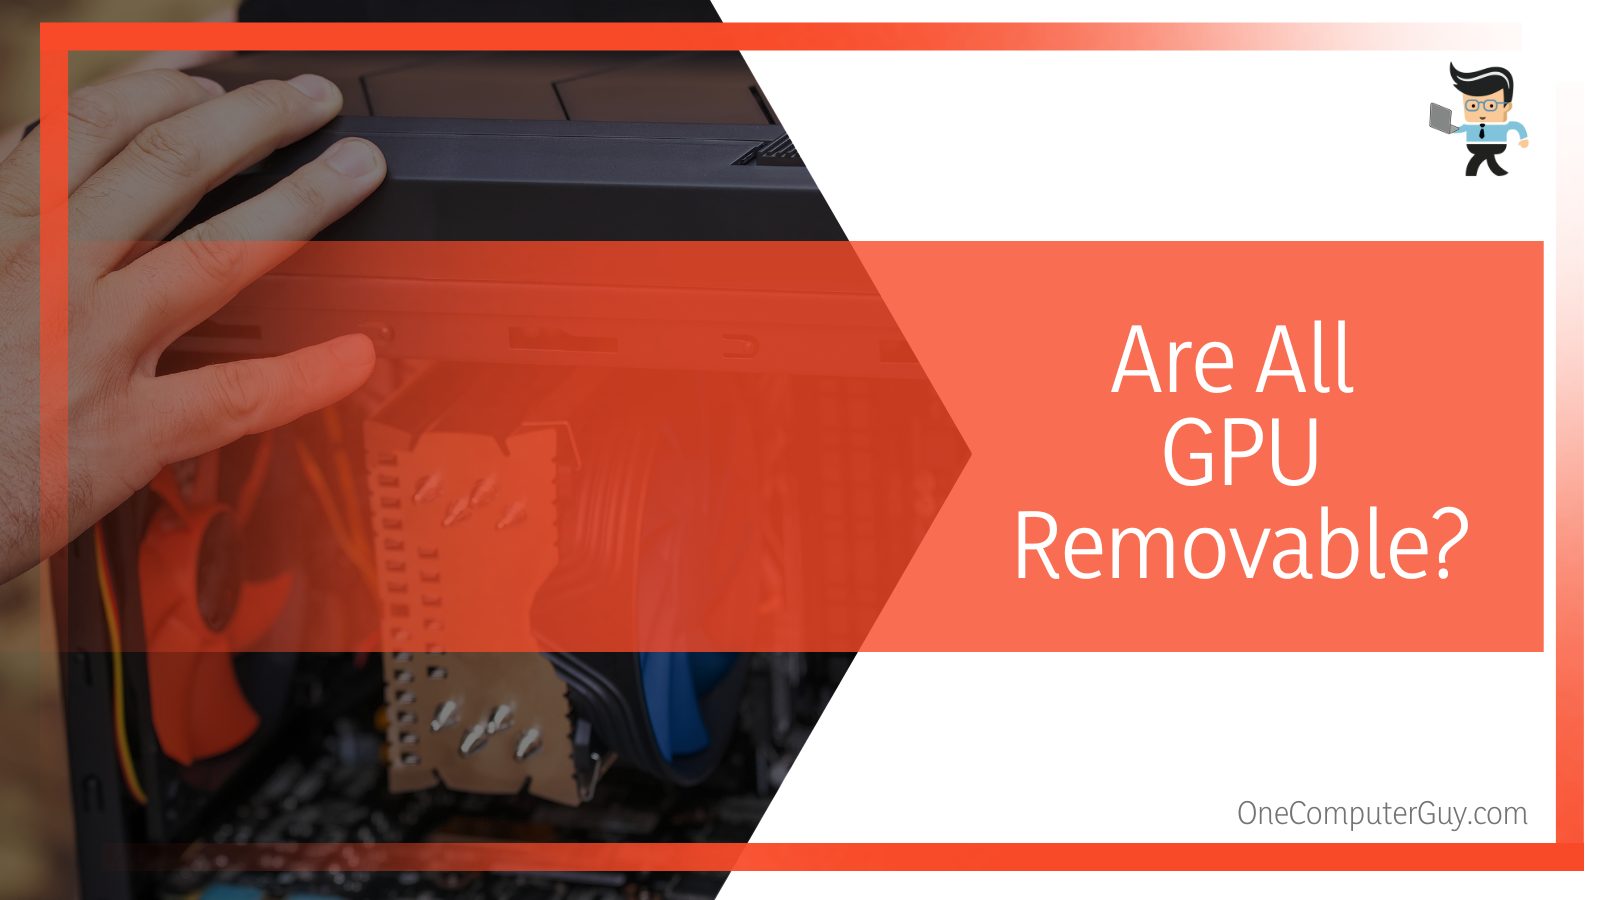
The only time you may find it hard to get the GPU out is when it may be blocked by some other part of the hardware. In this case, you will first have to remove the other parts and then get to the GPU.
Almost all the parts inside a PC can be removed and put back together without any problem. Also, every part of a PC is replaceable, so if you accidentally break something or want to modify anything, there is no problem at all.
– In What Cases Do You Have To Remove A GPU?
There could be various cases in which you could have to remove a graphic processing unit from your system, including if you have planned to step up your graphics game. More reasons can include cleaning the unit and also repairing it.
To clear the confusion, CPU and GPU are two very important parts of a computer, and they must not be considered as each other’s synonyms. Unlike the GPU, you cannot remove the CPU from the motherboard because it is soldered to it. You would have to change the motherboard if you want to change the CPU altogether.
Conclusion
These were the six simple steps to follow if you want to remove the GPU from any kind of PC from any manufacturer but if you missed the main points, here is a conclusion report:
- You can remove the GPU from any motherboard because they are not soldered on but are only attached to it via a port.
- The motherboard can be freed from the PC by a small clip that unclips easily and frees the motherboard for you to take out.
- The screws that shut off the PC’s case and sometimes hold the motherboard in place are quite easy to lose, so make sure you keep them safe.
- If you want to replace the GPU, just place the new GPU in the old GPU’s place on the motherboard and attach the motherboard right back in.
Here we come to the end of the article about removing the GPU from the motherboard. We hope that this article was informative and helpful for you. Make sure to be very mindful while taking your PC apart.


