
Are you thinking about how to install a second SSD on your computer? This guide will show you how to do it the easy way right now! Whether you want to install it as a faster primary drive or create a secondary storage location for your data, we’ll walk you through the process of installation and configuration and provide some tips on getting the most out of your new drive.
 So if you’re ready to supercharge your computer’s performance, read on!
Contents
How to Install a Second SSD on Your Computer?
You can add an SSD on your computer using these steps:
- Sort out the necessities
- Turn off your pc and unplug the power source
- Open the CPU case and locate the drive bay
- Place the SSD
- Find SATA connector
- Deal with the final plugins
- Check if the installation was successful
– Sort Out the Necessities of How to Install a Second SSD
Before you jump into the process of installing a new SSD, there are a few things to take care of.
Although most people tend to ignore these up front, the same can cause issues in the later stages. That being said, make sure you’ve got all the necessities sorted.
-
Physical Space for Installation:
The first thing that should be checked is if your computer has an available drive bay for one. Usually, the size of a regular SSD sits somewhere around 2.5 inches.
If not, then buy yourself some 2.5-inch caddies. Don’t worry; they’re cheap and easy to handle.
-
Motherboard Data Connection:
The next thing to take care of is the data connection to your system’s motherboard.
Keep in mind that you won’t be able to understand how to install a second SSD Windows 10 if the desired system’s motherboard lacks an empty Serial ATA port.
Undoubtedly, modern-day desktops feature the required data connections occupied, but exceptions do exist.
-
Power Supply:
Needless to say, your second SSD will also require power, just like the primary utility.
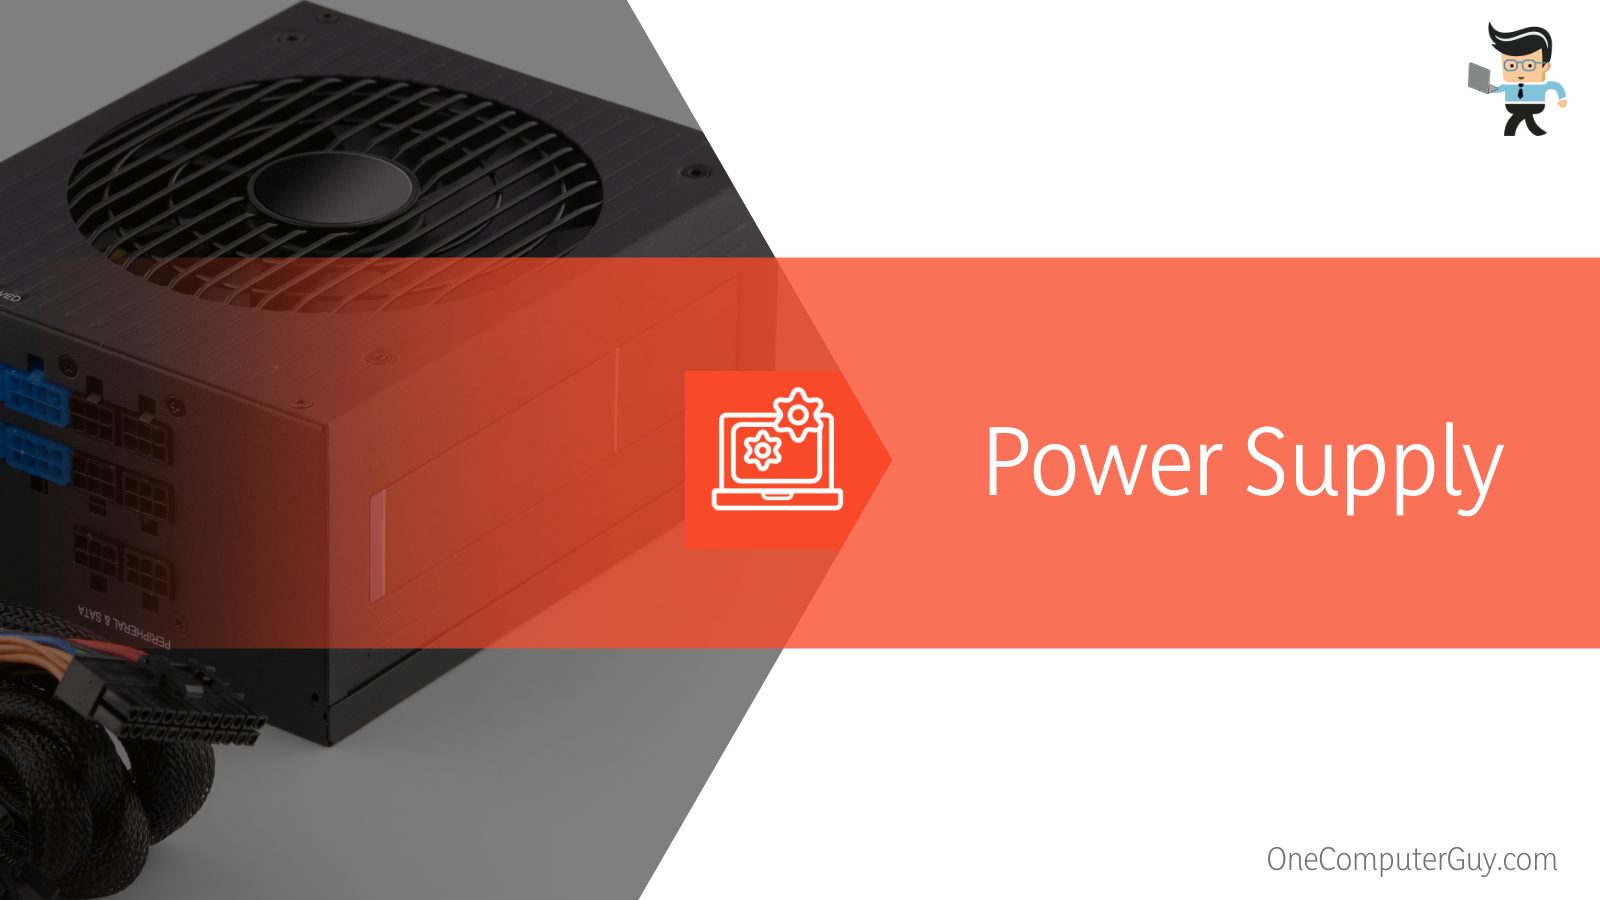 The system’s PSU being the ultimate source of power, you’ll need dedicated cables for concluding the connection.
-
Disclaimer:
If you tend to pick M.2 SSDs, there is no real need to worry about the energy supply.
Yes, M2 drives connect directly to the motherboard and drive the required power from there.
If and when you fail to free up the required SATA connection, opting to learn how to install a second M.2 SSD is your last resort.
The M.2 SSD makes you look at a small form factor solid-state drive, aka SSD.
It is usually used in internally mounted storage expansion cards. These pieces of equipment conform to computer industry specifications designed for high performance within sleek builds.
M.2 SSDs are generally more compact than other comparable drives such as mini Serial Advanced Technology Attachment (mSATA).
One of the main advantages of M.2 drives is that they can be much faster than traditional SATA SSDs.
NVMe SSD drives, in particular, offer extremely fast data transfer speeds and can greatly improve a laptop’s or other device’s performance.
Another advantage of M.2 SSDs is that they are often available in very small form factors, making them ideal for use in ultra-thin laptops and other space-constrained devices.
– Turn Off Your PC and Unplug the Power Source
Once you confirm that you’ve sorted all the prerequisites, head over and install a second SSD. First things first, turn off your PC, in case you haven’t already, and unplug all the power cables.
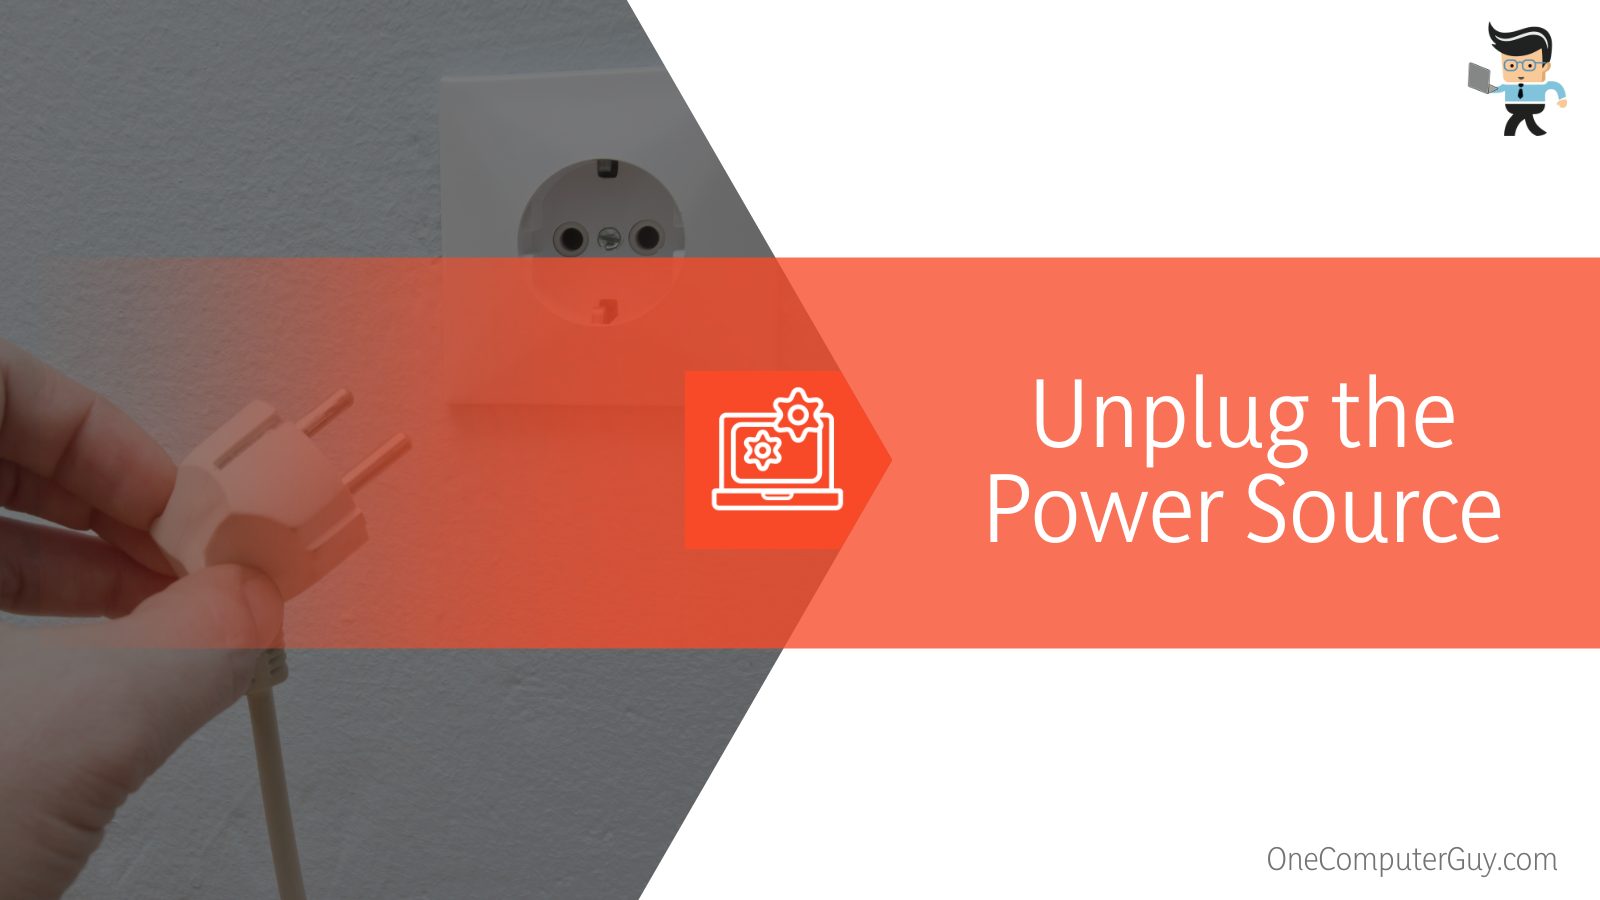 Even after doing so, the risk of experiencing the discharge static prevails. That being said, using an anti-static wrist strap is considered a promising practice.
– Open the CPU Case and Locate the Drive Bay
Next up, carefully open the CPU case where you want to install the second SSD. After that, locate the exact bay where the device should fit. As already mentioned, when and if you don’t see any available 2.5-inch drive slot or bay, just buy a 3.5-inch adapter for the concerned SSD and also a 3.5-inch bay for the same.
– Place the SSD
There are computers or CPU cabinets that come with a drive caddy; find and install the SSD there. But if yours doesn’t have one, then just put your SSD inside the bay and screw it down tight!
Remember, some models also have built-in fasteners like handles which you can twist or flip before placing into their respective slots on either side of an empty enclosure.
– Find SATA Connector
Once the placement is sorted, the next task is looking for the SATA power connector. You’ll find it within the motherboard itself.
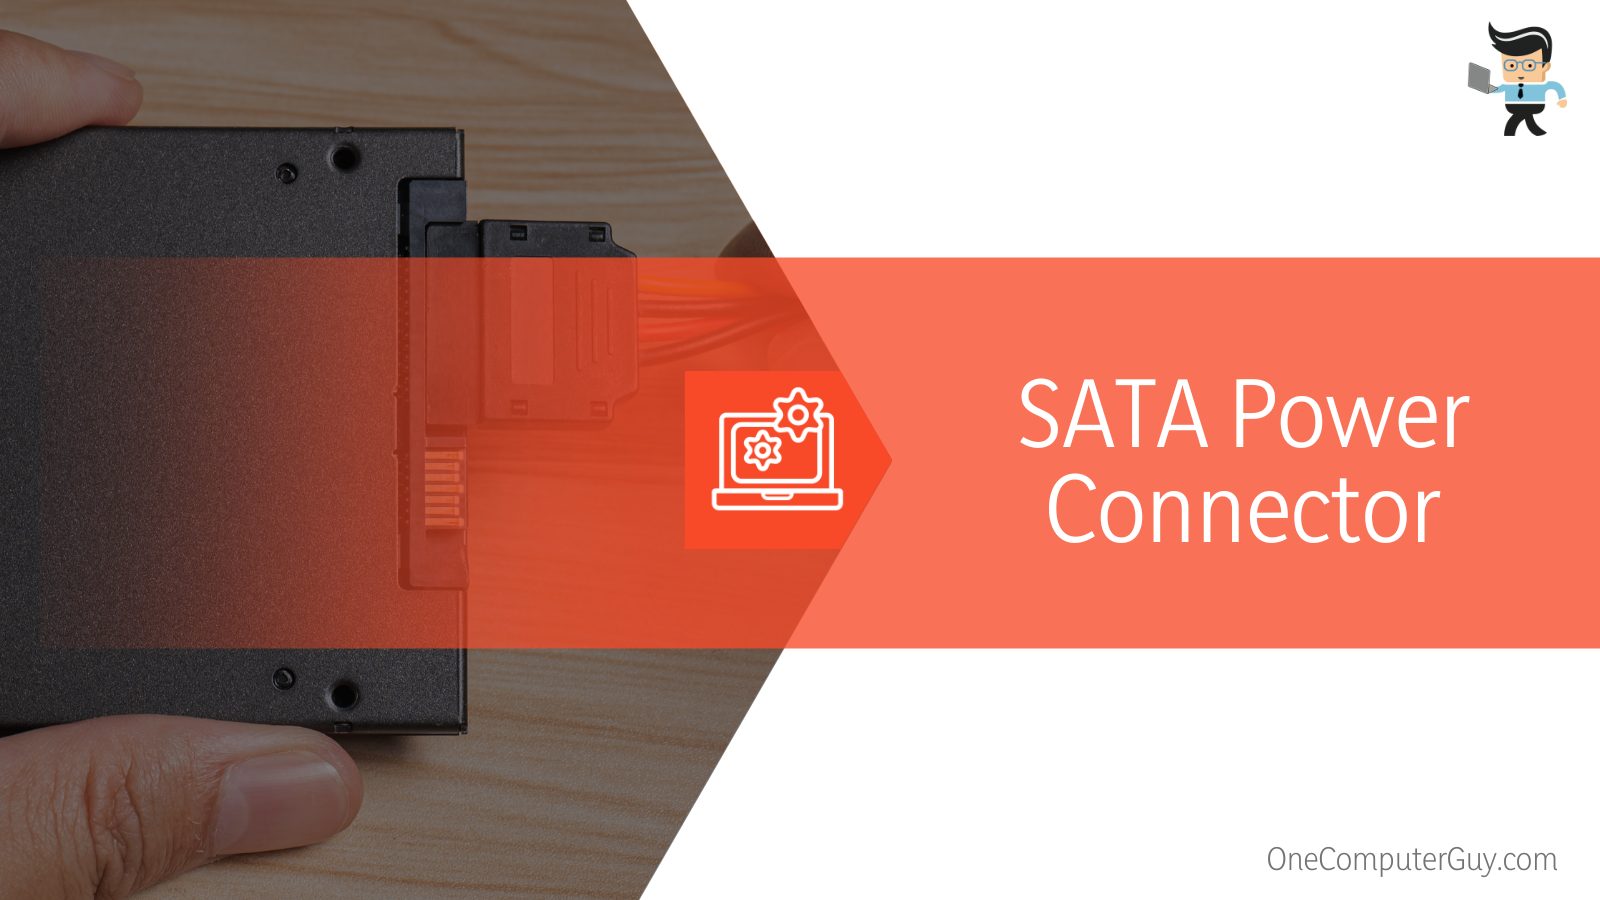 It is essential to keep in mind that the unavailability of a SATA power connector leaves you with the sole option of employing either a Molex or a power splitter.
– Deal With the Final Plugins
Here what you’ll need to do is plug your SATA data and also the power ports into your system’s SSD drive. Be careful and consider the orientation of the available connectors. This will help you install the requisites in the right way.
– Turn On Your Computer and Check if the Installation Was Successful
With final plugins, you’re done with the physical installation. Having said that, it is time to assemble your PC and turn it on. From there, check if the installation was successful. If not, repeat the process.
How to Install a Second SSD on Your Laptop?
The process of installing a second SSD in a laptop or PC remains the same:
- Turn off the laptop.
- Open the case and locate the laptop’s optical drive HDD.
- After you have access to the device’s Hard Disk, switch it to a new SSD.
- Put your SSD in your caddy and position it back there.
- Boot up your laptop and check if everything is working fine.
Setting Up the New SSD on Your Windows Computer/Laptop
You’ll get to understand that the installation process is successful once Windows 10 recognizes the new drives.
But wait! You’re not ready to use the SSD yet. Here is how you’ll need to set it up after you install SSD on the system to solve the second SSD not showing up problem
– Step 1: Log in to Your Computer
The first step is starting with logging in to your computer following the below steps:
- At first, boot up your PC.
- Wait for it to load.
- Input the system password (if any) and continue
 – Step 2: Access the Disk Management Menu
Once you’re inside your system, look for the Device Management menu. One way of doing it is by accessing the Control Panel screen and locating and launching Disk Management from there.
Alternatively, what you can do is simply use the Windows key + R key combination and launch the Run utility.
Now hover over to the search field and type diskmgmt.msc. Next, select the OK option. You’ll now find yourself inside the Disk management menu.
Quick Tip: If you install Windows 7, pressing the Start button and then right-clicking on the Computer icon followed by tapping Manage will land you on the Management option.
– Step 3: Initialize Disk
Now let’s start the initialization process:
- Clicking on the Device Management option will open a new window.
- Search for something that says GPT (GUID Partition Table)
- From there, click on the OK option and continue.
Again, if you’re on Windows 7, you need to select the option that says MBR (Master Boot Record). Click Next and continue.
– Step 4: Find the New SSD
Now you’ll need to initiate a search for the newly installed SSD. To be honest, finding the same is pretty easy. That’s because it is most probably the only unallocated drive.
- Post finding the drive, take your cursor to it, and right-click. From the list of options that pop up, pick New Simple Volume.
- After that, click Next and head over to the next step.
– Step 5: Check for Errors and Verify
Remember, any new drive comes with two sets of numbers. You should always ensure that both match each other for seamless functioning. After you’re satisfied with that, find and select the “Next” button.
 If you need to create multiple partitions on the newly installed SSD, simply input the desired partition size.
– Step 6: Final Optimizations
You are finally finished with the process:
- You’ll notice your drive letter. Furthermore, you can either choose to go with it or else change the same according to your liking.
- Click Next and continue
- Then input a Volume Label followed by clicking Next one last time.
- Finally, once the information verification process is all sorted, you’ll have your SSD up and running.
Understanding the Importance of Partitioning Your SSD
When you first get your hands on a solid-state drive (SSD), the amount of storage space can be exhilarating.
After years of using traditional hard disk drives, it’s easy to get carried away and believe that you’ll never fill up your SSD.
However, it’s essential to resist the urge to hoard data and instead focus on partitioning your SSD for optimal performance on your Windows 10 or older system.
Partitioning is the process of dividing a hard drive into separate sections, each of which can be accessed independently.
By creating partitions, you can ensure that different types of data are stored in different areas of the drive, which can help to improve speed and reliability.
In addition, partitioning can also help to protect your data in the event of a drive failure.
So, while it may be tempting to fill up your new SSD install with all of your data, it’s important to remember the importance of partitioning for optimal performance.
In a simple theory, the partitioning activity will not affect your SSD’s overall performance.
But then again, the same can significantly benefit the device’s lifespan. So in case you want your SSD to be durable, adopt the habit of partitioning.
Quick Tips for an Optimized SSD Performance
 If you’re looking to get the most out of your solid-state drive, you can do a few things to optimize its performance. Have a look at these and understand what:
- Keep your SSD clean and free of clutter. Regularly deleting unnecessary files and programs will help keep your drive running at peak performance.
- Defragment your SSD regularly. This process helps rearrange data on the drive so that it can be accessed more quickly and efficiently
- Update your SSD’s firmware regularly. Newer versions of firmware can improve performance and stability, so it’s important to stay up-to-date.
- Use a good quality SATA cable. Cheap cables can cause data transfer bottlenecks, so it’s worth investing in a good quality one.
- Avoid using your SSD as a scratch disk. If you do heavy file editing or graphics work, it’s best to use a separate hard drive for scratch files.
- Disable fast startups as SSDs don’t need all these.
- Make sure the Advanced Host Controller Interface is enabled.
By following these tips, you can ensure that your SSD always performs at its best.
FAQ
1. What Is the Difference Between SSD and HDD?
SSD and HDDs are two popular types of hard drives with different operational approaches.
Yes, the ultimate goal remains the same, but they store data in different ways. HDD stands for the hard disk drive and uses spinning disks to store data.
SSD stands for solid-state drive and uses flash memory chips to store data. Here are some of the critical differences between these two types of hard drives:
- Speed: SSD is much faster than HDD, which is essential if you’re looking for a computer that can boot up quickly and handle demanding tasks.
- Durability: SSD is more resistant to physical shock and vibration than HDD, making it a better choice if you’re looking for a hard drive that will be durable enough to take on the road.
- Capacity: HDD typically offers more storage space than SSD, so it may be the better option if you need to store a heavy volume of data.
- Price: SSD is usually more expensive than HDD, although the price difference has been narrowing in recent years.
Knowing the difference between SSD and HDD can help you choose the right type of hard drive for your needs.
2. Can You Use Both SSD And HDD at the Same Time?
The simple answer is yes; you can use both an SSD and HDD at the same time. In fact, many computers come with both types of storage drives installed.
The main benefit of using both an SSD and HDD is that you can take advantage of the speed of the SSD for frequently accessed files while storing large files or infrequently accessed files on the HDD.
Learning how to use the second hard drive for storage Windows 10 and the primary SSD for the system can boost the overall system performance.
However, there are a few things to keep in mind if you’re considering using both an SSD and HDD.
 First, you’ll need to make sure that your computer’s motherboard supports two storage drives. Additionally, it’s important to note that most HDDs are 3.5 inches, while most SSDs are 2.5 inches.
As a result, you may need to get a special adapter or bracket in order to install an SSD in a 3.5-inch drive slot.
With these considerations in mind, using both an SSD and HDD can be a great way to get the best of both worlds when it comes to speed and capacity.
Conclusion
So there you have it – a simple guide to installing an SSD on your computer.
In case you’ve dedicated your time until this point, it has for sure given you the confidence to go ahead and do it yourself! A quick recap to help avoid any blunder:
- At first, out all the requisites. Make sure your CPU cabinet has the required space and motherboard data connection features.
- Turn off your computer and carefully install the SSD.
- Post-installation, make sure your OS recognizes the drive.
- After that, set up the new SSD from the disk management menu, and you’re done.
We hope this post was helpful in helping you understand how to install a second hard drive Windows 10 system.


