
How to fix broken key on laptops would be necessary information, especially if you are dealing with a damaged button on your laptop’s keyboard. While there is an excellent chance of your device’s software being the culprit in this case, it could also mean something wrong with the physical components of the keyboard.
This could be due to the accumulation of dust or dirt clogging the internal mechanism or any other parts being broken. Since a damaged keyboard button could significantly affect your workflow, you will need to learn the most effective ways of fixing it, which will be discussed in the article below!
Contents
How Can I Fix a Broken Key on My Keyboard? For Both PCs and Laptops
You can fix a broken key on your keyboard, whether it is part of your computer or laptop, by first taking off the key’s cap and then examining its internal mechanism.
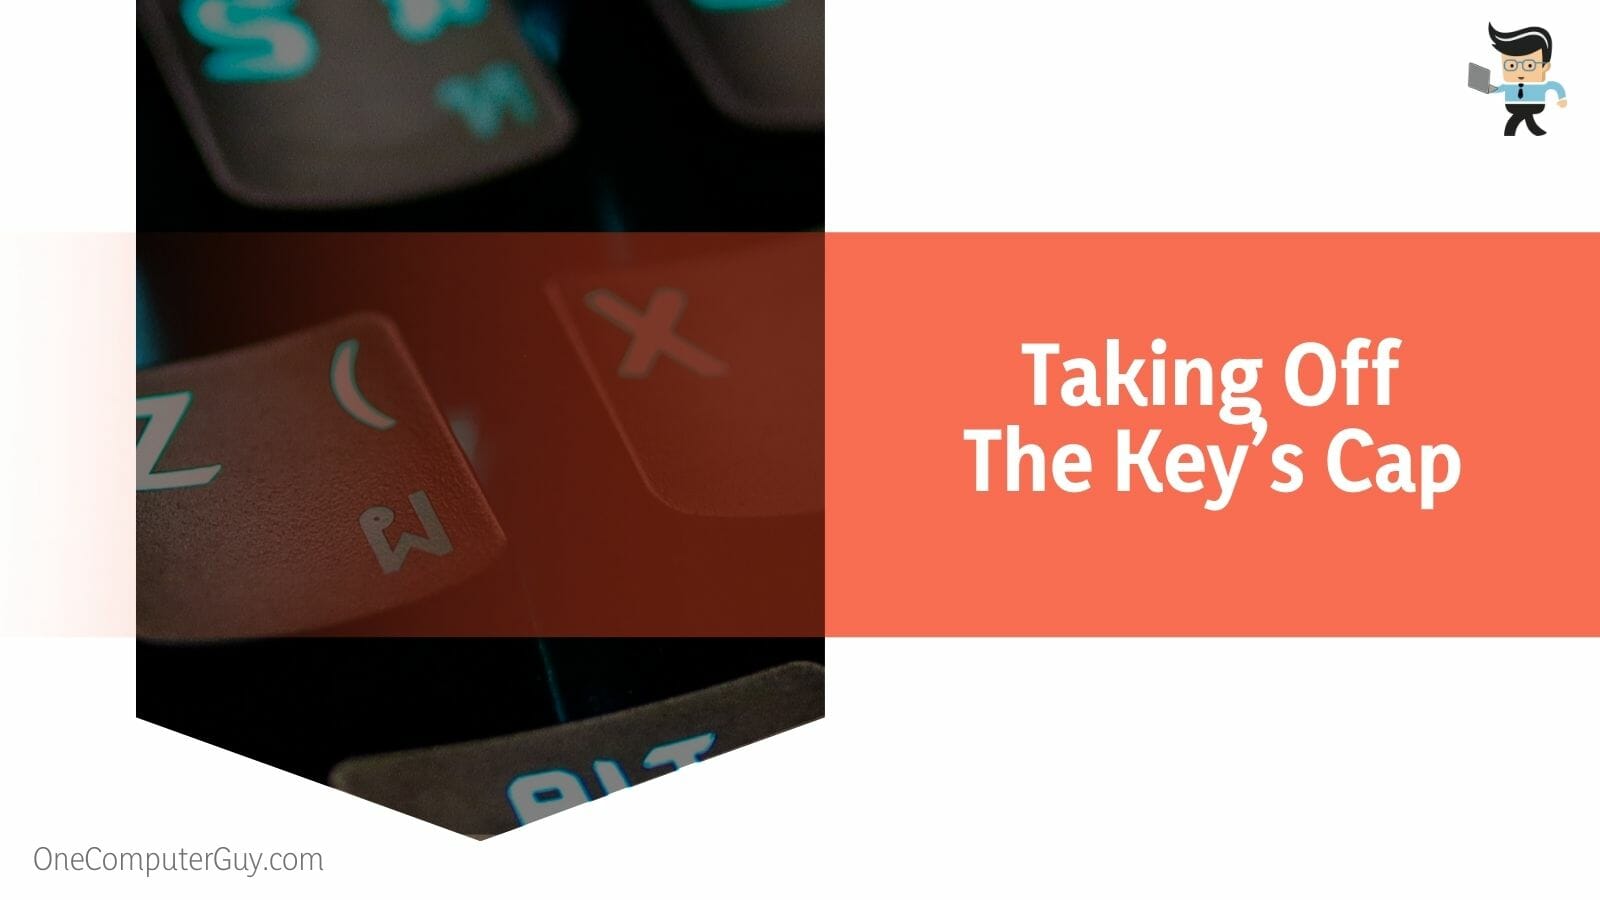
– Taking off the Key’s Cap
When you need to fix a broken laptop keyboard key, the first step would be to take the key apart. This step is vital because you will need to see the inner components of the key so that you know what is wrong and how it may be fixed. Therefore, you can start by turning the laptop off and removing it from its power supply source.
If your key is broken to the point that it comes off easily, then you can omit the use of a tool. In most cases, however, some sort of prying tool will be necessary. It’s also wise to keep a small handkerchief or a Q-tip nearby, as it will come in handy for cleaning the key later.
Whether the key in question is big or small, the essential thing is dislocating it from the keyboard’s main structure. In the case of more minor keys, such as the alphabet ones, you can take a small flathead screwdriver and insert it in the middle of the cap and the retainer clip. Also, remember that you shouldn’t go in too deep with the tool, or the key might suffer extra damage.
Once the screwdriver is under the cap, push out the key accordingly from all sides to get the cap loosened up. This way, you will be able to get it off with ease.
– Using a Screwdriver
If loosening up the key does not help pry it off quickly, you might need to pop it out. This can be accomplished with relative ease if you use your flathead screwdriver. All you will need to do is use your fingers to hold the top part of the key, and at the same time, you will have to use the screwdriver and push it horizontally against the top part.
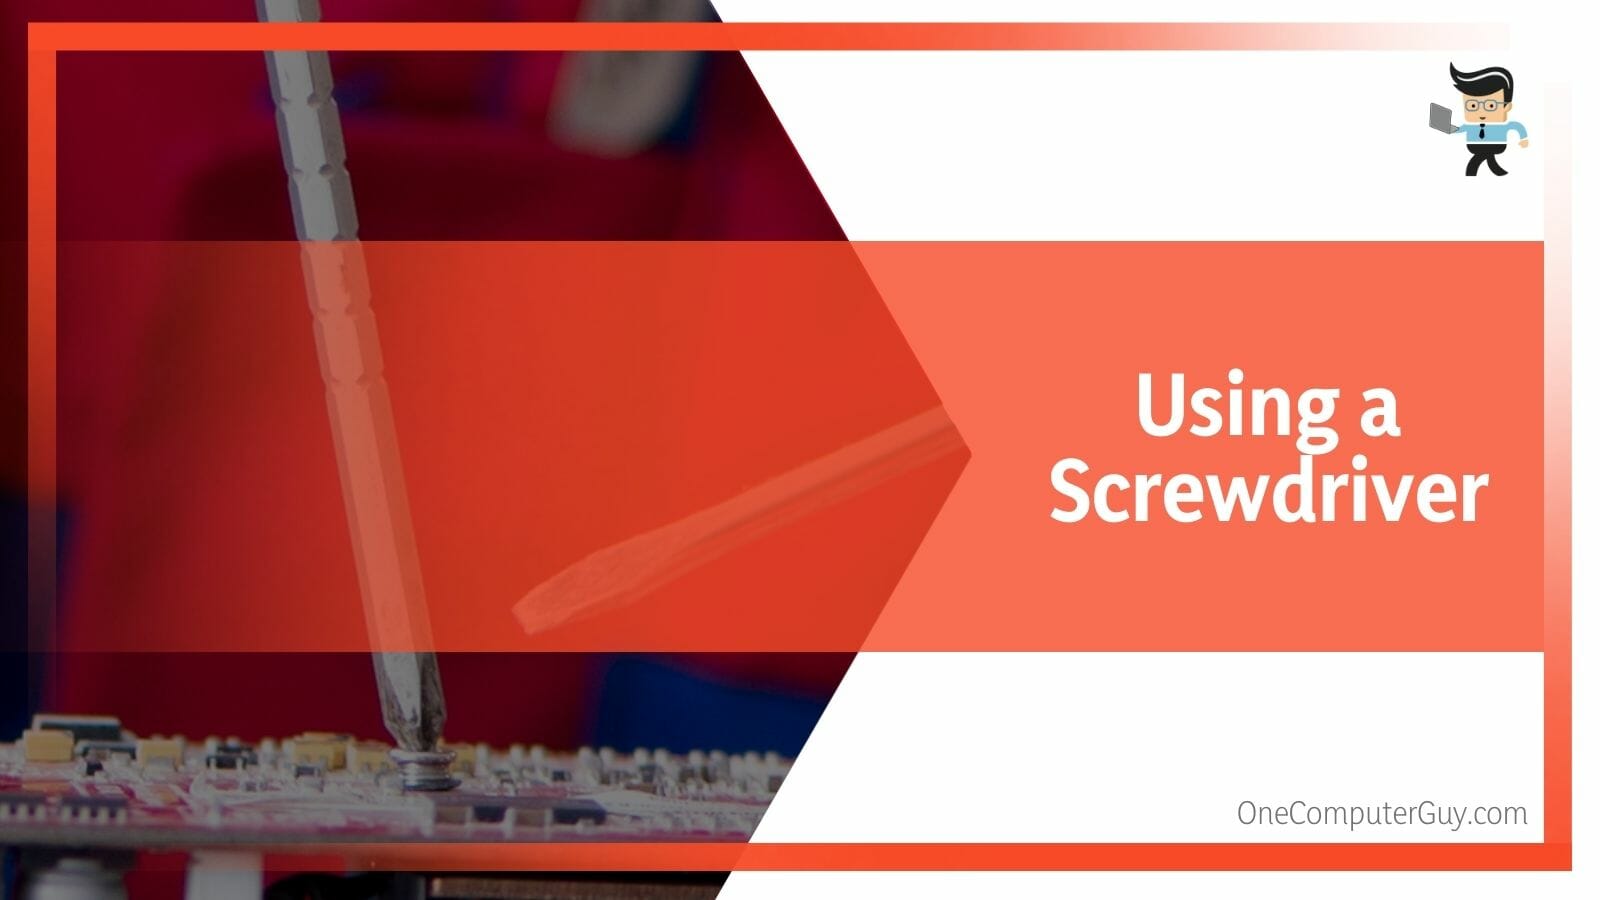
While this will work for most of your laptop keys, the process may be different for your spacebar, as it will have more retainer clips attached to it. It will also have two metal bars supporting it, so you must put your flathead screwdriver at the bottom or top of the key’s sides. Doing this will generally separate the critical cap from the stability bars and enable the key to come out quickly.
However, if the central place of attachment is at the base of the key, remember to unhook the key cap accordingly for the metal bars. This goes for all the more minor keys on the keyboard; however, the case is slightly different for the bigger ones, such as the TAB or SHIFT ones. Since they will have more retainer clips and stability bars, it would be a good idea to remain cautious of what you are handling.
– Looking at the Inner Components
After removing the cap, examine and address problems with the cap or retention clip. The white or black retainer clip with the rubber membrane in the center should be visible. You must be careful not to pull the membrane out of the keyboard or rip it off because it is often glued to the keyboard.

The retainer clip has two sections and fastens to the keyboard with four metal pins. Next, look at the key to see which notches are intact. You can compare the notches individually or by comparing the key to other keys on the keyboard.
You may compare special keys, such as the space bar, with similar keys from another laptop. You must get a new key if any hooks or notches are broken.
– Tinkering With the Retainer Clip
The clip must be removed and then reinserted if you cannot lower it. Additionally, if it is broken, you must remove it before installing a new one. Therefore, the following methods can be used to remove it and put it back in as securely as possible: On the edge of the clip, look for the metal pins.

One side at a time, push the retainer clip from the other end, and use the screwdriver to carefully pry out the retainer clip close to the closest edge. Take care not to damage it in the process.
You must now reassemble it inside in the other direction. First, ensure that the retainer clip is securely held in place by the furthest from the edge pins. When you hear a click, continue pressing on the upper corners on the opposite side.
– Reinserting the Key
You may end by reinserting the key cap after troubleshooting the key. You may buy a new cap and insert it in the same way if yours has any problems. Place your key above the retainer clip for keys without metal bars and press it down to secure it to the clip.
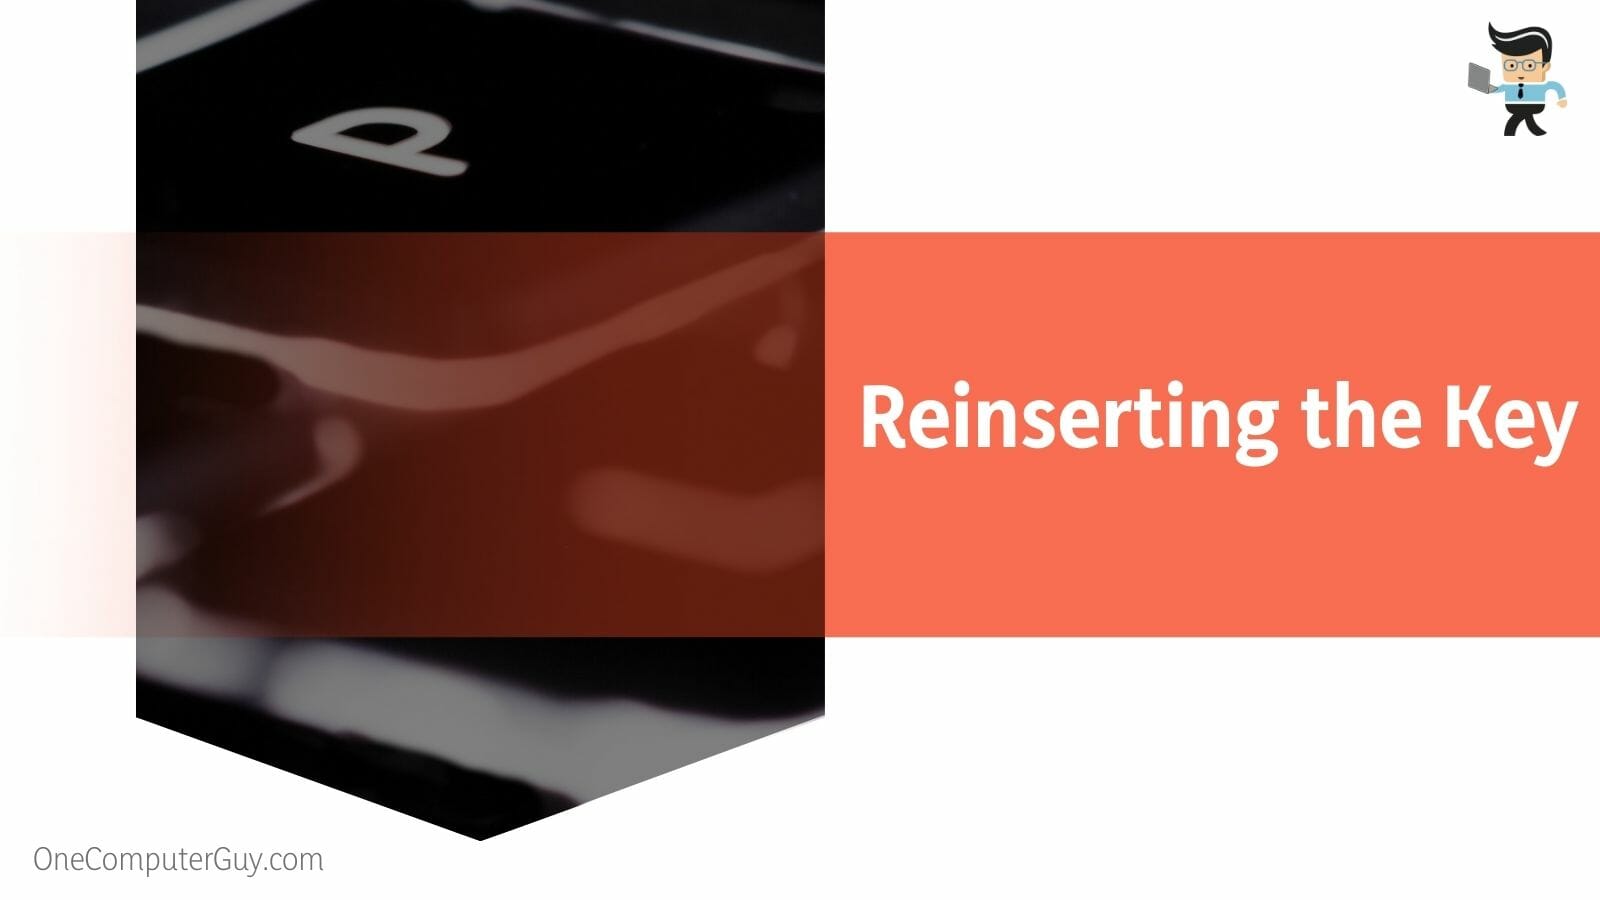
You can still perform the same thing if the metal bars are on the keyboard base. To correctly split the key, apply pressure to both the corners and all other edges. Check carefully since you could have positioned the critical upside down if you can’t get it to go in properly.
Align the ends of the top bar with the locks on the bottom and press it in slightly for keys with metal bars on the cap. Then repeat the process with the opposite bar, pushing the key a few times just enough to ensure it is in position.
How Can I Remove a Laptop Key for Replacement?
You can remove a laptop key for replacement by removing the key that needs to be thrown due to damage or malfunction. Next, you have to separate the keys and put them in the proper position for placement. Finally, you can push down the new key to insert it.
– Prying off the Key
To remove the laptop keyboard key, the first step is to pry off the key with the plastic opening tool. Look at the metallic hooks.

The placement of the metal hooks determines the location of the plastic keys. Remove the keyboard connector by prying it off.
– Separating the Keys
Split the plastic keys apart. Both plastic keys always have their smooth sides facing away from the keyboard.
Look for the metal hooks holding the plastic keys in place. Keys should be placed within the metal hook. You should use a thin item or a plastic opening tool to extend the keys into the metal hook.
– Inserting the New Keys
Push the plastic keys into the metal hooks in an even arrangement. Place the key onto the plastic keys evenly.

When pressing down on the keys, apply just light pressure. Make sure there is no food, drink, or dust on the surface.
Conclusion
In our in-depth analysis of the various methods of fixing a damaged key on a laptop in the article above, we pointed out some general fixes that can be used if you want to mend the key on your own.
A quick summary of the main points discussed is given here:
- You must get the cap off to see the inner mechanism to check what is wrong with a damaged keyboard key.
- You might require the assistance of a screwdriver or a similar prying tool to get the key’s cap off.
- Take a careful look at the key’s stability bars and retainer clips to see if anything is damaged.
- You can replace the key with a new one if the damage is too much.
- You may also clean up the key after removal if you see accumulated dirt and grime causing it to malfunction.
Hopefully, you have learned how to fix the damaged key on your laptop after these elaborate points. And we are confident that these methods will save you a lot of time, as you know precisely what you have to do now!


