If you want to find out how to connect studio monitors to computer the quick and easy way, then this guide has everything you need to know about it.
Having dedicated studio monitors is a must for anyone in the music production and post-production business. Still, not everyone knows how to connect studio monitors to computer for high-quality output.
In this detailed guide, we will be looking at the methods you can use to connect studio monitors to your computer and discussing why studio display monitors should be used, so make sure to read until the end so you can get the most out of your studio monitors!
Contents
Steps for Connecting a Studio Monitor to a Computer
To connect a studio monitor to a computer, first make sure that your cables, connectors, and/or adapters are the right ones for the job. Different kinds of computer setups will require their own specific sets of procedure, and we’ll tackle them all here.
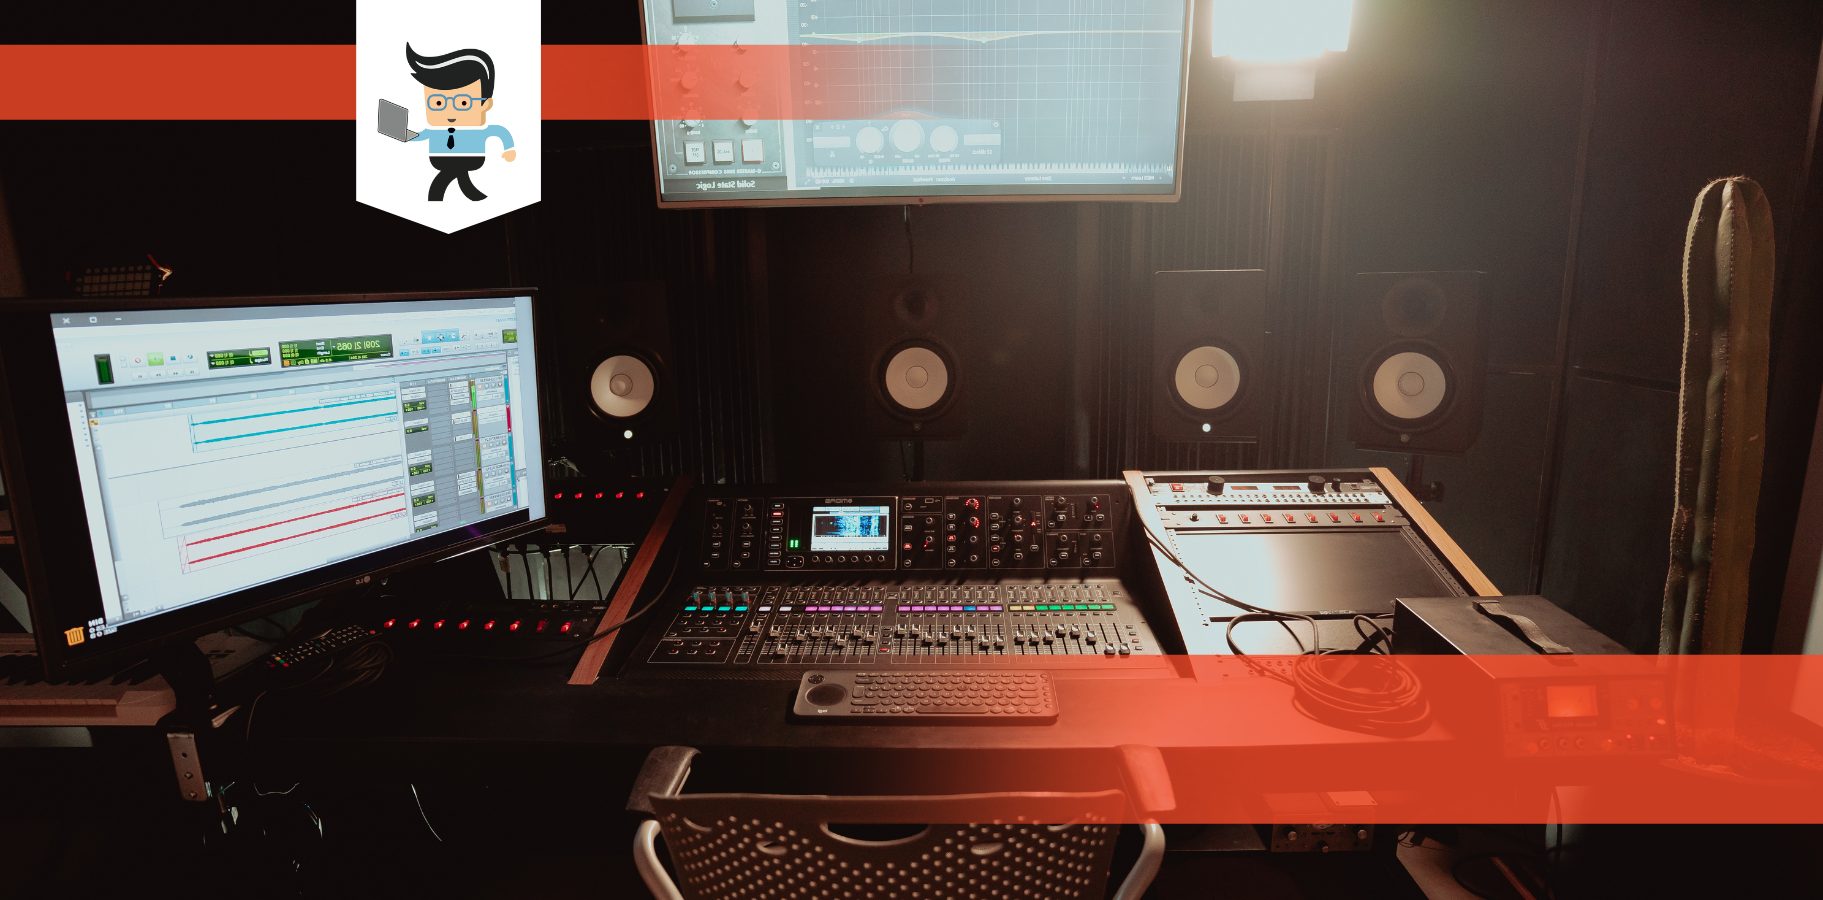
Because they reproduce music at higher volumes than normal speakers, studio monitors offer a significantly better listening experience. Additionally, they provide you with more control over how the music is transmitted to your ears.
Studio display monitors are also made for home theatres and commercial recording studios, so they typically cost more than standard speakers because they aren’t designed for everyday usage. They are, nonetheless, deserving of their price tag.
Let’s start with how to connect studio monitors to computers. Even though most of the basics are the same, there’s a slight bit of difference in connecting studio monitors to desktops, laptops, and macs. For this reason, we will be discussing the steps for all three of them.
– Laptop Connection
You must insert one end of the headphone/speaker cable into the laptop’s headphone port and the other end into the corresponding connector on your speakers if you wish to utilize your laptop as an amplifier. A 3.5 mm (1/8′′) stereo mini plug can also be used to connect the speakers directly to the headphone ports on your laptop.
– Desktop Connection
The majority of desktop computers have integrated amplifiers that are made to power external speakers. The common RCA connectors can be used to connect your speakers to your desktop computer.
Purchasing a USB audio interface (sound card) is the simplest way to connect your speakers to your computer. With the help of these gadgets, you can easily connect several pairs of speakers to your computer without having to fiddle with various wires.
You may still use a straightforward adapter to connect your speakers to your PC if you don’t want to spend money on a specialist sound card. Simply check to see if the connectors on the wire match the ones on the back of your speakers.
– Mac Connection
You’ll require an adapter known as an Apple Digital AV Adapter to connect your speakers to a Mac. You can use this gadget to link your speakers to your Mac’s digital outputs. If you already own a pair of wireless Bluetooth speakers, you may use these instructions to connect them to your Mac.
Steps for Connecting a Studio Monitor to a Computer Using Cables
There are two methods you can use to connect studio display monitors to computers using cables, depending on what type of studio display monitor you have.
– Using ⅛” to RCA Cable
You will need a 1/8′′ to RCA connector cable to convert the stereo output from your computer’s headphone connection to RCA if your studio monitors can only accept RCA inputs. This is usually the case in most entry-level studio monitors.
In such cases, you simply need to connect the RCA connectors to the speaker and then insert the 1/8′′ stereo jack into the computer’s headphone port. The right channel input is always connected through the red connector, so just keep that in mind when plugging in and you’ll be fine.
– Using ⅛” to ¼” Cable
A step up from RCA connectors, a high-end studio monitor like the Yamaha HS5 will include 1/4′′ inputs. Once more, all that’s required is that you connect the headphone jack on your computer to the left speaker, the red 1/4″ connection to the right speaker, and the black 1/4″ connector to the right speaker. If the cable is linked, you will need to rip it apart at the 1/4″ end.
How To Connect a Studio Monitor to a Computer Using Audio Interface
You can connect a studio monitor to a computer using the audio interface by simply inserting the connectors from your computer monitor into the input connectors that can be found in the interface.
For a number of reasons, connecting your computer to studio display monitors via an audio interface gives a significant quality improvement. Using audio interfaces allows you to receive a set of balanced audio outputs for better audio quality.
It also allows you to have input connectivity for connecting microphones and musical instruments to your computer and a handy speaker volume control knob.
How To Connect a Studio Monitor to a Computer Without Interface
If you don’t have an audio interface, you can just connect your computer’s speakers; it just gets a tiny bit more difficult because you must first download some software. You can directly connect your monitor speakers to a computer using a number of different programs.
Once the appropriate program has been downloaded, connect a wire by inserting one end into the input port on your computer and the other end into the headphone socket on your speakers. To assist you in determining which ports to utilize, you might be able to discover instructions online. Now, music should start playing through your speakers.
This approach is excellent if you solely intend to use your computer while listening to music. However, you can experience issues if you also intend to watch movies or play video games. Because most computers have built-in speakers, these subpar speakers can’t create loud enough sound to fill a room and aren’t very good either.
Therefore, you will need to purchase a specialized audio interface unless you already own a separate pair of speakers that you intend to use only for playing video files. If you want to take this path, be sure to purchase a model that allows USB connections so you may quickly add more devices in the future.
Conclusion
In short, using studio display monitors is a must for you if you’re in the business of audio production or post-production, whether that is for music, voice acting, or another reason.
- You can connect multiple studio monitors to your desktop, your laptop, or your Mac.
- Having an audio interface is the best way to get the most out of your studio monitor.
- Depending on the type of your studio monitor, you can use cables to connect them to your computer if you don’t have an audio interface available.
- Once you find the settings for getting the best sound quality from your studio monitors, make sure to disable speaker volume controls to prevent any accidental changes in the settings.
If you’ve been looking to get studio monitors for your setup and wanted to know how they work and if you should buy them, we hope you’ve gotten enough information to ensure the best connectivity between your studio monitors and your computers.


