
To change CPU fan speed without BIOS can be difficult. While BIOS is often the most effective way to make user-defined system adjustments, it isn’t the only way.
 Whether your CPU is overheating or your fans are running at full speed for no reason, having control over your fan speed can help resolve these issues.
Come with us as our computer technicians walk you through how to increase or control CPU fan speed without BIOS.
How to Change CPU Fan Speed Without BIOS
We would like to reiterate that changing your fan speed via BIOS is still the most effective method. However, if for some reason you can’t access your BIOS settings or you’re not technical enough, there are three options you can utilize.
The first option is to change the system cooling policy via the Windows control panel, the second is to use third-party fan cooling software, and the last is to use an external fan controller.
– How to Change System Cooling Policy in Windows Control Panel
Windows 10 users who can’t adjust CPU fan speed via BIOS can try to optimize their computer’s fans performance through the control panel. While this option isn’t as effective as the other two we’ve talked about below, it may be all you need to keep your PC from overheating. Here’s how to access the built-in fan controlling feature:
- Click on the search icon beside your start menu and search for the control panel
- Open the control panel and click on “Hardware and Sound”
- Select “Power Options” and click on “Change Plan Settings”
- Click on “Change advanced power settings” and select “Change settings that are currently unavailable”
- You’ll get a list of options including “Processor Power Management”
- Double-click on processor power management and a dropdown menu will come up
- Click on the drop-down menu and double-click on “System Cooling Policy” and you’ll get a new drop-down menu
- Select “Active” for both options under system cooling policy i.e. plugged-in and on battery
- Click on “Apply” at the bottom of the window, then “Ok” to save your settings.
The Active setting for both plugged-in and on battery slows down the processor to its main cooling after increasing the fan speed. On the other hand, the passive setting slows down the CPU before deciding to increase the speed of your PC fan.
 The active setting is ideal if you’re looking to get the best performance while the passive setting is perfect for when you want your fans to run quietly.
Doing this will help you increase your fan speed when your computer is on battery and when it’s plugged in, thereby enhancing the cooling and resulting in low heat buildup.
– Using Third-Party Software
This option is a very effective one for non-technical users or those who have no fan control in BIOS. There’s a lot of software available to help you control, adjust, and increase CPU fan speed.
This software keeps an eye on your CPU’s temperatures and the amount of load it’s under. They are designed for manual and automatic operations so you can manually activate them or leave them to run automatically.
There are many fan control software available on the market. Some of the most popular ones for Windows include SpeedFan, HW Monitor, Notebook Fan Control, Real Temp, HWiNFO, and more. For MacBooks, there are smcFanControl, iSTAT Menus, and more.
In this guide, we’ll be talking about the most popular fan control for Windows: SpeedFan.
– How to Use SpeedFan
SpeedFan is widely known among Windows users with fan problems because it offers a wide range of features and perks that are limited in other programs. While it does require a learning curve, it’s very effective as it allows you to increase CPU fan speed with no issues. We’ve provided some information below on how to download, install, and configure the software.
Speedfan goes beyond helping you adjust your CPU fan speed. It also checks for motherboard temperatures, scans your drive for problems, reads voltages, and more. However, while the efficiency cannot be denied, SpeedFan cannot change the fan speed on all motherboards as some motherboards do not have the needed circuitry.
Therefore, you need to make sure it’s compatible with your chipset and motherboard before downloading it. Otherwise, you can choose from the list of software mentioned above.
– Downloading and Installing SpeedFan
SpeedFan download is easy and safe. Simply go to the official website to download the genuine copy, install it and let it scan your PC for issues. Once your computer has been scanned, it’ll provide you with the main menu window, displaying your computer information.
The information on this window will include everything from temperatures to drive details, type of chipset, fans’ RPM, and more.
– Manually Configuring Your SpeedFan Software
The SpeedFan software comes with its automatic controls disabled. This disability allows you to manually configure the software for more satisfactory results. If you’re not technical enough or you don’t want to deal with the settings, you can simply activate the automatic option using the method outlined below.
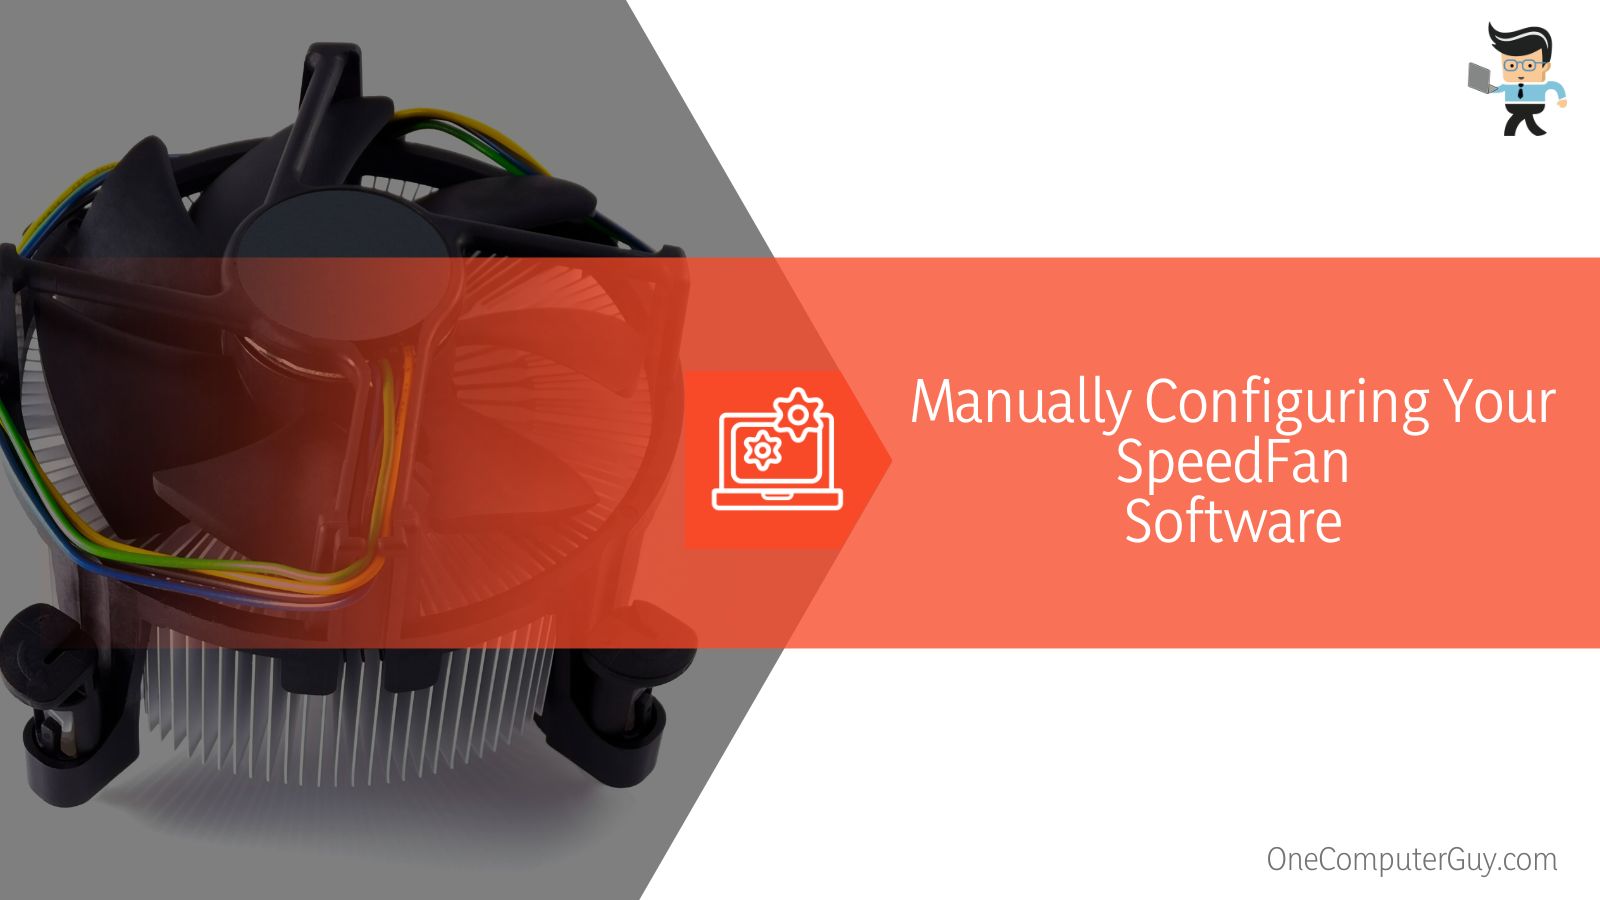 For those who would like to manually set up their SpeedFan software, here’s the process to follow:
- Click on the Configure button sitting just above the Automatic Fan Speed Button
- You’ll get a new window with different tabs
- Click on the Advanced tab to reveal a list of different menus
- Search for Chip, a menu that shows all the buses on your motherboard chipset
- Click on it and look for PWMs i.e. PWM 1, PWM 2, and PWM 3 formats
- Once you’ve found your PWMs, click on the one you want to control or configure
- You can only configure one PWM at a time
- Select the one you want to configure, click on “Set to” and you’ll get a drop-down list
- You’ll be provided with different configuration options, including On/Off, Software-Controlled or Smart guardian, and manual control
- Manual control allows you to manually configure the fans while smart guardian provides software-defined control
- Once you’ve made your selection, click on “Remember it” to save your settings
- Once your settings are saved, toggle on the PWM you have configured and your fan speed will be adjusted
– Using the Automatic Settings
Simply clicking on “Automatic Fan Speed” on the main menu will allow the software to automatically control CPU fan speed. However, you can also adjust the settings to ensure that you get the best out of the automatic controls.
What you’ll need to do is:
- Click on configure on the start menu
- Go to the “Speeds” tab on the next window and set up your minimum and maximum RPM
- Once you’re done, go to the “Fans Control” tab and decide on the ideal temperature for your CPU fan
- Doing this will help you determine whether or not the RPMs you set have an effect on your CPU’s temperature
- You can also test run the setting by initiating a demand request to know if it’s effective
- Make sure you save your settings, else you will need to reconfigure the software every time you start up your computer
- Finally, go to the “Temperature” tab to decide on the temperature where you want the fans to speed up and the temperature where you want them to slow down
- Do not forget to check the sensor that helps your CPU fans function properly
- Once you check the sensor, you’ll be provided with two different options at the bottom of the window: desired and warning
- Use your system’s arrow keys to select the “warning temperature” and the “desired temperature”
- Click on OK when you’re done and you’re all set
Note that while SpeedFan is effective, it’s a little technical to use and it doesn’t work with all motherboards. You can choose from the list of software we mentioned earlier.
– Adjust CPU Fan Speed With External Fan Controllers
If you’ve tried using multiple software and still can’t adjust CPU fan speed, then getting an external fan controller might be the next best thing. Just like the software above, an external fan controller allows you to have control over your CPU fan speed and temperature.
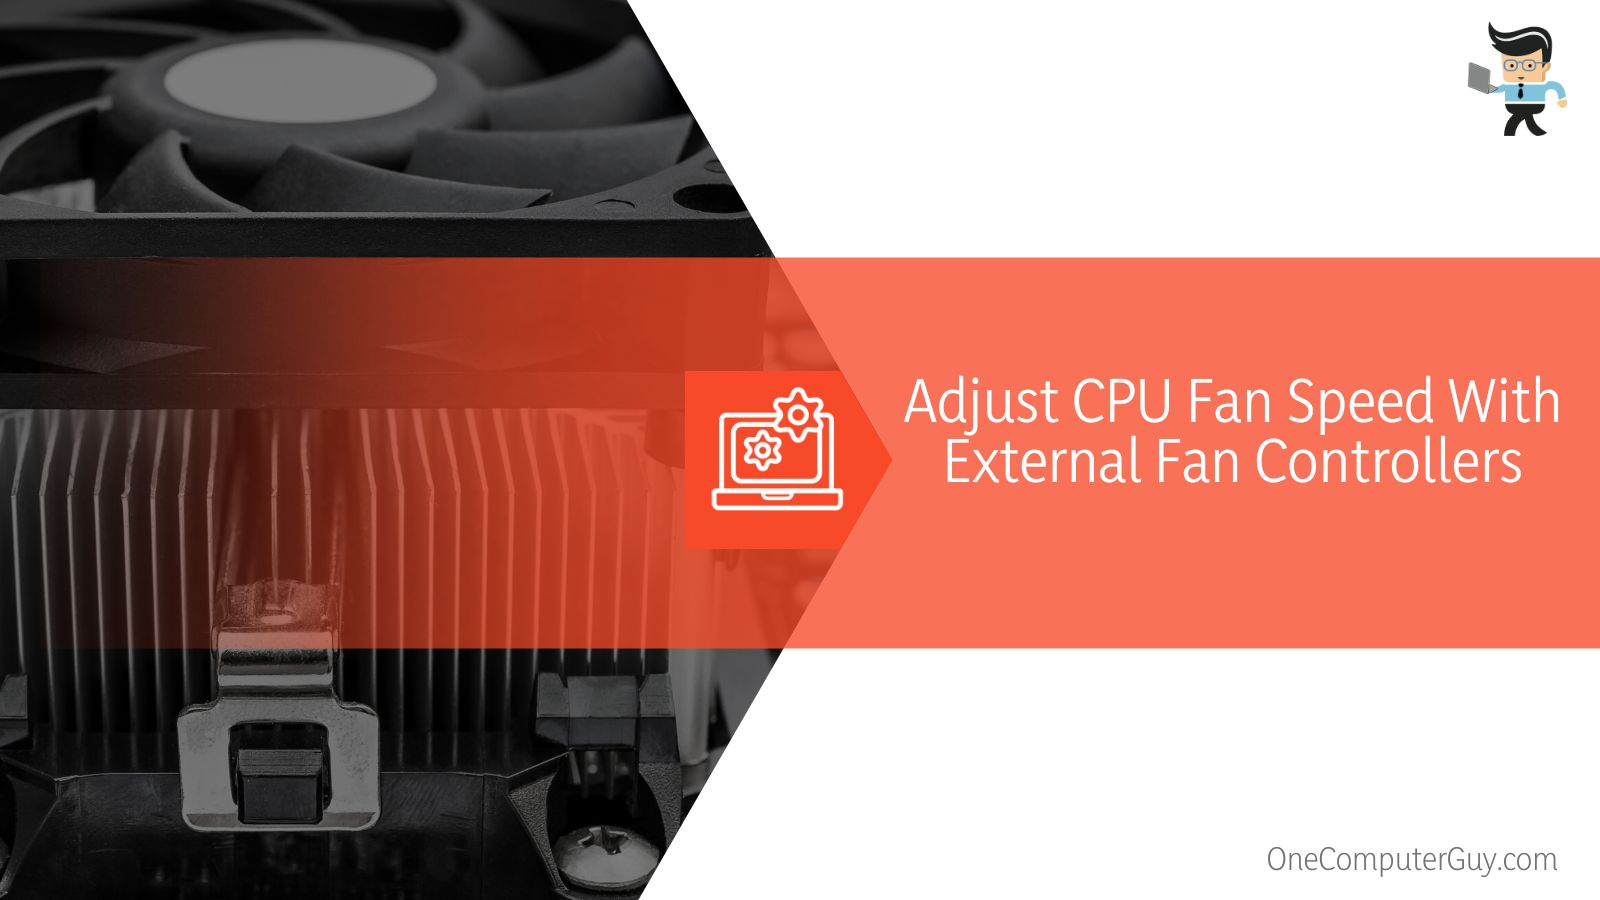 The mode of control here is manual and you’re guaranteed to get optimal cooling and balance with the perfect product for your computer. Make sure you consider factors such as pin sockets, number of channels, type of controls, etc.
There are many different external CPU fan controllers on the market built to effectively control CPU fan speed. Some of the best products you can buy include Thermaltake Commander F6, Noctua, and Corsair Commander Pro. You get everything from smart control knobs to LCD screens for monitoring temperatures and other elements, warning lights, smart sensors, and more.
Frequently Asked Questions
Why Do Computer Fans Speed Up?
Computer fans gain an increase in speed when there’s high CPU utilization. This can be caused by playing graphics-intensive games, video editing software, and other CPU-intensive tasks that take a lot of CPU or GPU performance. Once the CPU or GPU starts getting hot, your fan increases its RPM to make the temperatures cooler.
What Makes a Computer Fan Loud?
The most common reason why computer fans run loudly is speed and dirt. Dust, dirt, and small particles like pet hair can cause your fan’s bearings to become damaged, thereby increasing the noise it makes while working.
Cleaning your PC fan regularly helps prevent this from happening. You can use an electronic vacuum, compressed air cans, or a damp cloth to clean your PC fans.
What is the Ideal CPU Fan Speed?
You can utilize your fan at 50 to 70 percent of your fan speed when you’re doing light or normal work on your computer.
But when rendering videos, playing high graphics online games, creating software, doing heavy 3D work, or doing other intensive tasks, your CPU is likely to experience high temperatures that can go beyond 158 F.
 If you’re manually adjusting your fan’s RPM, make sure you set it to 100 percent of what your fan is capable of.
Why Do My Fans Run at Full Speed All The Time?
Your computer fan running at full speed all the time can be the result of a faulty temperature sensor or a damaged heat sink. It could also have something to do with your processor as well, but most times, a faulty temperature sensor is the culprit.
Conclusion
We’ve talked at length about how to change CPU fan speed without BIOS. Here are some pointers to keep in mind if you can’t change fan speed in BIOS:
- Improper fan speed can cause computer issues like crashing HDD or SSD, CPU overheating, and a decrease in performance
- You can control the CPU fan speed via software or external fan controllers
- SpeedFan is an efficient software but doesn’t work on all computers
- Other software you can use include HWMonitor, Notebook Fan Control, and Zotac Firestorm
- External fan controllers can only be used manually
- Changing the cooling system policy to active helps speed the fan up
Properly adjusting your CPU fan speed is beneficial to the overall health of your PC. If you’re unable to change fan speed in BIOS, you can utilize the steps we’ve listed above, and you will get an excellent cooling system that will help improve the performance and safety of your computer components.


