If you are pondering what might be the cause of a black screen right after you install a new video card, we’ve got you covered. The screen can shut off entirely due to faulty or poorly connected hardware or glitchy software.
Contents
In this writeup, we’ll look at possible black screen causes after video card installation and their respective fixes. Read further to learn more.
What Might Be the Cause of a Black Screen Right After You Install a New Video Card?
A black screen right after you install a new video card issue can happen due to a faulty power supply, graphics card, or display cable.
Also, a defective GPU slot, incorrect settings in the BIOS, and a damaged motherboard can result in a dark screen.
– Insufficient Power
A poor power supply will not run your computer’s graphics and other components. So, ensuring enough power flows to your GPU is vital.
Note that each graphic card has unique power demands. They won’t run if they don’t receive their minimum energy requirement.
Check if your existing PSU is powerful enough for your new card. The easy way is to compare the PSU wattage to the GPU minimum wattage requirement.
– Dust in the Connections
Dirt, dust, and debris build-up within the connection can prevent electric signal flow.
If you first encounter a black screen after installing a new video card, open the computer case and check for the presence of dust, debris, dirt, or even oils.
– Problems With Cables and Connection
A loose connection to any port can cause a dark screen because the system will have some difficulties catching the signal via the video cable. Loose spaces between the cable and the port usually break the connection, thus, resulting in the screen error.
Remember, a loose video connector results in no visual data being transmitted from your computer to the monitor.

After installing your graphics card and reassembling the case, there could be a loose HDMI, VGA, or AV cable connection to the monitor.
An imprecise connection will not transmit power or any signal to or from your graphic cards.
Good thing; the graphic units can work with a wide range of cables – for instance, 3 Pin, 4 Pin, 6 Pin, and 8 Pin. So ensure you get the right connector type for your new graphics unit.
– Drivers Not Updated
If your drivers are not up to date, you will have dark screen problems.
Usually, when you install a new video card but don’t install the drivers for that specific video card, it will not run and, thus, won’t display anything on the screen.
Keep in mind that dated drivers can also cause dark screens. So, take a keen look at your computer’s drives.
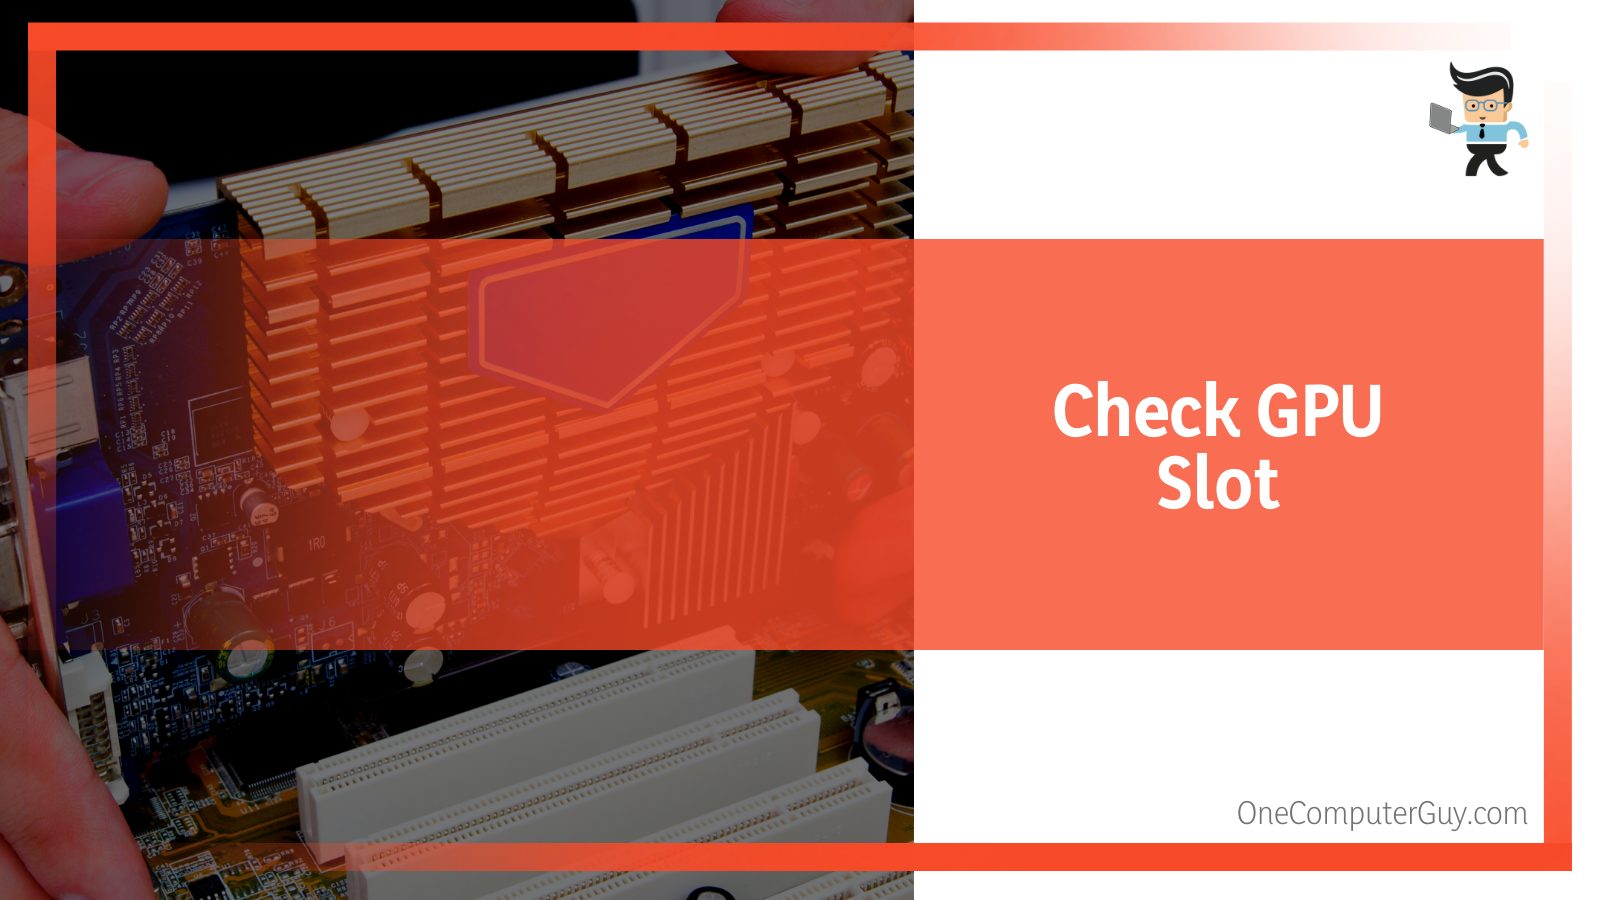
– Faulty GPU and GPU Slot
A fault GPU port is a leading cause of the displaying going black just right after installing a new video card.
Depending on the computer, a motherboard offers multiple slots where you can connect the graphics unit.
A computer cannot detect a broken video card slot. That means when you insert a GPU unit in that slot, it won’t be able to communicate with other computer components.
Ultimately, this results in a black display when inserting a video card.
Your GPU may be faulty, so don’t look to any other hardware component. After installing GPU suddenly no display problem on the monitor may indicate a defective GPU.
You might need to conduct some tests to know whether it’s your GPU.
For instance, you can try using a different GPU or connecting your monitor to the onboard slot of your onboard graphics card. Connect the monitor using VGA or HDI to the display output.
– Improper Graphics Card Placement
When you incorrectly place the graphics card into the computer tower, you increase your chances of receiving a black laptop screen.
The processing of inserting a new video card is not straightforward. So, try to use the manual while installing it in the PCI slot.
– BIOS Issues
BIOS determines whether or not your new video card will work. So, when you install a new card, you might be required to enable it via your computer’s BIOS setting.
If the new card is not allowed and placed as the priority of use from the BIOS, it might cause this issue.
If your computer’s BIOS is outdated, it will not support or recognize a new video card on the motherboard.
Furthermore, if the video card was created recently, its settings wouldn’t work with an outdated BIOS, leading to a dark display.
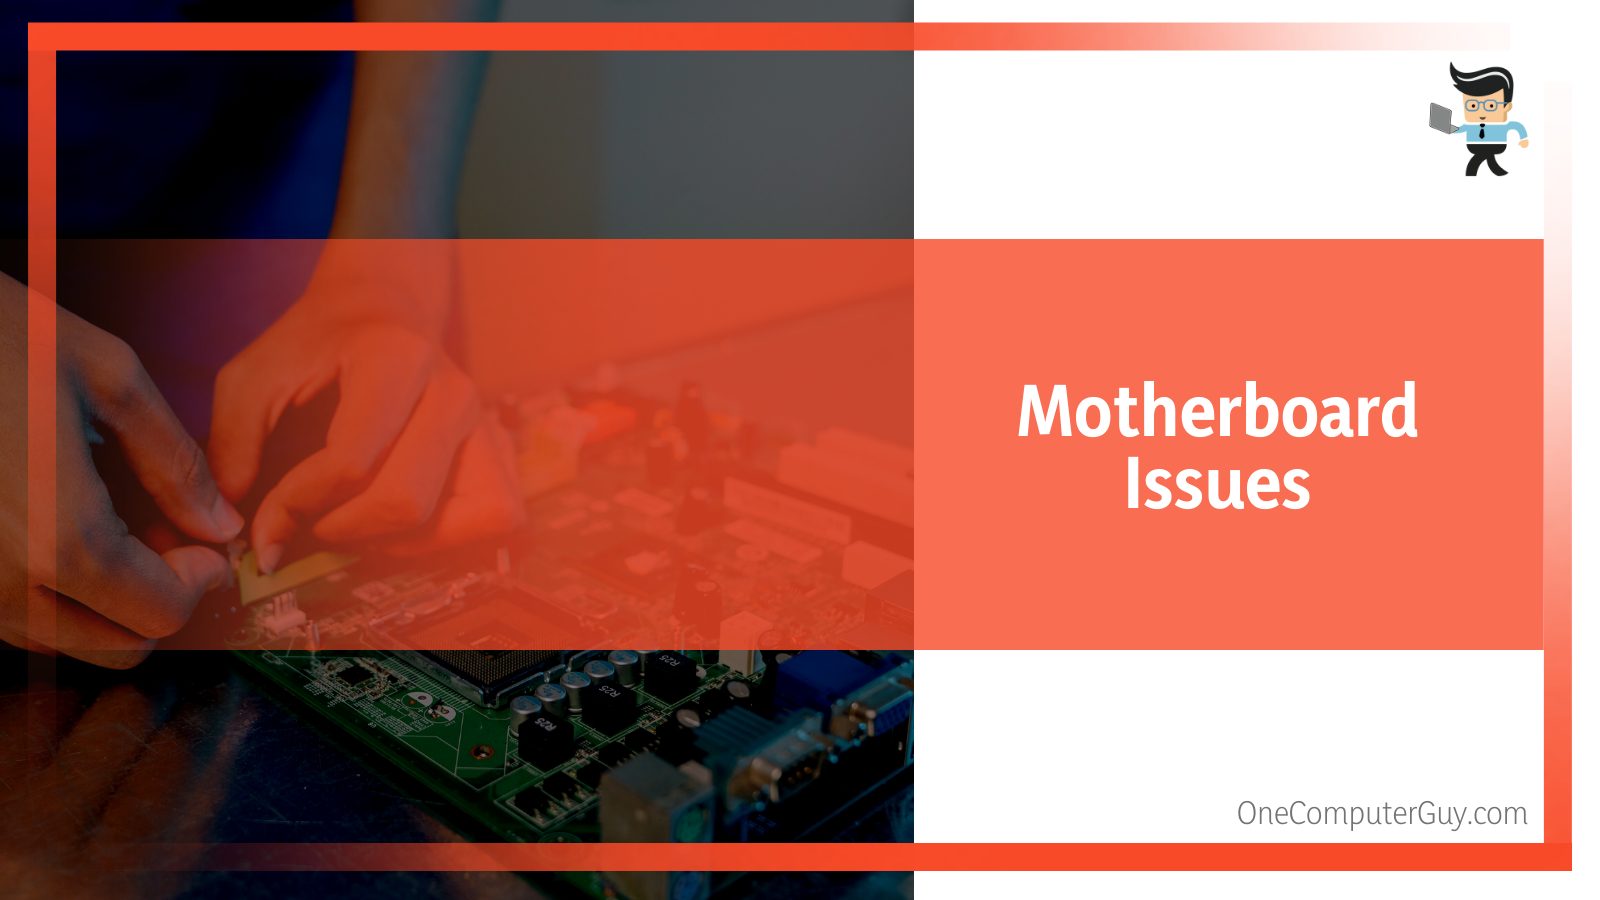
– Motherboard Issues
Before buying a new video card, do your homework properly so as not to buy an incompatible unit. Motherboards have different PCI slots, including x4, x8, x16, and x32 models. The values typically represent the number of lines in that slot.
Ensure that your graphics card’s PCI slot configurations match the numbers above. This will ensure a secure connection to the motherboard.

The motherboard houses multiple hardware making it very delicate. People who do not have sufficient PC building knowledge can tamper with small parts leading to a dark display after installing video cards.
It will fail if you drop the motherboard or tamper with the gold pins. So, do not change your video card if you do not have sufficient knowledge.
– Low Screen Resolution
The automatically installed drivers with your new card can alter the computer system settings.
For instance, they can change the screen resolution without your authorization. If it sets the value very low, your monitor may not show pictures.
How to Fix New Graphics Card Black Screen Issue?
The black screen right after you install a new video card problem can be fixed right after identifying the cause using the following solutions:
- Give your units sufficient power
- Update / install the drivers
- Plug the cables fully
- Check your GPU slot
- Solve the motherboard issues
- Check and update the BIOS
– Give Your Units Sufficient Power
Before purchasing a new video card, check its power demands and compare it with your power supply wattage capabilities.
If the difference is significant, you have two options. First, you’ll need to find a PSU with a higher rating. Second, continue searching for a card that matches your system’s power rating.
– Update/Install the Drivers
Most OSes install associated drivers automatically; however, that’s not always the case. You may need to install drivers manually. But before that, you need to check the status of your existing drives.
Follow the procedure below to check your video card type:
- Type “Device Manager” in the Windows Search Bar
- From the list, find “Display Adapters” and double-click on it to reveal the driver
- Double-click on the Drive to reveal a pop-up window
- Select Drive from the top pane and check its version.
You can directly update the Drive from this pop-up window. However, it’s advisable to update your drives while in safe mode. Here is how:
- Hold down the computer’s power button until the light turns off. Press it again to switch on the computer
- Before the operating system loads, press the F8 button consequently until a blue screen with a prompt appears
- From the menu, select Troubleshoot > Advanced Options > Start-up Settings > Restart.
- Click “Safe Mode with Networking” by pressing F5 and wait for your Windows with essential apps.
Updating and Installing Graphics Cards Drivers
The first step is to visit your graphics card manufacturer’s website and download the latest available driver for your device.
You can use the download section or the search tool on the web page to find the newest card drives. After downloading the file, zip it and store it.
- In your start menu, find the Control Panel and open it.
- Select device manager
- Click the button labeled Action from the upper ribbon.
- Choose “Add Legacy Hardware” from the pop-up menu and follow the on-screen prompts to add your new graphics card.
Note that this process may vary from one manufacturer to another.
And what about the existing driver? You can update the driver manually using the procedure below:
- Type Device Manager in the search bar on the lower left side of your computer and click the app when it pops up.
- Find Display Adapter from the list and click on the arrow (on the left) to expand the list of video drivers already installed.
- Right-click on the available drivers and select Update Driver
- You will get two options – Browse my computer for the driver software or Search automatically for an updated driver.
After making all changes, go to the Start Menu and type “msconfig” to exit Safe Mode. Still getting a black screen after installing the graphics card driver? The problem is elsewhere.
– Check Your GPU Slot
The motherboard has several slots where you can insert the video card.
You can open the case of your system, power on the computer, and see if the video card fans are working. If the fans aren’t rotating, it could be a slot; so change it.

Here is how to do that:
- Turn off the computer
- Take out the graphics card
- Find a different slot and insert the card fully
- Power on your computer and see if it works.
Try another slot if it doesn’t work because multiple slots may be damaged.
Remember to properly fit your card in the slots to prevent any issues. The primary thing is ensuring that the PCI latch locks the card.
Again, ensure that the retention clip is not broken and all the cables are correctly fitted.
– Check the BIOS
If your settings in the BIOS are wrong, you need to reset its configurations to try to resolve the matter.
The BIOS instructs the computer on how it should work, performing tasks such as booting and configuring hardware. So, if the settings are incorrect, you may not get images on your display.
Remember, when the BIOS is corrupted, activation of the graphics card fails. Therefore, visual data may not be transmitted to the screen; thus, black screens.
So, if you encounter this issue, consider changing the settings in BIOS using the procedure below:
- Power on your computer
- Restart the computer, and press the F8, F12, F10, or Esc buttons when the manufacturer’s logo appears.
- This presents two options depending on the computer brand – the BIOS menu or a list of options with the BIOS menu. For the second option, use the arrow keys to navigate the options to choose the BIOS menu.
- Choose the right option for your monitor’s numbers. If you have several monitors, enable IGPU or IGPU Multi Monitors. But if you have a single monitor, disable it.
Find the PCIe and PCI setting through Onboard, PCI, PCI-e/onboard backup, or PCI-e. The actual option depends on the computer brand. Check the options individually to see if they can resolve the issue.
Also, you can try resetting the BIOS configurations to see if it can resolve the issues.
Resetting BIOS
The quickest way to recover BIOS default settings is via the three-pin jumper, as shown below:
- Power off your PC by pressing and holding the power button down
- Flicker off the power switch to entirely cut off the electrical current. Plug off the power cable.
- Carefully open the chassis to gain access to the motherboard.
- Find the CMOS reset button. Press it.
- If the switch is lacking, locate the three-pin jumper close to the battery. Change it to a precise position – there are labels, for instance, CLR PWD/CMOS, CLEAR CMOS, or CLEAR, which help you move the switch.
- Swap the three-pin jumper through the various positions. Note that the 3-pin jumper sits on two of the three pins; thus, change it from the 1-2 stance to the 2-3 position.
- Mark time for approximately five minutes and return the jumper in the same position
- Reassemble, reconnect, and reactivate your computer.
These steps should reset your BIOS. If it does not work or you can’t find the BIOS jumper, consider removing the battery. This is another foolproof method of resetting your BIOS.
Now let’s reset the BIOS by removing the CMOS battery. Here is the procedure:
- Repeat the first three steps stated in the above process.
- Locate the battery
- Remove the battery – the procedure varies with the manufacturer. In some computers, you can remove the battery by simply pulling the toggle at the back of the computer. So, you don’t need to open the chassis—the battery pops out in a tray-like holder.
- The battery is within the chassis, under the PCI slots for most other computers and laptops.
Use the manufacturer’s manual or server on the official website to find the exact location of the battery.
– Update the BIOS
Updating the BIOS is an effective way of solving the black screen display issue. Before updating the BIOS on your faulty computer, ensure you download the latest version from the official website.
Zip the file and store it in a flash drive. Get the exact update for your motherboard model; so check the manufacturer, version, and serial number.
Follow the procedure below to update BIOS:
- Switch off your computer by pressing and holding down the power button.
- Power on the computer, and when the logo appears, enter the BIOS settings. Use F2 or F12 for Dell and Lenovo; for ASUS and Acer, use F2 or Delete, while for HP, use ESC or F10.
- Insert the flash drive and open it to upload the files in the BIOS. You can use the “Boot,” “Configurations,” or “Advanced” menu to open the flash drive. That depends on the motherboard model.
- After the installation process is over, exit BIOS.
This step should update the BIOS.
– Other Graphics Card Black Screen After Boot Fixes
Here are other proven fixes you can try:
- Ensure that your CPU is getting enough power
- If you reckon that your motherboard is faulty, consider replacing it. But before touching your device’s motherboard, enough that you have adequate expertise in fixing issues.
- Do not use the latest component on an old PC. For instance, ultra-modern video cards such as AMD RX cards are poorly suited for legacy systems, especially those lacking UEFI firmware.
- Update Windows operating system because an old operating system will not support a new device. Go to Settings> Update & Security> Windows Update> Check for updates
- Your newly bought card may be faulty; replace it. Check for dents, frying marks or deformation. Also, check the GPU temperature.
Conclusion
Still wondering, what is most likely the cause of a black screen right after you install a new video card?
There is a lot to discuss when it comes to a black screen after installing a new card, but here are key points:
- State-of-the-art graphics cards can only work on devices with the latest drives, operating systems, and updated BIOS.
- A screen can shut off due to insufficient power, loose connections, dated BIOS and OS, damaged motherboard, and incorrect or lack of card drivers.
- The correct way to fix the dark screen after installing a new video card is to know the exact cause. That is why, in some cases, you may need to try several remedies to find the correct one.
- The motherboard is a delicate computer component. Therefore, do not alter anything unless you have sufficient knowledge about its working.
We have presented lots of causes of black screen after installing a new card and their solutions. Most of these solutions can be executed at home without special tools.
Hopefully, you can manage them efficiently. Nevertheless, if you are unsure, consult a professional.


