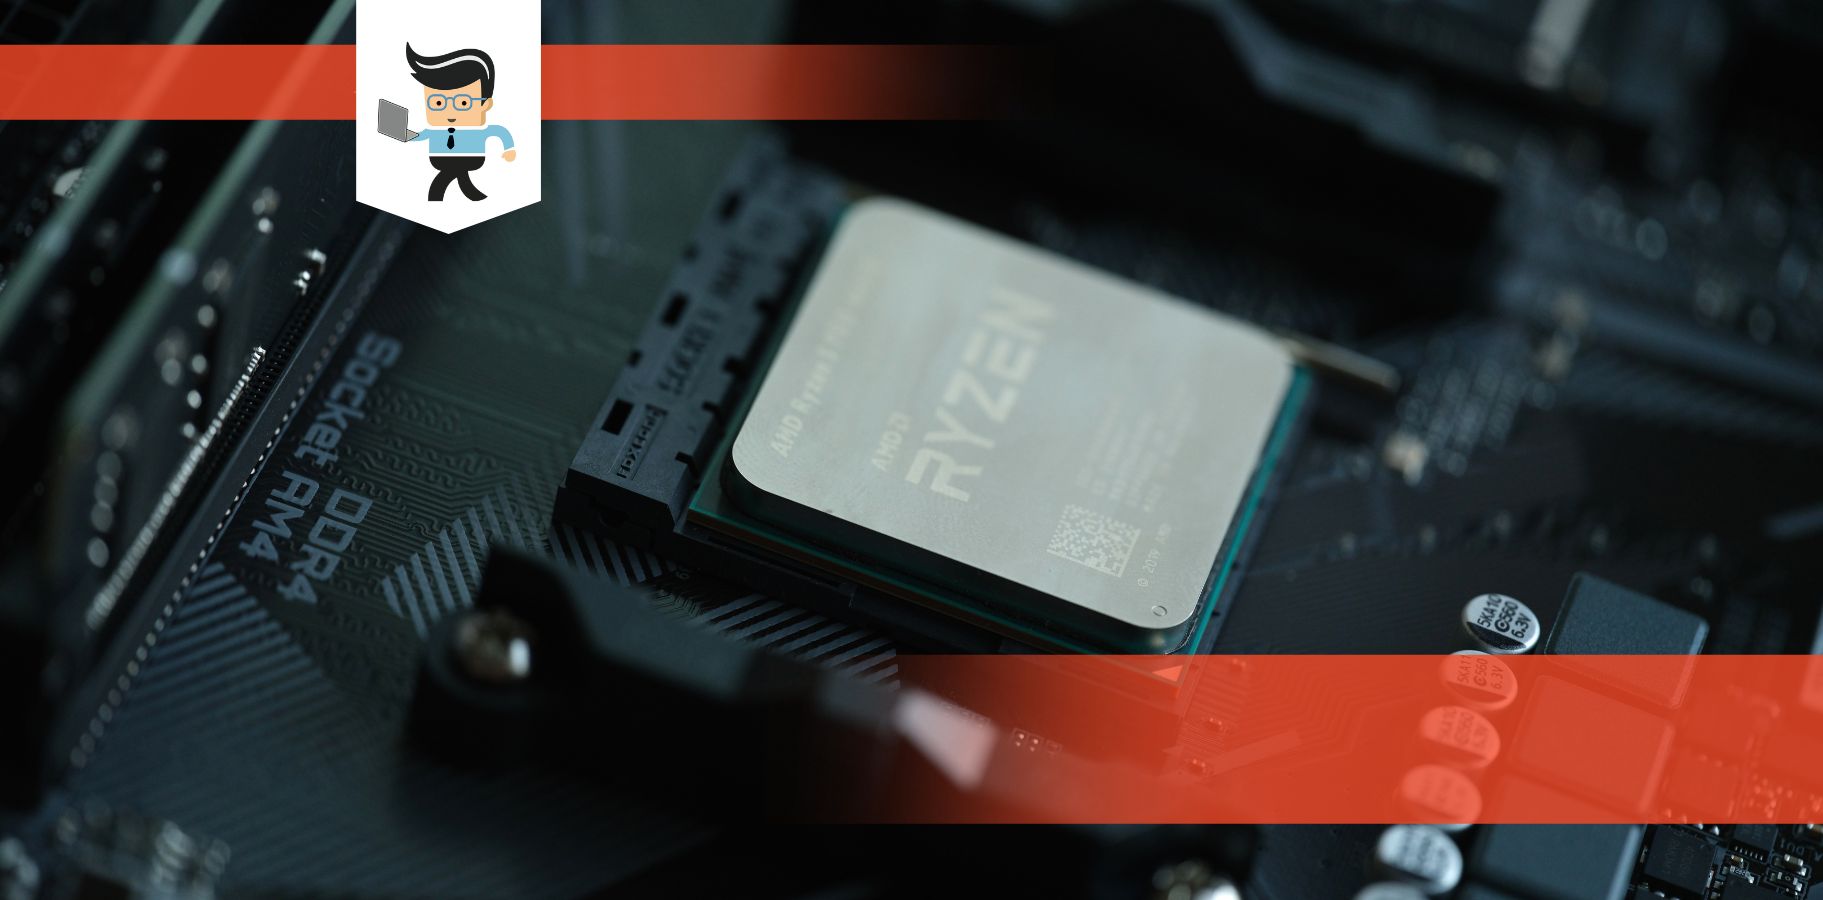
If you are going to make the switch from AMD to Intel, there are a few things that you need to know before changing your motherboard. This is a step that many people will inevitably take, as changing and switching motherboards is one of the most common ways to upgrade a computer build. If you are a little worried, don’t fret, you aren’t alone.
 This article will break down how to switch from Intel to AMD and give you some pointers on how to integrate a new motherboard into your build. Keep reading to find out more.
Contents
How To Switch From Intel To AMD
Changing from an Intel motherboard to an AMD motherboard takes time and some patience. You are going to want to do it slowly and with precision.
There are many hurdles in your way, but know that this isn’t impossible and your computer will be better for the work you do.
Whether you are switching from Intel to AMD on Windows 10 or an older OS, you will pretty much follow the same steps.
Create A Backup Of Your Data
As you are switching brands, you will need to reinstall Windows 10 on your computer. As such, you need to back up your data.
To do this:
1. Type “Windows Update” into the Windows Search bar.
2. Choose “Windows Update Settings.”
3. Look for “Update & Security,” and then select “Backup.” Be sure that the on-off indicator is toggled to the “on” position so that the File History will back up your files. Everything will go to a folder on OneDrive.
4. If your File History tool is off, you will then see an “Add A Drive” option. Click on that option, and Windows 10 will search for an external drive to use for backup.
5. Select your external hard drive, and Windows 10 will do all the work. You should know that this can take some time.
6. Wait for the prompt that the backup has completed and then check to ensure that everything is there.
Now, you can move onto the actual replacement. We will tell you how to reinstall a bit later.
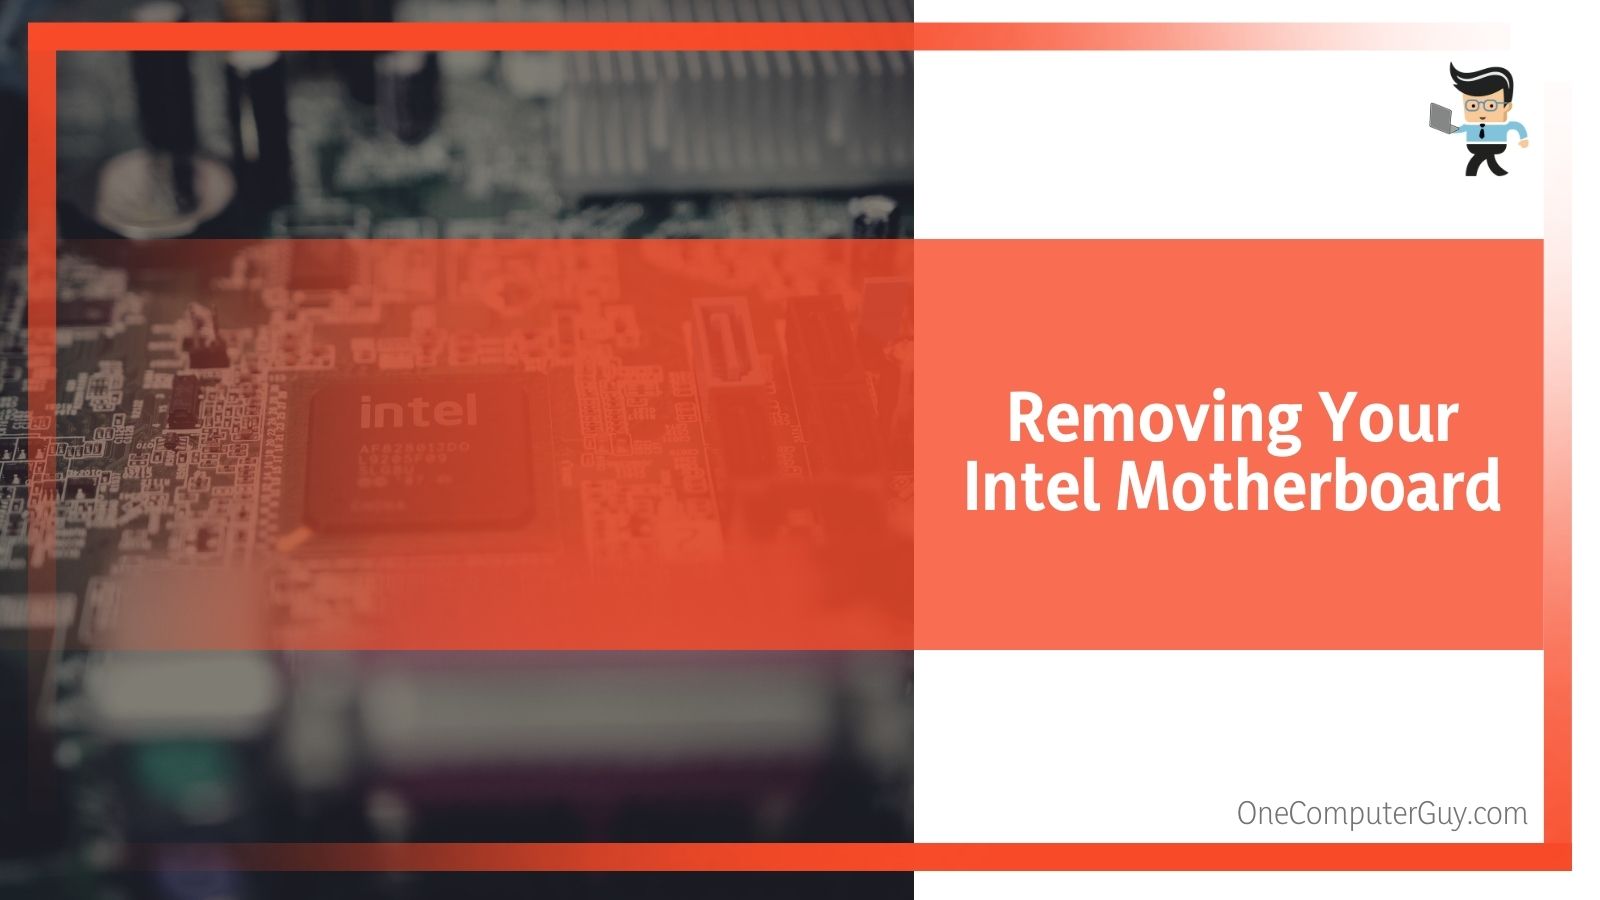
Removing Your Intel Motherboard
The first step in switching from Intel to AMD is removing your old motherboard. It may be a good idea to take a picture of your current setup so that you can use it if you get confused, as motherboards are all built in a pretty similar fashion.
1. Power down your computer and ensure that all of the moving parts have stopped.
2. Remove all of the cords and cables attached to your PC, even if they aren’t related to the motherboard.
3. Open up the side of your computer’s case so that you can access the motherboard. Now is also a great time to clear some of the dust that may have built up, as you have some space.
4. Start by removing bigger items such as any graphics cards or Wi-Fi cards. Carefully dust them.
5. Next, remove the SATA and any other interface cables connected to the SSD, hard drive, or optical media drives. Once again, take pictures if things look complicated.
6. Disconnect all of the power cables plugged into your motherboard. For Intel, this will be an 8-pin CPU power connector near the top, a 24-pin ATX power connector on the left side, and maybe one more, depending. If you plan to reuse this motherboard or sell it, be very careful to remove these pieces.
7. Using Phillip’s head screwdriver, remove the screws mounting the Intel motherboard to the PC’s case. You will need to use these screws again later, so be sure to save them.
8. Pull your motherboard free from the case.
 9. You will need to remove the CPU cooler, CPU, and RAM as well. These will be installed with your new motherboard. Do not force anything out, and it should quickly come out. Twisting or turning can accidentally break something.
Installing Your AMD Motherboard
The next step is to install your AMD motherboard. You want to do all of this in one go, as you already have the case open and everything is fresh in your mind. The picture that you took before you pulled out the Intel motherboard is going to come in handy.
1. Install the CPU, CPU cooler, and RAM to your new motherboard. You want to insert your motherboard’s I/O shield in the rear of the case and then place the motherboard into the empty case.
2. Take your motherboard’s standoff screws so that it doesn’t directly touch the case’s wall. You risk frying your motherboard when you power on, so don’t try to take a shortcut here.
3. Replace the power connectors, the 24-pin and 8-pin, and any other power connectors.
4. Plug the SATA cables back in, ensuring a tight fit.
5. Put any cards back into place.
6. Check to ensure that everything is seated firmly and that all of your wires look organized and neat.
7. Reconnect external cables that were connected to your PC.
8. Power on your PC might take a little bit, and your PC may even reboot a few times.
9. Reinstall Windows 10.
How To Reinstall Windows 10
To fully reinstall Windows 10, you will need to use the external hard drive you used earlier.
This is easy to do, even though it may take some time.
1. Open Settings.
2. Click on “Update & Security.”
3. Click “Activation.”
4. Go to the Windows section and then click on the “Troubleshoot” option.
5. You should see an option that says, “I changed hardware on this device recently,” and click it.
6. Confirm your Microsoft account. Click on the sign-in button if prompted.
 7. Select the device that you want to reactivate (your computer.) If you don’t see the device linked to your Microsoft account, it may be under “See Other Devices Linked To Your Microsoft Account.”
8. Check the “This is the Device I’m Using Right Now” option.
9. Click “Activate.”
Windows 10 will take over from here, and you can reactivate. Then, you can use the hard drive from earlier and get everything onto your new computer.
Conclusion: Switching From Intel To AMD
In the end, switching from Intel to AMD is an excellent choice for most people, and while the work is tedious, it is relatively easy to do.
Just ensure that you:
● Work with gentle hands to not break anything;
● Avoid working with sweaty or greasy fingers;
● Take pictures as you go to ensure everything fits back together correctly.
It might seem like a lot of work, but it will be worth it when you have a computer that you love.


