
The power supply fan making noise issue is more than just an annoying drone in your workspace. It’s the early warning of a potential hardware failure that might render your computer useless. The quickest way out is to know the root of the issue and transform your PC into a whisper-quiet device, regardless of the task.
In this article, we’ll unmask the hidden causes behind a noisy power supply fan and offer foolproof fixes thereafter without a trip to the tech store.
Contents
Why Is Your PC’s Power Supply Fan Making Noise?
Your PC’s power supply (PSU) fan could be making noise because of physical damage to the fan blades. When fans are broken or bent, they tend to touch the sides of the case, causing noises. However, noises can arise due to misalignment, wear, and tear, or loose components causing vibrations.
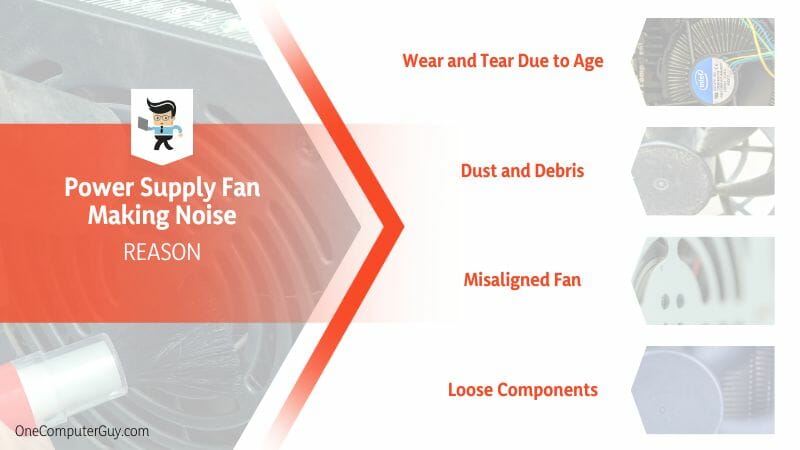
Let’s look at the possible causes for the power supply fan making grinding noise:
– Wear and Tear Due to Age
A spinning fan is subjected to constant friction and stress. Over time, the PSU fan bearings (allow smooth rotation) may wear down. This gradual degradation can result in a disturbing grinding noise.
You might notice decreased airflow or strange noises emanating from your PSU.
– Dust and Debris
Microscopic particles accumulate over time, clogging up the fan. This subjects the fan to additional strain. As a result, you have a power supply fan loud on startup. The ‘loud on startup’ phenomenon is because the fans push against obstructive particles.
Debris, like loose screws or random pieces of plastic, obstructs the rotation. Usually, the PSU fan might whack into this debris during its rotations.
– Misaligned Fan
All parts of the fan work in unison when correctly aligned. This creates a seamless, noiseless spin. However, physical impacts or degradation can cause misalignment, leading to uneven rotation.
This uneven rotation can cause vibrations that resonate throughout the PC case, manifesting as a buzzing, humming, or grinding noise. Note that the slightest misalignment can make your fan scrape against other parts.
– Loose Components
If loose components wander within the PSU fan, you will hear noises. For instance, bolts and screws within the fan casing can lead to vibrations and odd and buzzing noises.
This is noticeable, especially when you engage your computer in resource-intensive activities.
– Poor Quality Components
Cheaper power supplies are often designed from lower-quality components. Such components are prone to wear and noise. Bearings that wear out quickly will start to grind soon.
Similarly, poorly made fan blades will cause your PSU or graphics card fan to buzz when playing games.
– Inadequate Power
An underpowered PSU struggles, splutters, and stalls. If your PSU does not deliver enough power, the fans will struggle—the result: Irregular and noisy operation.
How to Make Your PSU Fan Quieter Like a Pro
To make your Power Supply Unit fan quieter, clean it with compressed air and a lint-free cloth. If your PSU fan is old, replace it with a modern quieter fan version, or you can replace the entire PSU. If that is expensive, consider a fan speed control solution.
– Cleaning Your PSU
Here is the procedure for cleaning the PSU fan:
- Assemble the materials – a can of compressed air, a small brush
- Turn off your PC, unplug the power source, and open the back or side panel.
- Locate your PSU in the system unit -top or bottom.
- Gently blast away dust using compressed air. Maintain a five-to-10-inch distance to prevent destroying delicate parts.
- Use a small soft brush to remove stubborn dust particles. Be gentle not to destroy the blades.
- When satisfied, reassemble your PC and the fans.
Make cleaning a routine because a clean PSU reduces noise and helps your computer run more efficiently.

– Adjusting Fan Speed
Sometimes, your PSU fan might spin too fast, causing unwanted noise. You can adjust the fan’s speed via the BIOS or PSU fan control software.
-
Check your BIOS:
- BIOS is the system that has settings for fan speed. Restart your computer and press the F2, F10, or Del keys on the startup screen to access it.
- Look for a Hardware Monitor System Health. Inside, you’ll find settings for your fan speed.
-
Use Software:
If your BIOS doesn’t offer much control, you can use fan speed software tools such as SpeedFan for Windows or smcFanControl for Mac. Here is how to use it:
- Install the software and go to the fan speed section.
- Adjust your fan speed as you like
– Checking For Loose Components
Sometimes, components break and fall within the PSU fan. Also, bolts and screws might unscrew themselves and fall within the fan compartments. So, open your computer case and carefully examine the PSU. Remove any loose components or objects.
Also, tighten the loose components or screws. However, if you find loose components that aren’t held by screws, consider replacing the power supply unit.
– Replacing the Fan
Replace your fan when you see deformities, such as bent, broken, or cracked blades. Similarly, if the fan wobbles or spins erratically, consider replacing it. Here is a quick procedure:
- Assemble your tools – a screwdriver, a new PSU fan (similar model to what you are replacing), and a can of compressed air.
- Power down your PC and unplug it from the power source.
- Open the system unit casing. Some may have screws, while a few use latches. Remove the fasteners accordingly, then slide or pull the panel.
- Find your PSU, then carefully disconnect it from the rest of the system. You must unplug all the attached cables and track where the cable goes.
- Carefully unscrew the four screws that hold the PSU at the back of the holding case. Now, gently lift the PSU of the casing and place it somewhere flat.
- Open the PSU by unscrewing the screws or unfastening any holding mechanism. Once the fan is exposed, use your screwdriver to detach the old fan from the old fan. Be careful while handling a PSU, as it may contain charged capacitors.
- Get the old fan out and connect the new one. Be careful to insert all the fan cables into their correct ports. Now, close the PSU casing and screw it in place.
- Install the PSU back into the computer. Ensure you place the PSU into the correct slot and screw it in place. Plug the cables into their rightful slots/ports. If you took a reference photo, use it now.
- Close your PC’s system unit and plug your computer into a power source. Test the fan.
– Using Rubber Grommets
Rubber grommets can help reduce vibrations from the PSU. So, if your fan noises result from vibrations, a rubber grommet can stabilize the PSU, reducing the noise.
To use the grommets, you need to buy the correct grommet. Check the manufacturer’s buyer guide for details. After that, follow the steps below:
- Switch off your PC, and unplug it from the power source. If the side panel is screwed, use a Phillips-head screwdriver to remove it. But always refer to your case manual to be sure. Otherwise, unlock the latches and then remove the panel.
- Locate your PSU and take a photo for reference. Remove all the cables carefully. Next, unscrew the PSU case and place the screws in a safe container because you will need them.
- Install the rubber grommets. The grommets usually come with an adhesive side. Stick them to the bottom surface of your PSU at each corner. Make sure they align with the screw holes.
- Once the rubber grommets are firmly in place, put your PSU back. Place it into the case, aligning the grommets with the screw holes.
- Now, screw the PSU back in place. The rubber grommets should dampen any vibrations, leading to a significant decrease in noise.
Reconnect all the cables you unplugged earlier and close up the computer case—power on your PC to test out the newly quieted PSU.

– Using a Fanless PSU
Fanless PSUs could be another solution.
- Choose a fanless PSU with enough wattage for your PC.
- Replace your current PSU with the fanless model, following the above-mentioned steps.
Ensure your PC case has good ventilation, as fanless PSUs rely on passive cooling.
– Using Acoustic Foam
Acoustic foam can help reduce noise. Here’s a step-by-step guide on how to use acoustic foam to make your PSU fan quieter:
- Choose the right acoustic foam
- Turn off your PC and unplug from the power source
- Measure and cut the acoustic foam based on the dimensions of your PSU. Use a utility knife.
- Clean the PSU area properly to allow the PSU to adhere correctly.
- Attach the acoustic foam using a strong adhesive such as double-sided tape.
- Ensure you do not cover any ventilation holes because your PSU needs to breathe to avoid overheating.
- Put your PSU back in your PC and return the back panel.
Acoustic foam has noise-absorbing properties. So, even if your power supply fan rattles, you will not hear the noises. However, consult a PC technician to help install them if you are uncomfortable with the process.
Conclusion
We have given you detailed solutions for dealing with a power supply making noise in this post. Let’s summarize the topic.
- If your PSU fan has a coil whine, it will produce a consistent buzzing sound, especially when playing games. This is usually a quality control issue.
- Loud noise on startup indicates dust built up, poor airflow, or improper case fan positioning.
- When you hear grinding noises, it could be an unbalanced fan blade due to dust/debris or the bearings needing lubrication.
- But a hard drive can also make noise. Be sure it is your PSU fan before making any changes.
This content is ideal for anyone looking to quiet their loud fans. Check out the causes of the problem and how you can fix it.


