
Learning how to reimage a computer is a technique that wipes out all the data stored on your device and could be used as another name for restoring your computer system to its default factory settings.
Suppose you learn that your computer’s system seems corrupted somehow or the performance is inferior to what it should generally be. In that case, it might mean you need to reimage the computer.
In the following sections, we will take an in-depth look at how you can reimage your device in several ways and get the performance back to optimal!
Contents
How Can I Reimage My Computer? The Safest Approach
You can reimage your computer in several ways, including using a bootable disc to reinstall your operating system, using the Recovery Partition function on your PC, or utilizing the built-in feature of “Reset This PC” in Windows 8 and above.
– Reimaging via Recovery Partition
Suppose you don’t have the bootable disc, which is a general necessity when you want to reimage your PC. In that case, you can use the Recovery Partition on your Windows device instead. This particular section on your PC hard drive can reimage your device when you experience any system issues and need to restore everything to default settings.
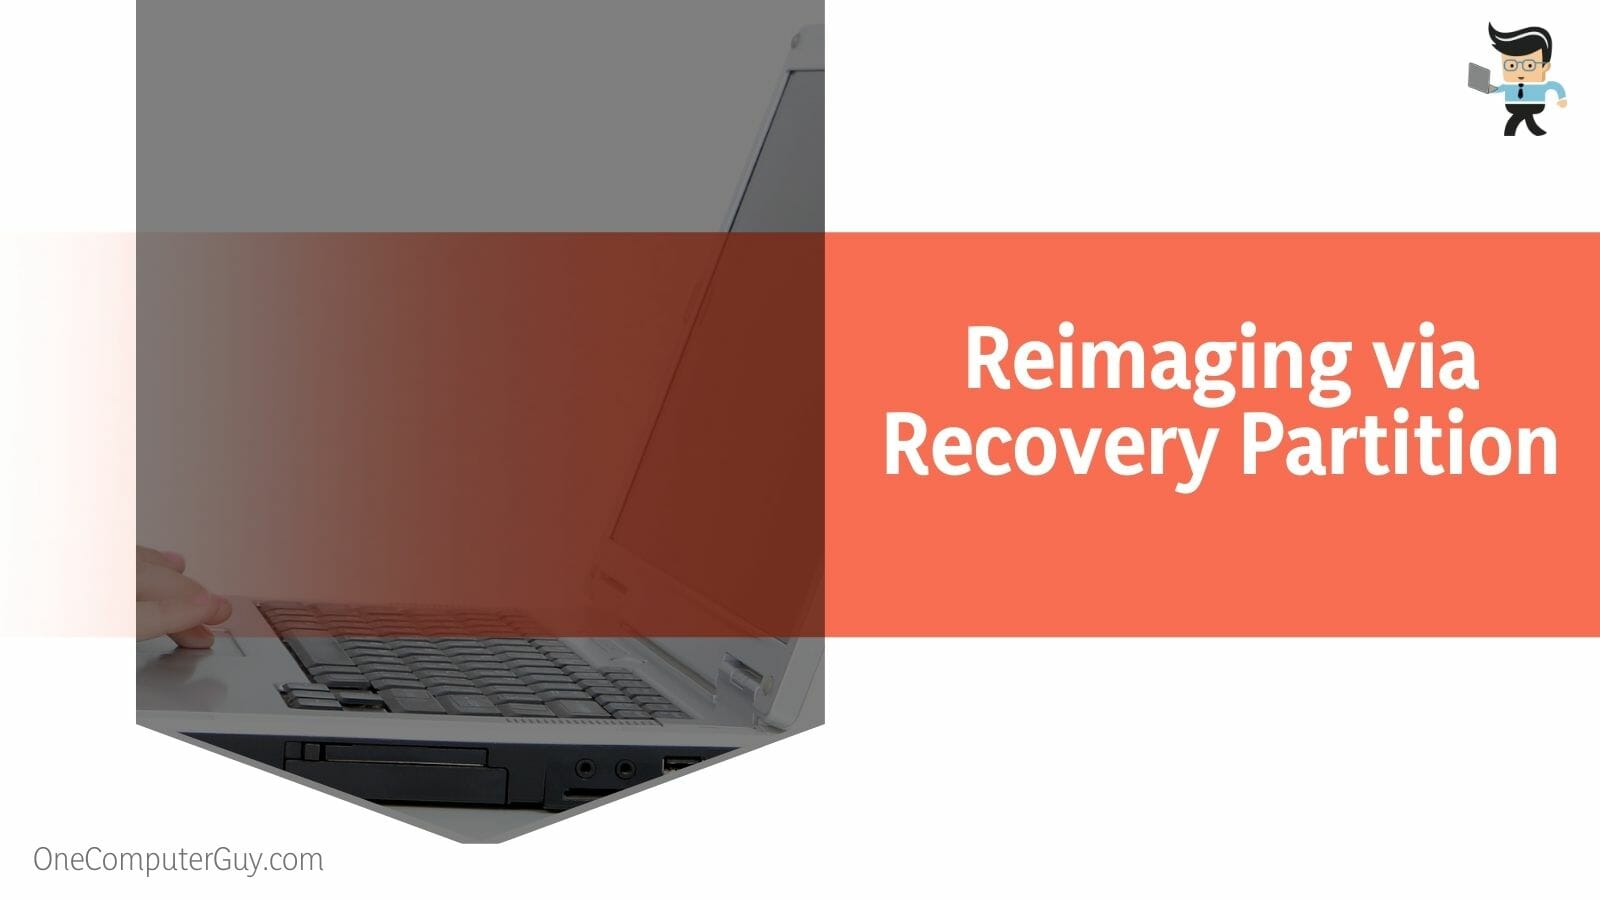
Suppose you are a user of HP, Dell, or Lenovo. In that case, you will find that your computer’s hard disk has a pre-configured recovery partition. You may also be able to locate the recovery drive in the Disk Management section of your device, but that is only if the system disk is utilizing the GPT style.
Depending on your device’s brand, the unique key combination required to boot the computer to recovery mode will differ. For HP and Lenovo, it would be F11, while Dell will go into boot mode with the F8 key. Once you are in recovery mode, you can follow the instructions provided by the wizard. You can put your computer back to its factory settings through this process.
– Via “Reset This PC”
Another option to reimage your computer when you don’t have a bootable disc is to use the built-in feature of “Reset this PC,” which comes with all computers with an operating system of Windows 8 or 10. This option works well when you want to completely reimage your device and is relatively easy to follow through.
To begin the reimaging process with this method, you need to head over to the Start menu, which can be accessed by tapping the Start button. From here, select the Settings icon, which will take you to Windows settings. Next, you have to click on “Update & Security” from the given options. Once you enter the “Recovery” interface, you should be able to locate the option of “Reset this PC,” which you will need to select promptly.
Here, you will choose to keep files or remove them entirely before the system reinstalls Windows for you. To begin the reimaging process, select “Get Started” and choose your preferred option.
Once you have done this, you can hit the Reset button. You will need to wait for a while as the computer is thoroughly cleaned up, and as soon as it is done, the device should restart automatically.
When it restarts, you must select “Continue” as it appears on your screen. Then you will have to follow the instructions on the screen to finish the reimaging process successfully.
– Reimaging After Failure to Boot
Reimaging your Windows computer should go smoothly. Still, there is always a chance of issues within your operating system. Therefore, you might not be able to open your device in boot mode.
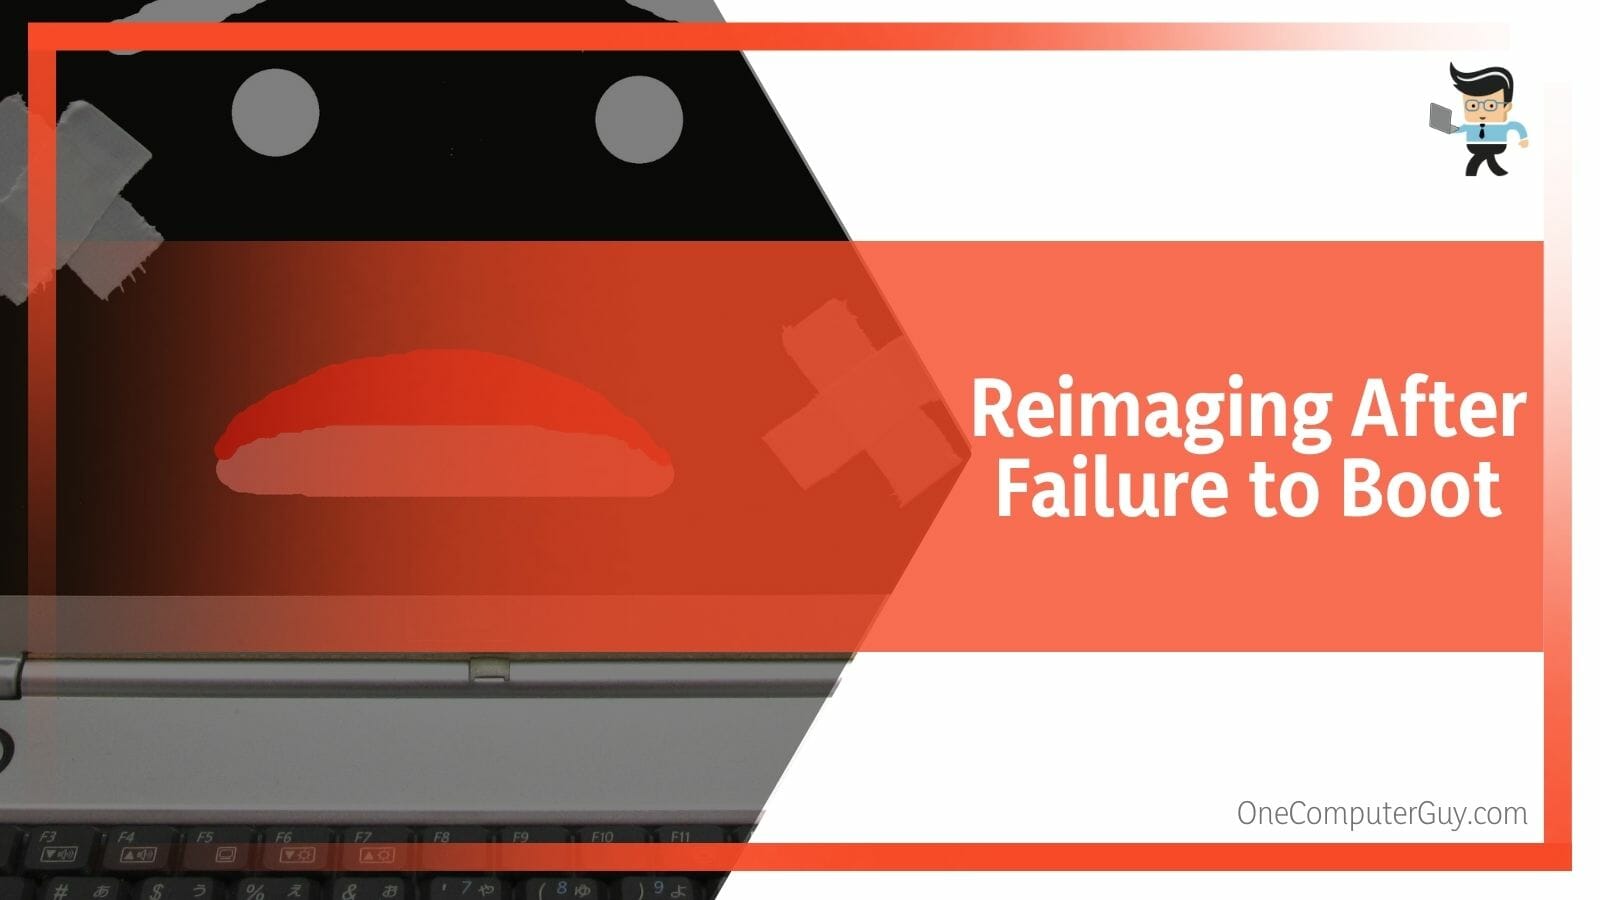
Suppose your computer cannot navigate the Recovery Environment on its own. In that case, you will need a way to reimage it without having this problem.
This can be done by heading to your computer’s “Troubleshooting” section. Here, you can locate the option of resetting the PC. Select it when you find it, and then select the option of removing everything before you move on to the next step. From the given options, choose “All Drives” and then choose the option of thoroughly cleaning the drive, to resolve any system errors.
– Reimaging and Repairing
Press the F8 key on startup if your copy of Windows 7 doesn’t have a recovery partition. Then select the option “Repair Your Computer” and “System Image Recovery” from the System Recovery Options box.
The “Advanced” click should be followed by “Search for a system image on the network.” After that, follow the wizard’s instructions to repair and reimage your computer properly.
– Reimaging with a USB Drive
Additionally, a USB device may be used to reinstall Windows instantly. Install Windows 7 by downloading the ISO file. Download the relevant ISO file if you are using Windows 10 or 8. Burn a USB flash drive using the ISO file as your installation medium.
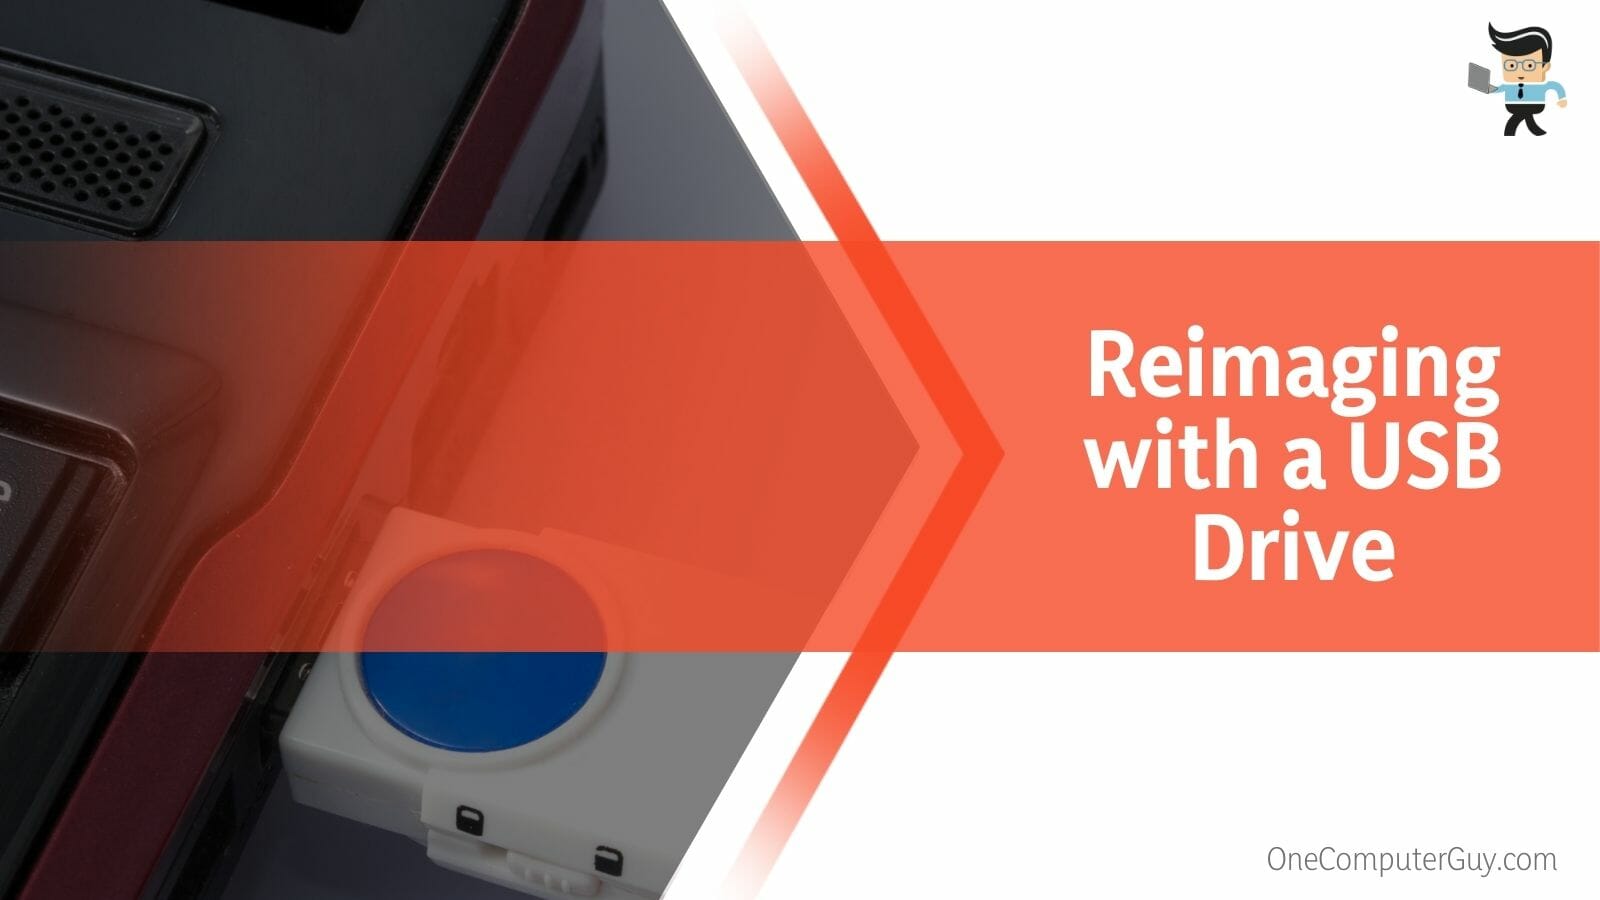
To boot your computer from this USB device you’ve generated, modify the boot order in BIOS. The loading of your Windows setup will start. Then, select the language, time zone, currency format, and keyboard type in the Windows setup. Once this is done, you must hit the “Next” button.
Tap the Install button now, and after that, you need to select the installation type that you desire. Choose the hard disc and partition on which Windows 7 installation should take place to allow the system to reimage Windows.
– Reimaging a PC without data loss
Even though it states you can preserve your data, you might still be in danger of losing important data, regardless of your method. Therefore, it is advised to create a file backup before reimaging a system. After that, you may reimage a PC under Windows 10 without worrying about losing any data.
A built-in backup tool is available in Windows 7,8 and 10, and it lets you backup files, create an image of the current operating system, and select which system discs to back up.
Occasionally, problems with Windows backup arise, such as being stuck at 99% or not having enough capacity to generate a system image. Before reimaging your computer, make a backup of it first. Then, you can do it without worrying.
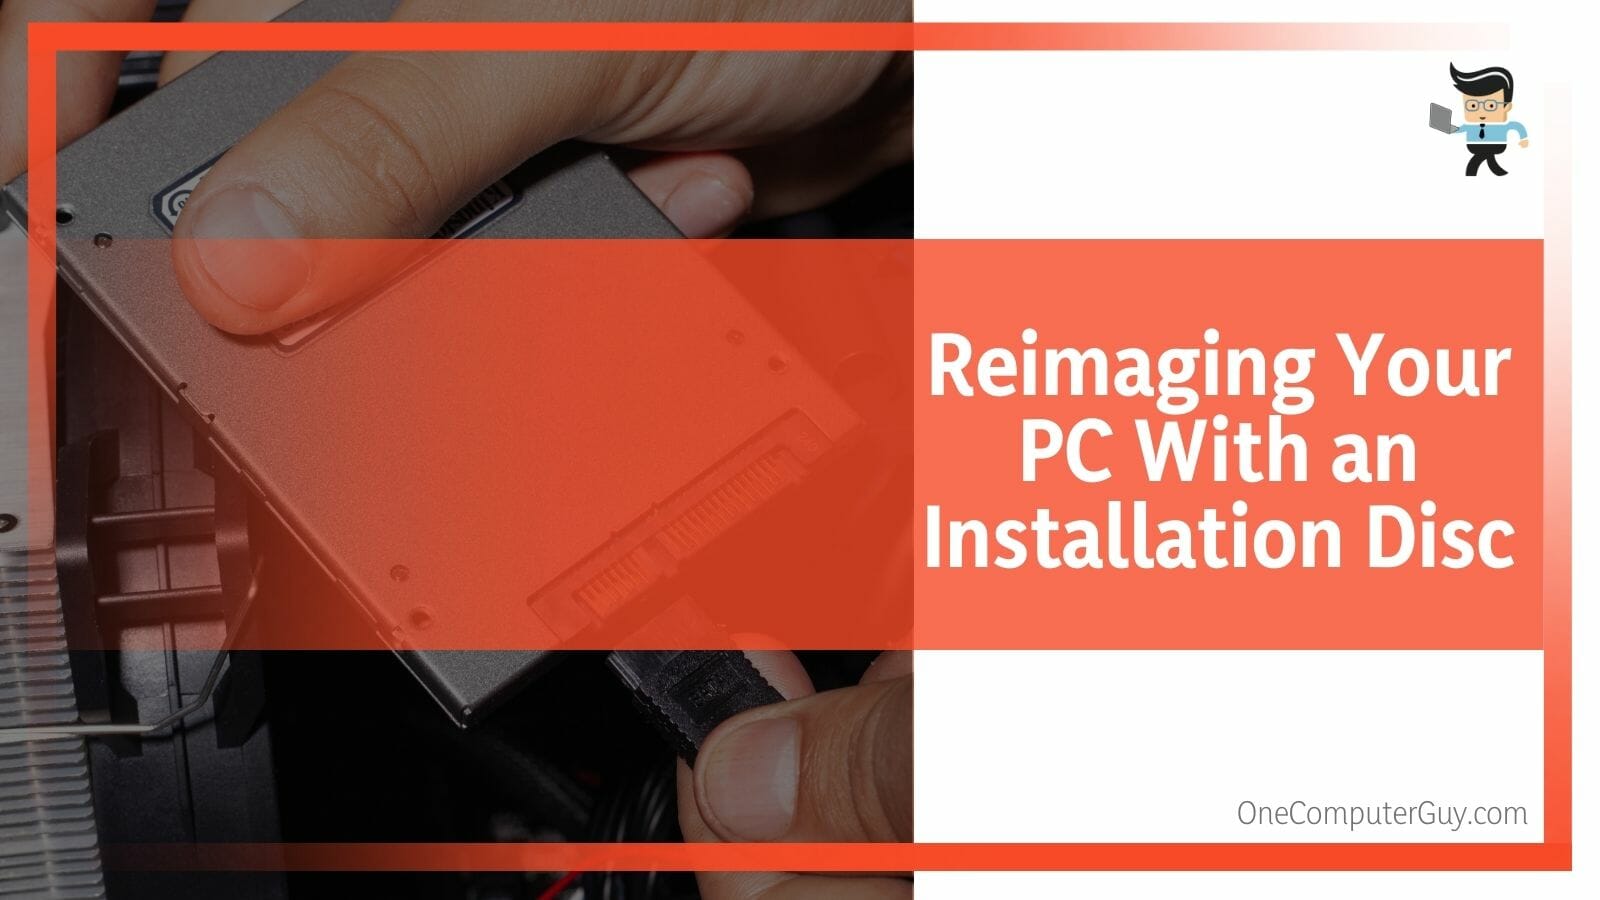
– Reimaging Your PC With an Installation Disc
Once you have created a system image in your computer, you can reimage your device directly from BIOS by using an installation or bootable disc. You will need to start by taking the disc, plugging it into your computer, and then using it for booting. This can be achieved by restarting the computer and accessing the BIOS by pressing either the ESC or F2 key.
After you have accessed BIOS, you will need to navigate to the “Boot” section. By pressing the plus icon, you can move your disc to the first choice in the listed options. Then, you may save your changes by hitting the F10 button and the “Yes” button if you get a prompt.
Next, you must select any key when you get a message on your screen asking you to do so. You may select your desired preferences from the first window for the setup and then press the “Next” button. Select the “Install now” button and wait for the setup to load correctly. Once you have agreed to the terms and conditions, you can select the button to go to the next window.
Then, you will need to delete the partitions existing in your hard drive. This can be achieved by clicking on the partition you wish to reimage and selecting the “Delete” button. To delete the remaining partitions, you simply need to repeat these steps. Once all are deleted, you can hit “Next” and adjust your custom settings to finish the reinstallation.
Conclusion
In this elaborate article, you will have learned all the techniques that can be utilized when reimaging your computer for good before you decide to throw it away or sell it to someone else.
From using the recovery partition to ensuring the files are all backed up, here are the most critical points of the guide, jotted down for the sake of proper revision:
- You can reimage your PC by using a bootable disc to reinstall your operating system on the device.
- You can also consider using the Recovery Partition function on your PC if you don’t have a bootable disc.
- Alternatively, you can utilize the built-in feature of “Reset This PC” that comes in Windows 8 and above.
- Before reimaging your computer, regardless of the reason, it is important to ensure that your important files are properly backed up.
Once you have reimaged your device properly, you can let go of the fear that your information residue might fall into the wrong hands and cause damage to your identity and privacy. Follow the methods listed in the guide above, and you can wipe the computer completely within no time!


