
 Wondering how to make a rules channel in Discord to keep your members in check is common in the discord community.
As one of the biggest communication apps, Discord, Discord is more prevalent among gamers, but anyone on the globe can use it these days.
Users enjoy the ability to create servers and channels for various purposes and across different platforms.
In this comprehensive guide, we will help you learn how to make a rules channel and enjoy other features on Discord.
Contents
How To Make a Rules Channel in Discord For Desktop?
To make a rules channel in Discord, first, locate the Discord app on your desktop and open it. Then, find the server icon, right-click, and enter “Create a Channel.” You will see two options: “Text Channel” and “Voice Channel.” Select the text channel from there to set the rules channel.
Lastly, select “Text Channel.” Now, set your permissions, type in your rules, and select “Enter” to publish.
As you can see, setting up your rules channel in Discord using a PC is relatively easy. However, if this is your first time creating rules on an app like Discord, you should follow the more comprehensive steps below:
Open the Discord app. Find the server icon on the left bar; right-click it.
– Select the “Create Channel” Option
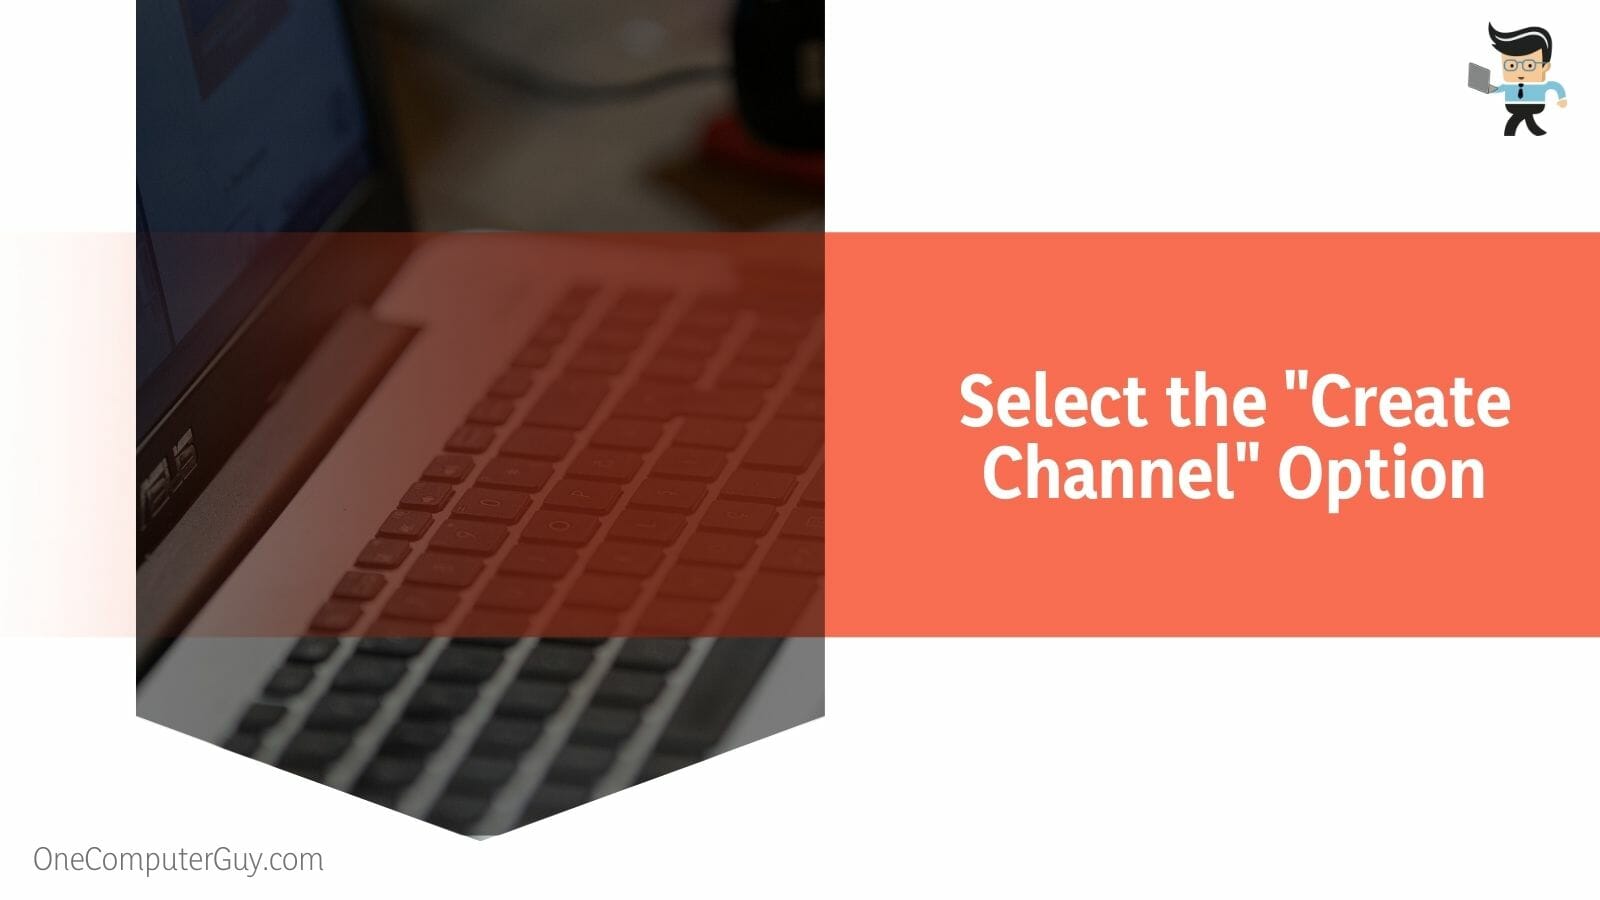
Open the Discord app. Find the server icon on the left bar; right-click it. After clicking on the server icon, a drop-down menu will appear. Find “Create Channel” and select.
– Naming Your Channel
After you click on “Create Channel,” two options will appear: “Text Channel” and “Voice Channel.” Select “Text Channel” by tapping the circle on the side.
Go down the page; find the option tagged “Channel Name.” Choose a name for your rules channel and fill it in the area provided.
– Creating and Editing the Channel
You will find a blue, rectangular button at the bottom of the page that reads “Create Channel.” Click on it.

Go to the server’s detail pane and locate the rules channel you just created. Click the gear icon below to edit the channel. (You need to edit the channel to ensure it is set to read-only mode).
– Go to “Advanced Permissions”
Move to the left bar and find the “Permissions” option. Once you click on “Permissions,” the “Advanced Permissions” option will emerge; click on it.
After the step above will find the “General Channel Permission” page, but before setting your permissions, ensure that the @everyone feature below the “Roles/Members” option on the left side is selected.
– Enabling Important Options “View Channel”
Below “General Channel Permission,” find the “View Channel” option and tick the “✓” button next to it to turn it on. Now, scroll down and look for the feature that says “Read Message History.” Tick the box next to it just like you did with the last step.

Find the “Send Messages” option and do the opposite this time; select the “X” to turn it off. (This ensures that your members can only read the rules and not add texts).
– Listing the Rules
Once you set your permissions, scroll down and click “Save.” Afterward, return to the main interface by clicking the “Escape” button.
Now that you have created your rules channel, you should list your rules. It would help if you listed your rules in a numbered or bulleted form so that your members can easily read them.
If you want to bolden your rules for a more highlighted effect, add two asterisks at the beginning and another two at the end of the sentence.
– Click “Enter”
After listing your rules, select “Enter.” You have successfully set up your Discord rules channel on your desktop.

How To Make a Rules Channel in Discord Using Webhook URLs?
To make a rules channel in discord using webhook URLs, you must create the channel and set the right permissions. Furthermore, you have to choose the integrations option from the edit channel. Lastly, create a webhook URL and drop it at the official website of Discohook.
Webhooks are URLs that can serve unique purposes, such as linking services or sending automated updates and messages on Discord. However, you can also use webhooks to create a rules channel for your server.
Below is a step-by-step to get you started.
- Open Your Channel and follow the previously outlined steps to creating your channel and setting permissions. Once you have done that, find the channel on the server details drop-down menu.
- Select “Edit Channel.” For brief seconds, hover your mouse cursor over the channel you created and select the gear-shaped icon to edit.
- Click “Integrations.” On the “Edit Channel” page, you will find the “Integrations” option on the left side; click it.
- Create and Name Webhook. Look to the right, and you will see an option that says, “Create Webhook.” Click on it. Enter the server’s name in the “Name” field in “New Webhook.”
- Select Your Channel. Next to the “Name” field, you will find a “Channel” box. Click the “v” button. A drop-down menu will appear. Select the channel you created.
- Copy Your Webhook. Copy your webhook URL by clicking the grey button at the bottom of the page that says “Copy Webhook URL.”
- Go to DiscoHook. Open the DiscoHook official website on a new tab and hit the “Clear All” option.” Move to the “Webhook URL” section and paste your webhook URL in the space provided.
- Click “Add Embed.” Below the “Webhook URL” section, you will find the blue “Add Embed” button; tap it.
- Select “Embed 1” and “Body.” After selecting “Add Embed,” a menu will appear. Select “Embed 1” and then choose “Body.” Now, you can begin typing in your group rules.
- Try Out Other Features (Optional). You can check out the “URL” option by adding a link if you want to bolster a rule. Try out the color palette feature; this will help you change the text color.
- Publish Your Rules.
Once you have added all your rules, you will see them on the right side of the website’s page. Now, select the “Send” option beside “Webhook URL,” and the site will publish your post.
How To Make A Rules Channel In Discord on a Mobile Phone?
To make a rules channel in Discord on a mobile phone, launch the app on a mobile and open the app. Select the server icon from the drop-down menu. At the server menu, enter the name of your channel and then go to the edit option to add the rules.
Since the screen size of mobile phones is smaller than desktops, creating a rules channel using a phone is slightly different. After following the now-familiar steps of clicking on the server icon, editing the channel name, and typing in your rules, you will press “Send” to post them.
For a step-by-step guide, follow the detailed guide below.
- Launch the App on a Mobile. Open the app. Now, tap the three horizontally-shaped lines. (You will find the lines at the top of the Discord app page).
- Select a Server Icon. Once the drop-down menu appears, click on the server icon you wish to use to add your rules.
- Choose the “Create Channel” Option. Find the three vertical dots on the right side of your screen and select “Create Channel.”
- Input Your Channel Name. You will find a “Channel Name” section with a blank field below. Now, name your channel in the area provided.
- Select “Text Channel.” Below you will find the “Channel Type” section. Select “Text Channel.”
- Save and Edit Your Channel. Tick the “✓” icon to save your newly created channel. The site will take you to your channel. Find the hyperlinked text that reads “Edit Channel” bottom of the page and click on it.
- Set the @Everyone Permission. After selecting “Edit Channel,” the site will move you to the “Channel Settings” page. Find the “Add a Role” button and click on it. Then, select the @everyone option.
- Set the “View Channel” Permission. Go back to “Channel Settings,” look for “View Channel,” and tick the “✓” box.
- Check “Read Message History.” Go to the “Text Channels Permissions” section and activate “Read Message History” by tapping the “✓” button.
- Turn Off “Send Messages.” In the “Text Channels Permissions” section, find “Send Messages” and select the “X” box to turn it off.
- Save and Exit. Save your changes by tapping the blue icon shaped like a floppy disc at the bottom of the page. Now exit the page until you return to the chat page by continuously clicking the back arrow button.
- Access Rules Channel. Find the three horizontal lines at the left side of the page and click on them. On the drop-down menu, find your newly created channel. Select it.
- Add Your Rules. Once you access your new rules channel page, you will find a blank message field where you should add your rules. Feel free to add your rules in a bulleted or numbered format. Following the desktop method, you can also open and close sentences with double asterisks to bolden them.
- Post Your Rules. Once you add your rules, click the blue “Send” button to post them.
FAQs
1. How to Set Effective Rules on Discord Server?
To set effective rules for your server, you must consider your server’s purpose, target audience, demographics, and age range. Generally speaking. However, a few basic rules can apply to most platforms. Examples of such practices are: Do not send spam; do not promote; no adult content; respect each other, etc.
2. How Do You Add a Discord Bot to Your Server?
You can add a rule bot to your server after creating your rules by following a few steps. First, open a new browser. Search for the “Mee6.xyz” bot or any other one you intend to use. Press enter and add it to your Discord app.
Choose the server you wish to use the bot on and select “Authorize.” Give the bot all necessary permissions, and it will manage your server.
3. How Can You Make Rules Pop Up in Discord?
You can
- Firstly, head to the Discord web app and sign in. Secondly, navigate to your community server, then press the server’s name, and select “Server Settings.”
- On the left sidebar underneath the “Community” section, select “Membership Screening.”
- To add your server rules, click the “Get Started” button located near the bottom of the page.
Conclusion
This guide taught you how to make a rules channel in Discord using three different methods.
Here is a recap of what you have learned so far:
- To set up your rules channel on Discord using your PC, you must log in, create a channel, and set permissions before setting your rules.
- You can also use the Webhook URL feature on the Discord app to create your rules channel on the DiscoHook website.
- Using a mobile phone to create your rules channel is similar to using a desktop. However, you will have to take extra steps because phones have smaller screens.
- Using bots can also make your job as a moderator easier by helping you to enforce your rules.
There you have it! These three workable methods can help you easily set up your Discord rules channel that will comply with the Discord community guidelines. You can use the desktop method, the Webhook method, or the mobile phone method. Whichever way you choose, these easy step-by-step instructions will make it a breeze.


