
How to make a copy on a printer is vital knowledge to keep in mind, especially when you want to duplicate the document or image you currently have.
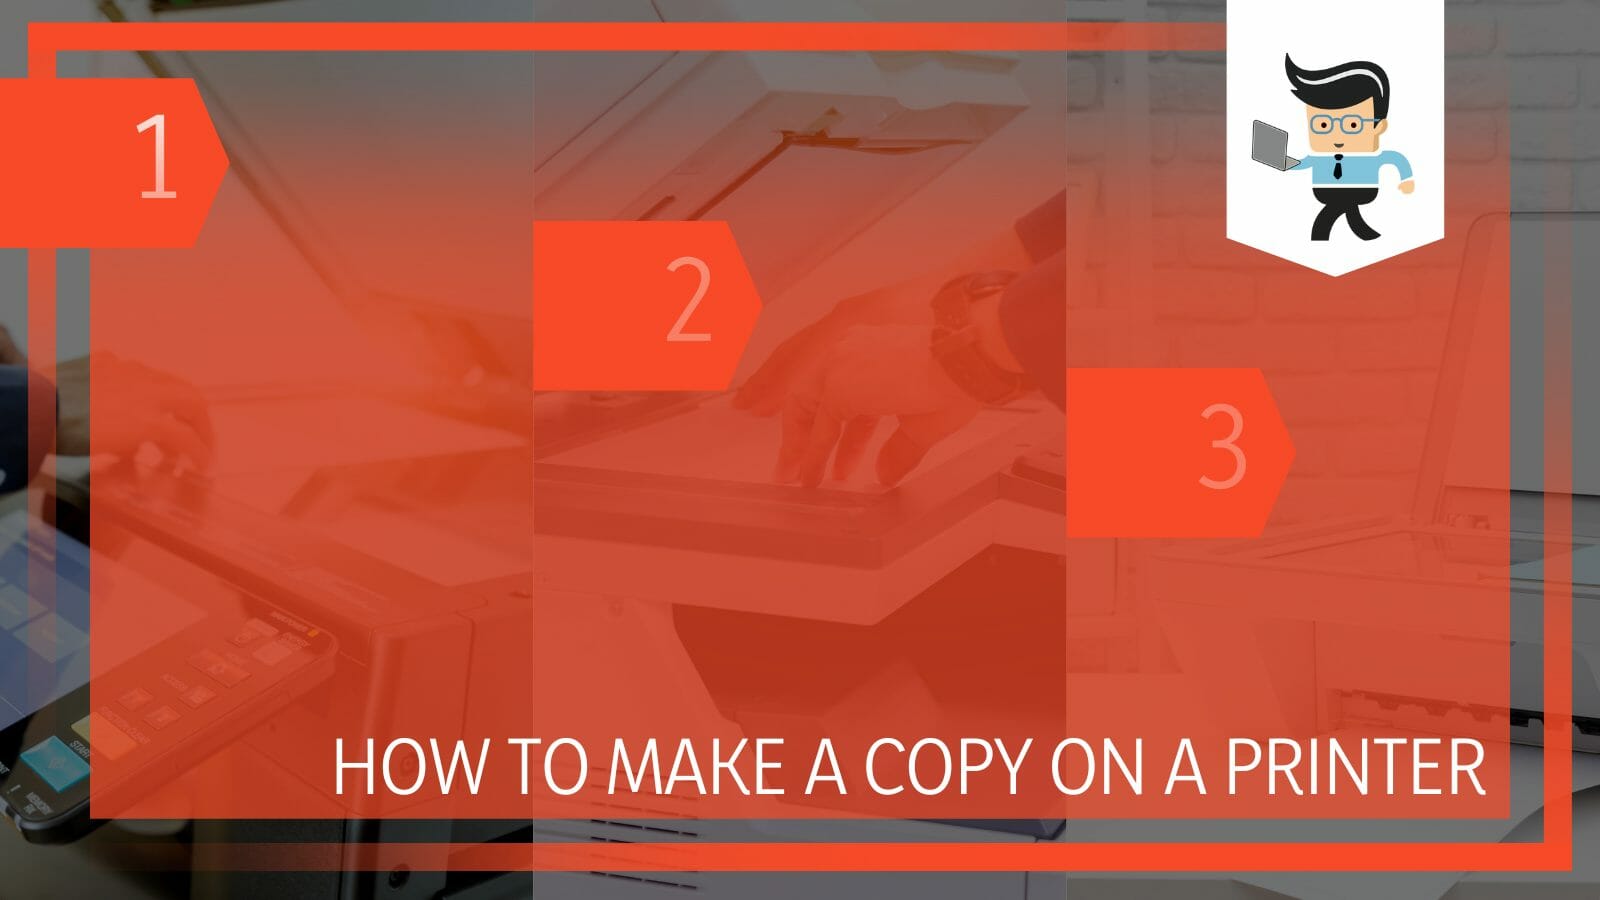
While a photocopying machine would be an ideal choice to copy content for academics or business, knowing how to do this with a printer is even more critical when you don’t possess the former machine.
Depending on the kind of printer you own, be it HP or Dell, the methods to create a copy will differ, but they will generally have similar rules that need to be followed for appropriate and neat results.
The following guide will show you the step-by-step procedure you need to mind when creating copies of your content with your printer!
How Can You Make a Copy on a Printer?
You can make a copy on a printer by putting the papers in the selected tray and pressing “Start” for Dell printers. HP printers, Dell printers, or photocopiers can do this. Adding the preferred value amount, you can make single or multiple copies with an HP Printer.
– Making a Single Copy With an HP Printer
The HP C3100 Series All-in-On is a compact inkjet printer with several practical copy choices comparable to those offered by more giant, expensive copier machines.
If you haven’t done it previously, place a blank paper in the paper tray. Place the original document print side down on the glass by opening the scanner lid of the C3100. The front and right corner of the scanner glass should have the original document. Shut the scanner’s lid.
To make a black-and-white duplicate of the original document, click “Start Copy Black.” Alternatively, you may start a full-colour duplicate of the original by clicking the “Start Copy Color” button.
– Making Multiple Copies With an HP Printer
Close the lid after placing the original paper on the scanner glass. The “Copies” button, marked with a “/,” should be clicked. Then input the desired number of copies. Enter a number between “1” and “9” since you can make up to nine documents simultaneously.
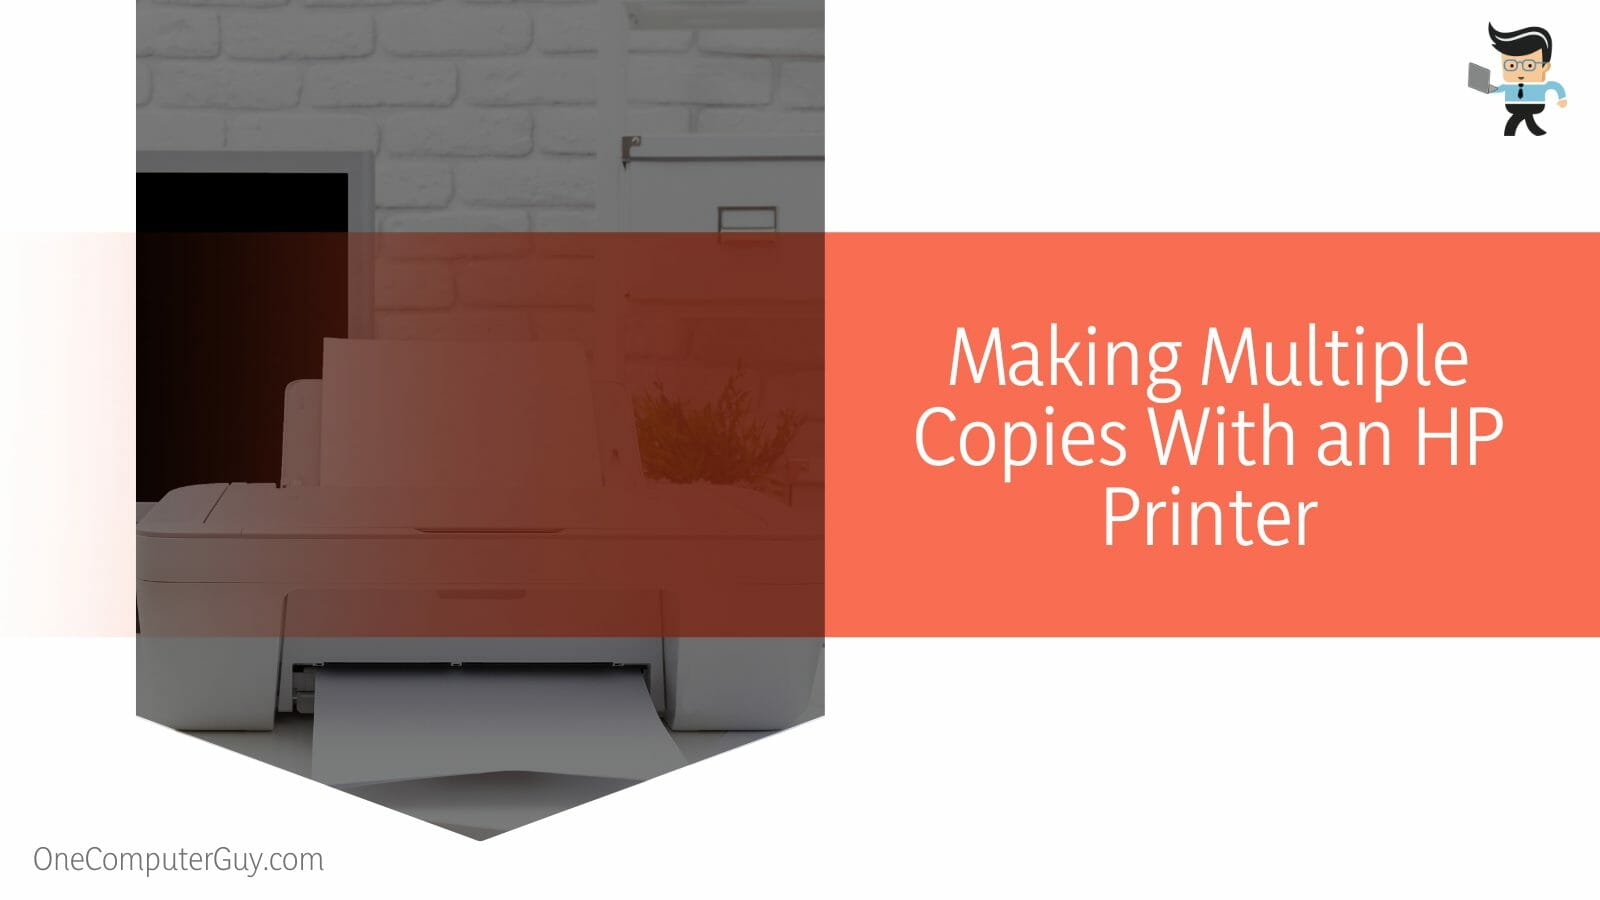
To make copies of the original document in black and white, click “Start Copy Black.” To make several full-colour copies of the original, click the “Start Copy Color” button.
– Selecting the Tray for Printing With a Dell Printer
Select the preferred paper tray for the copy process after loading the print media for copy output. Once the chosen tray is highlighted by pressing Up or Down, hit the Set button. You have a choice between SSF, Tray 1, or Tray 2. Only when the optional 250-sheet feeder is fitted is Tray 2 accessible.
To load an original document for copying, scanning, or sending a fax, you can utilize the document glass or the Automatic Document Feeder (ADF). You cannot use the ADF with coated paper, wrinkled or folded paper, curled or coiled paper, or a sheet that has been ripped.
Use caution while using documents in the ADF that have staples or paper clips or are exposed to adhesives or solvent-based compounds like glue, ink, or correction fluid. Use the document glass instead of the ADF to achieve the optimum scan quality, especially for colour or grayscale photos.
Before copying from the document glass, remove any papers from the ADF. Contaminants on the document glass might cause black scars on the copy output. Clean the document glass before using it for optimal effects.
– Making a Copy via a Dell Printer
Open and raise the document’s cover. Arrange the paper on the document glass so that it is facing down and position the registration guide in the upper left corner. For the copying to start, click the Start button. While scanning a document, you can always click the Cancel option to end the copying operation.
Only insert up to 35 pages into the ADF output tray or load up to 35 sheets into the ADF. Then alter the document guidelines to fit the size of the document. After the next copy is made or the auto-clear period has run out, the copy settings automatically revert to their default state.
– Setting up the Photocopying Machine
Before proceeding further, ensure the copier’s power cable is correctly hooked to a power source, then push the power button to turn the device on. Some copiers have their power button on the side, whereas the majority have it on the front. Verify that there are enough papers in the tray before moving on to the next step.
Ensure that you locate the paper tray accurately because it is usually towards the bottom of the machine. Fill the paper plate with papers if there aren’t any on the paper tray by gently placing them there.
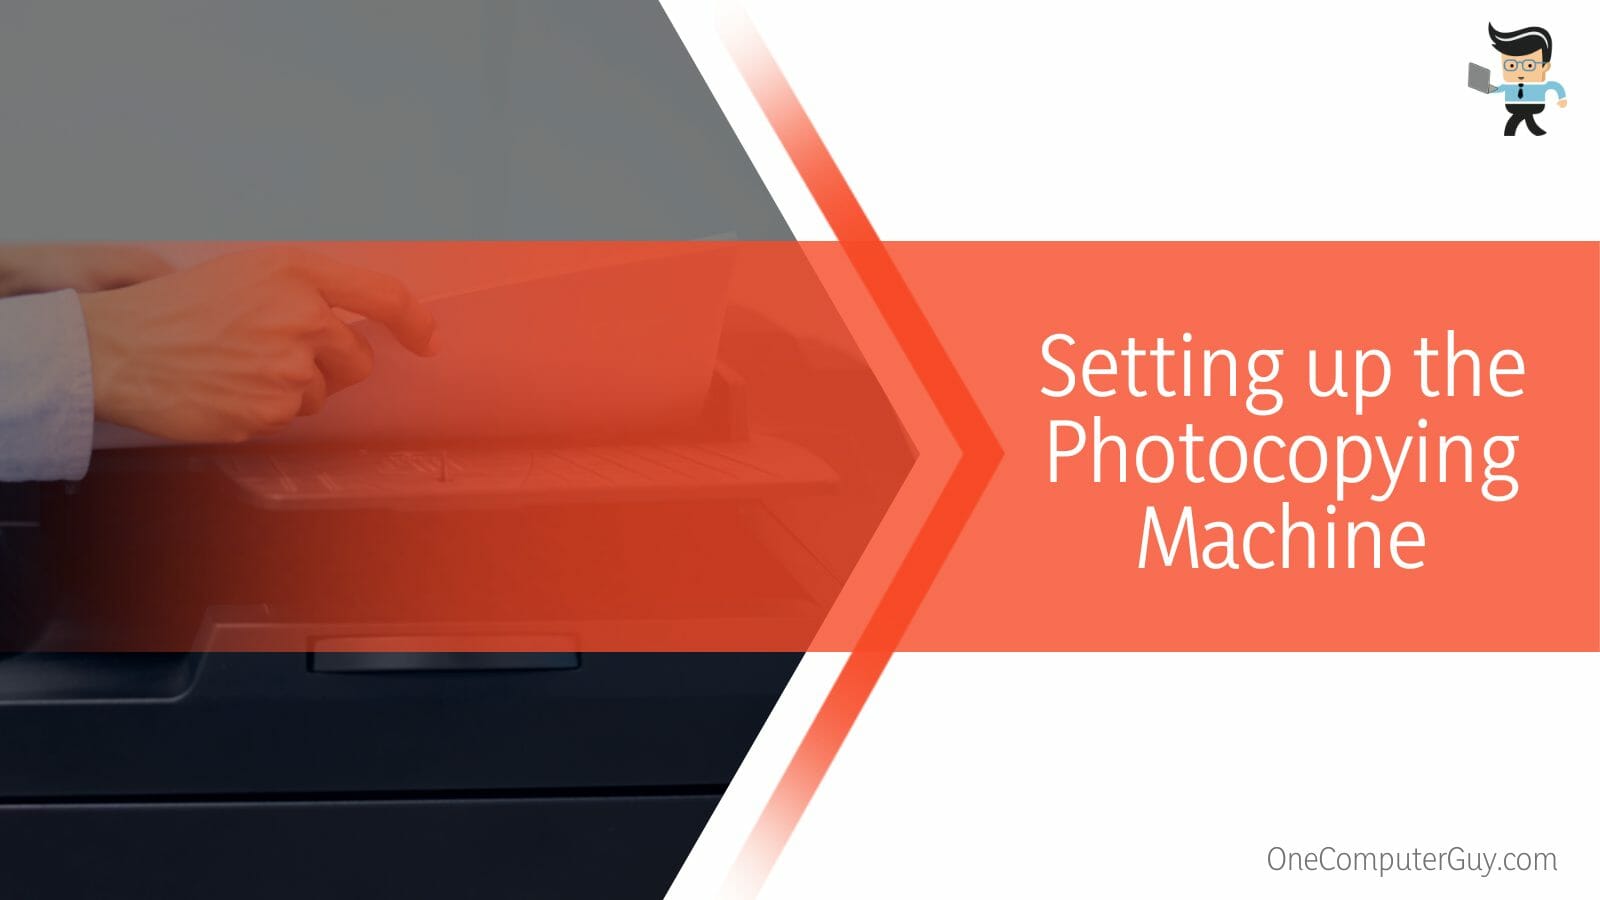
Lay your document on the copier at this stage. On the printer, the majority of copiers printed the manual instructions. Before sending in the documents, make sure to read the instructions. Now, gently close the hinged lid after placing the paper on the glass.
Next, you have to head over to the Instructions Menu. The instructive menu is a list where you may choose how many copies of the original document you wish to print. Most copiers prompt the user to enter the number of copies they want to print; however, some require manual entry.
– Making a Copy With the Photocopying Machine
The color choice feature is not available on all copiers. However, some will inquire whether you like colored or black-and-white copies. Click the menu button, select Settings from the drop-down menu, select Color Preferences, and then click the “Save” button to access the Color Preferences option.
After picking your desired color, you must also decide on the paper size. The user must instruct the copier to create copies in the last phase by pushing the “Copy” button. This is known as the active copying procedure. The copy button is often located at the top of photocopiers.
After pressing the copy button, the photocopier will begin printing copies from the tray. It is best to stand in front of the printer to avoid any faults because it is prone to malfunctioning issues.
Conclusion
Now that we are at the concluding point of the guide, you will be aware that it is relatively easy to make copies of your chosen content with either your printer of choice or a photocopier machine.
Depending on the brand of printer you choose, the method to print out a copy will differ slightly, but the basic instructions remain similar as you can see again in the summarized points below:
- You can make a single copy using an HP Printer, put your paper on the scanner, and then print it out in black and white or color.
- To know how to photocopy on a printer HP, you can choose the number of copies by adding the preferred value in the “Copies” section.
- To print a copy with a Dell printer, you need to ensure the document glass is clean and then use the settings to highlight and select your preferred tray.
- Put the sheets of paper on the tray and click the Start button on your Dell printer to print out your copy, the maximum number of printouts being 35.
- You can also use a standard photocopy machine to make copies of your documents once you have selected the relevant options and buttons.
As seen in the list above, making a copy using a printer in the workplace or at home is simple. All you have to do now is take the required paper, head over to your machine, follow our instructions, and you will be able to print out the copies without a hitch!


