
To increase ram speed in BIOS, you need to activate XMP. Now, if that makes you wonder what XMP is all about and how it works, stay tuned as we uncover every piece of information that will help you change RAM speed and set it to something that will help you perform the task more productively.
 In the following article, you’ll learn the best possible way to employ XMP and maximize RAM speed, as well as understand XMP and everything related.
Contents
How To Increase RAM Speed in BIOS: Using XMP
– Pre-Requisites: Check Your Current RAM Speed
Before you learn how to increase RAM speed in BIOS employing XMP or, in other words, you want to maximize RAM speed; it is crucial you’re well aware of its current speed.
Follow the steps below and get it done in minutes:
- The first thing to do is launch “Task Manager.” Hover over to the Windows icon and search for “Task Manager” Click on it once it pops up. Alternatively, you can press and hold Ctrl + Alt + Delete key combination and summon it instantly.
- Look for the option that says More details and tap on it. You’ll find the option at the bottom of the window.
- After that, navigate to the Performance tab followed by selecting the Memory button from the left rail.
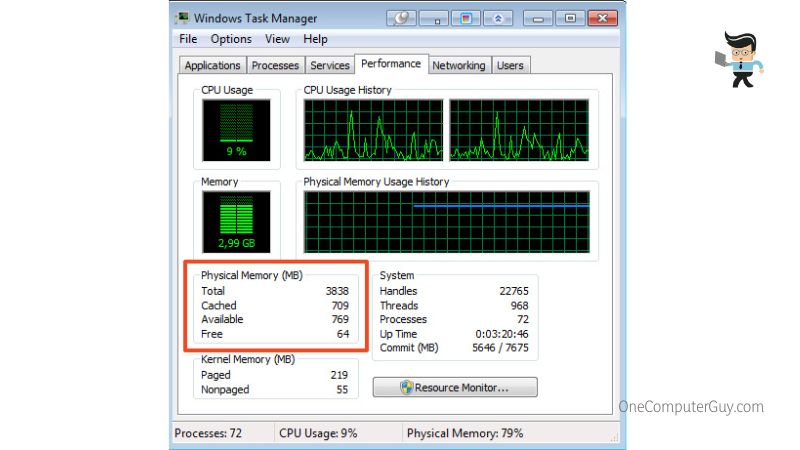
- Now, from the screen that appears, find something called Speed. It will display the RAM’s running speed in megahertz.
Note that down and proceed to adjust RAM speed with XMP
– Using XMP To Increase RAM Speed in BIOS
Setting RAM speed in BIOS with the help of XMP is a pretty straightforward task, but the same can put you in all sorts of trouble when the appropriate approach is less known. Similar to how checking RAM speed seemed effortless, we’ll guide you on using XMP and seamlessly get RAM to run at full speed.
-
Step 1: Getting to the BIOS
As we walk you through the methods of setting RAM speed in BIOS, it is pretty much understandable that you’ll need to get to the BIOS first.
For this, start with rebooting your PC and wait until you see the initial splash screen. In case you know nothing about it, pay attention when your desktop displays the logo for your motherboard. The screen loads up with instructions to enter the BIOS menu.
In most cases, the process involves pressing either a function key or the delete key. Some CPUs even work with the escape key as well. Make sure you get the right combination. Moreover, checking your motherboard manual for a piece of detailed information is also a great way to enter the BIOS and get started with setting RAM speed.
However, it is important to remember that you’ll need to press the right key before your PC boots into Windows. If you aren’t fast enough, your system will just reboot. So in such a situation, you’re left with nothing but trying out this process one more time.
-
Step 2: Navigate to XMP Profile
As soon as you find yourself inside the BIOS, the next thing to do is navigate to the XMP memory profile. It won’t be a tough job as the XMP profile is often clearly marked. The usual marking, though, depends on the motherboard you’re using. For instance, the XMP profile is located under the Advanced Memory Settings in the Asus BIOS.
-
Step 3: Activating XMP
Considering that you were successful in locating the memory profile, it is finally time to activate XMP and increase RAM speed in BIOS. Start maximizing RAM speed by clicking on the memory settings. You can also look for a drop-down menu (if any) sitting next to a button called “XMP” or “Memory Settings” or anything similar.
-
Step 4: Finalize Your Progress
Having completed the activities inside the BIOS, you can now get out of the BIOS and make your way back to Windows. To do this, simply look for the “Save & Exit” option and tap on it. After that, save your changes, and allow your computer to boot back into Windows automatically.
-
Step 5: Rechecking the RAM Speed
Finally, check your RAM one more time and verify that you have successfully activated XMP. Just as we did that before, launch the Task Manager and hover over to the Performance section. Under that, look for Memory followed by Speed. Check the values and compare them to the ones you’ve noted earlier.
In case you see an alteration in the entry, voilà! Mission set RAM speed has been accomplished.
This is basically everything you need to know in order to increase RAM speed in BIOS.
Quick Tips to Improve Your RAM’s Productivity
You already know how to increase RAM speed in BIOS until this point. But before calling it a wrap-up, we think it would be a great idea to share some amazing tips that will help enhance your RAM’s productivity and take it to a new level.
– Clearing Up Unwanted Processes
- Use the Ctrl+Alt+Del key combination and launch the Task Manager.
- Look for the “Processes” tab and tap on it.
- Hover over to the unwanted ones, click on their respective “Memory” column to view the potion of RAM they’re using.
- Clear the processes as per requirement.
– Disabling Unwanted Startup Programs
- Launch the Task Manager and select the “Startup” tab.
- Navigate to the option that says “Startup Impact.” This will help organize all the programs according to power usage.
- After that, right-click on the desired program and disable it.
– Restricting Unwanted Apps from Running in the Background
- Log in to your computer and launch the Settings menu.
- Find the “Privacy” option and tap on it.
- Scroll your way down and look for the one that says “Background Apps.”
- Simply choose and turn off the apps you don’t use.
– Reducing Your PC’s Visual Effects
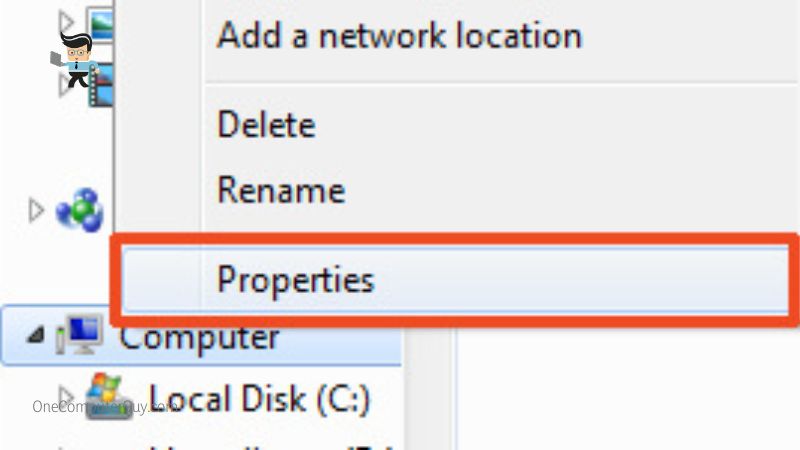
- Launch your File, Explorer.
- Hover over to “This PC,” which usually sits on the left side and right-click on it.
- Select Properties.
- Click on the “Advanced system settings” button.
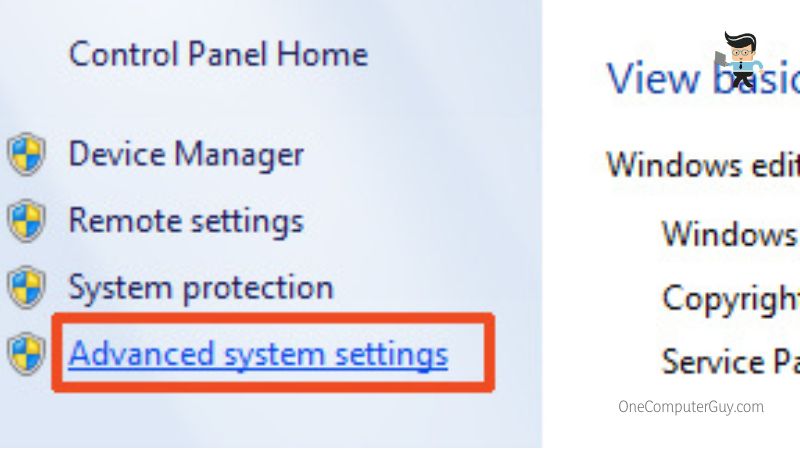
- Take the cursor to the “Advanced” tab.
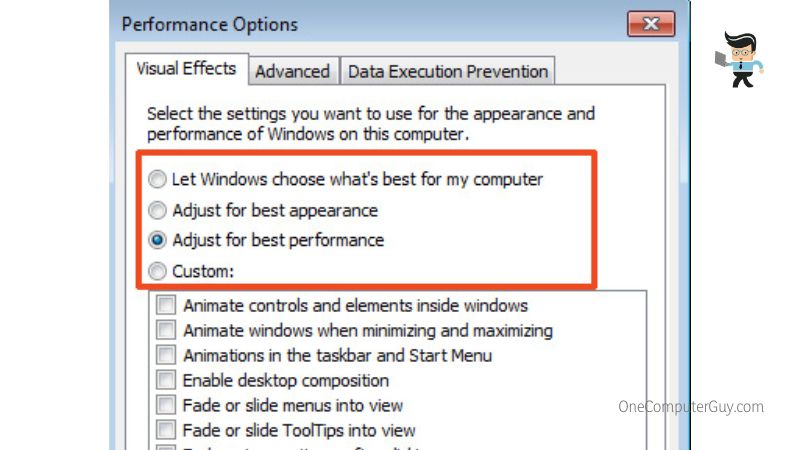
- Select the “Performance” category.
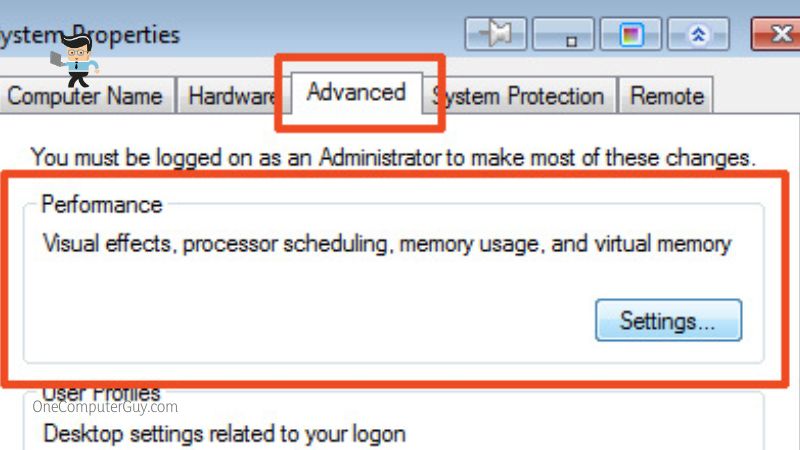
- Alter the settings to “Adjust for best performance.” It will disable all animated features on your computer, thus making more room on your RAM for other crucial activities.
– Wiping Off Page File
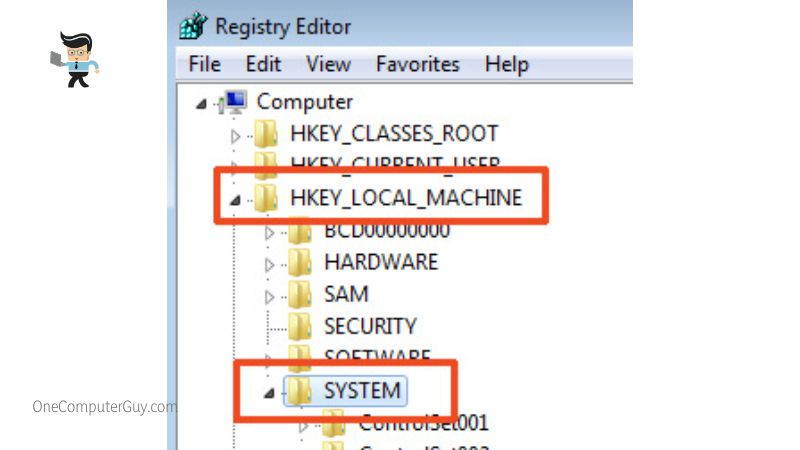
- Head over to the start menu and input “Registry Editor” into the search bar.
- While prompted, click “Yes.” This will allow your system’s Registry Editor to bring all the required alterations
- Look on the left pane, scroll a bit down and select “HKEY_LOCAL_MACHINE.”
- Keep scrolling until you find “SYSTEM.”
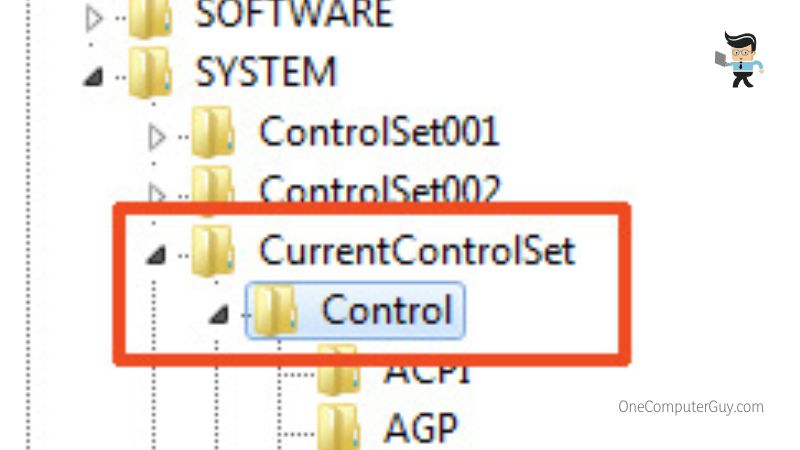
- Select the option that says “CurrentControlSet.”
- After that, tap “Control.”
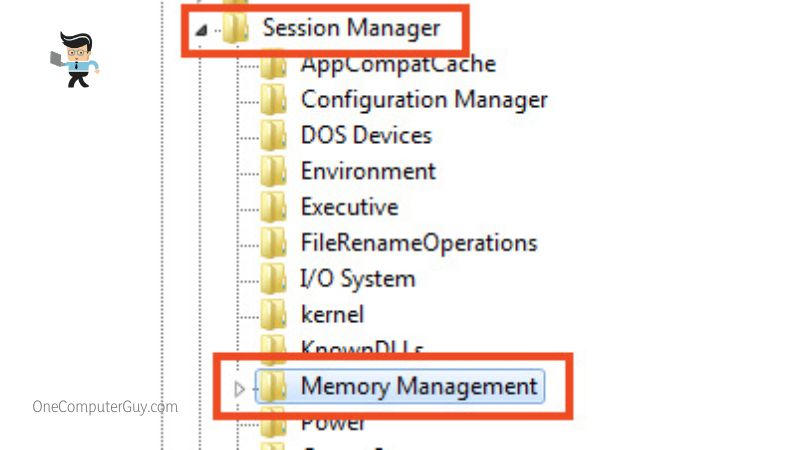
- From the list that appears, select “Session Manager.”
- Find “Memory Management.”
- Select the “ClearPageFileAtShutdown” button
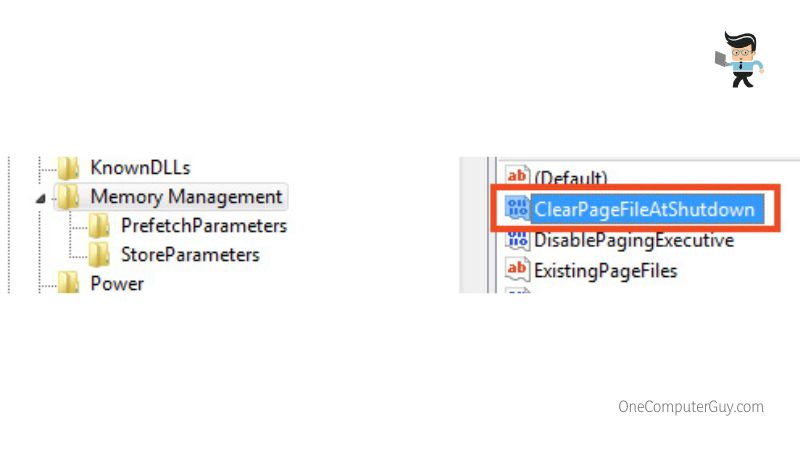
- Input the number “1” under the value data section and hit OK.

XMP: Understanding What It Is and How It Helps Your RAM
The most accessible way to increase RAM speed in BIOS is by employing a utility called XMP. Coming from the home of Intel, XMP, or eXtreme Memory Profile defines a technology that is meant to bring the most out of your computer RAM sticks.
Getting a bit deep inside the details, XMP refers to making the DDR3 and DDR4 RAM capable of delivering more performance out of the dedicated memory.
Although it sounds like it involves complex technical pieces of stuff, XMP is more like a one-click overclocking utility. Enabling XMP on your motherboard will immediately detect the optimal RAM settings and automatically change them. It’s a great way indeed for those who hesitate to conclude overclocking manually.
Final Words
With that, you can now effortlessly increase RAM speed in BIOS and make your computer work at its best. Let’s sum up real quick and make sure you don’t miss out on anything crucial:
- The best way to increase RAM speed in BIOS is by activating a utility called XMP
- To employ XMP and maximize RAM speed, enter the BIOS menu from the boot screen and look for the Memory Profile
- Once activated, launch the Task Manager and check if your RAM is driver more power than usual
- Apart from utilizing XMP to adjust RAM speed, you can adopt some practices to improve the overall productivity of your RAM. These include clearing disfavored processes, restricting unwanted apps from running in the background, reducing animations, wiping-off page files while shutting down, disabling unwanted startup processes
As we’ve mentioned, activating XMP and setting RAM speed isn’t rocket science, provided you know how to get the job done. Keep our article around and enhance your RAM’s performance like never before.


