
If you are working on your computer and want to know about cleaning thermal paste off your CPU, then you are in luck. Computers heat up during use and the thermal paste helps with performance. There is a part known as a heatsink vent that helps to keep the processor from overheating.
 The thermal paste has a job of conducting the heat from the processor to the heatsink. Over time, thanks to the heat, the paste will dry out and it needs to be replaced.
Overall, this is a pretty easy task for computer builders. You will need to take some safety precautions to avoid causing any damage to your computer. Then, you just need to remove the old paste and apply new paste.
How To Clean Off Old Thermal Paste
In order to clean off the old thermal paste, most of the work that you do will need to be beforehand. The process of actually removing the paste doesn’t take all that long. In order to get it off, follow these steps:
1. Start by turning off all of the power to your computer. You can either shut it down like you normally would or simply keep it turned off. Do not push the power button because that doesn’t always turn off all power.
2. Before opening your computer, you want to ensure that your working environment is free of dirt and dust particles. You should clean everything and then wait for any airborn particles to settle before you open your computer. Remember that dust can cause damage and performance issues.
3. Once you are sure that the computer has been turned off, you will want to unplug all of the cords and devices. This includes the wall outlet or the charger, depending on the type of computer. You want to detach any devices that have been connected to the computer as well.
4. If you are using a laptop, you should take out the battery.

5. No matter what type of computer you are using, hold down the power button. This will eliminate any lingering electricity that can do harm to your computer during the removal and reapplication process. Press the power button and keep it pressed for 15-20 seconds. This will eliminate that leftover energy.
6. Gear up to keep yourself safe. You will want to put on a pair of latex gloves to protect your fingers. However, it will also help to eliminate any oils from your skin that could get onto the components and cause degradation. If you have them, you should wear a pair of anti-static bracelets to prevent any static electricity, which could also damage your components.
7. Now, you can start the process of removing the thermal paste. You will have to gain access to your computer’s heatsink and/or CPU. Refer to the manual to see how you should get there. It should list explicit instructions to identify, access, remove, and reinstall everything necessary. If you no longer have your user manual, most manufacturers will list everything online.
8. Dust the heatsink vents while you are in there. Once you have safely removed the heatsink, eliminate any dust in the vents by using a small brush or a can of compressed air. Do this away from the computer so that the dust doesn’t just end up going back into the system.
9. Next, you want to scrape off all of the old paste. You should find the heatsink’s copper cores and scrape away as much as you can. Use a tool called a spudger so that you do not scratch and parts or cause any damage. If you do not have a spudger, you can use a dry cloth or a paper towel, but these methods will take a bit more elbow grease. Be careful not to bend anything.
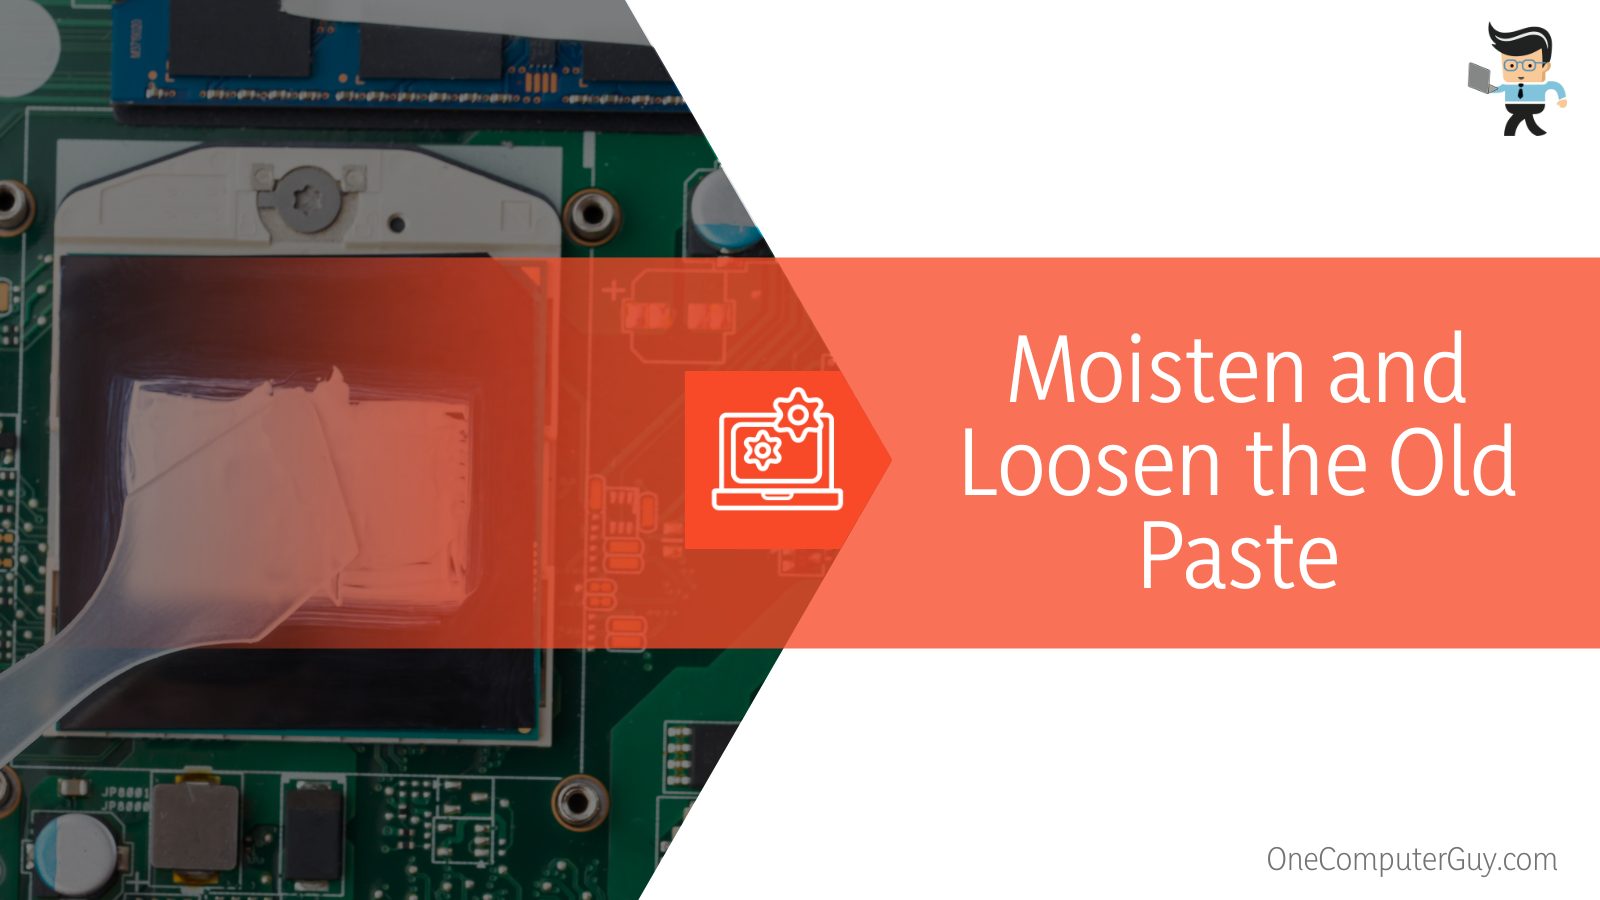
10. Next, rub away the residue. You can use a variety of thigns to do this, including a cotton swab, a coffee filter, or the link free cloths that have been designed for this kind of thing. You should wet your tool with either rubbing alcohol or a specific cleaner.
Use this to moisten and loosen the old paste. Repeat as needed. This could take some time, but being gentle is the most important thing. Cleaners designed for this specific purpose are usually labeled as TIM cleaners.
11. Once all traces of the thermal paste have been removed, repeat this step again just to be sure. This will get your surface ready to reapply the thermal paste.
12. Next, repeat with the processor. You should look for any thermal paste that came into contact with the heatsink. If you find any, use the same steps listed above to clean the surface. It is best not to use a spudger with the CPU because it is much easier to scratch. Do not attempt to scrape.
13. You do want to be careful about where you scrape – do not allow the old debris to go back inside the computer or it can cause performance issues.
14. Look around for other applications of thermal paste and do the same methods above to clean it. If you haven’t opened your computer before, there could be extra thermal paste just sitting around. If there are thinner pieces of thermal paste or you cannot get to the place where it resides, you can use a compressed-can of CFC (chlorofluorocarbon)-based automotive electronic contact cleaner.
Applying New Paste After Cleaning It Off
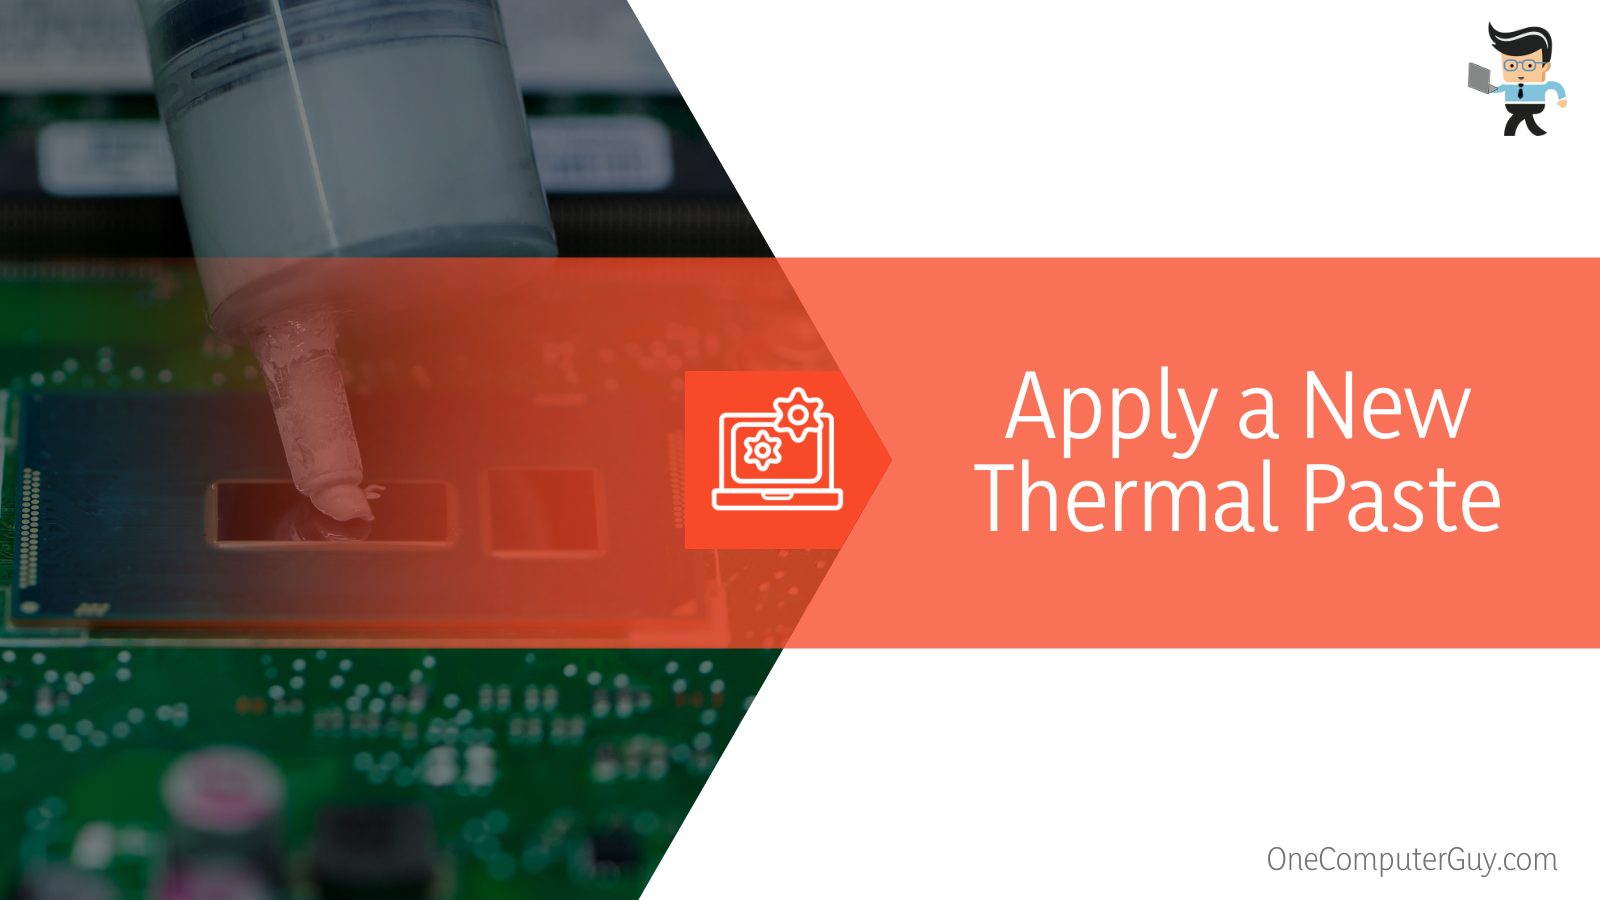
You don’t want your CPU to operate without thermal paste. While you have your computer apart, you should apply a new thermal paste right away. To do this, you will want to first give your CPU time to dry. Do not apply a new paste immediately after the final swab of alcohol. Instead, give it a few minutes to dry from the air. Now, you are ready to apply the paste:
1. Start by dabbing the processor’s core with the paste. Use a high-quality thermal paste as you don’t want to do this all that often. Apply a small dot of the new paste directly to its surface. You want to keep it about the size of a pencil point. Don’t worry about applying it to the heatsink unless your manual tells you to do that.
2. Spread the paste over the core’s surface evenly. It is best to use clean gloves because the thermal paste isn’t always to get off of your fingers. Use your fingertip to spread the paste evenly over the core’s surface. Attempt to keep the glue centralized and off of the green area.
3. Put everything back together. Once the paste has been applied, you can put everything back together according to your manual’s instructions.
Conclusion
Thermal paste seems like such a small thing on your computer, but it can actually have a huge impact on performance, especially for gamers. If you aren’t careful, you can do significant damage when you are cleaning thermal paste off your CPU and then reapply it.
However, there could be even more damage if you don’t replace it every so often.
As with everything you do, take your time and move precisely when you decide to switch things up.


