
Mastering how to clean graphics cards can ensure a healthy and well-performing computer. Graphics units can be tricky to clean, considering the fact that they usually face downwards.
This post explains how to clean graphics card memory and shares the best tips regardless of your technical background.
Contents
How to Clean Graphics Card in 7 Steps? Covering Everything in Detail
You can clean graphics card by simply removing it from the motherboard, seating it on an uncarpeted area, and blowing it using compressed air or an air pump. Also, you can use swabs/microfiber cloth and 99 percent alcohol to clean the GPU’s outer surface.
Here is how to clean GPU with compressed air and alcohol.
– Step One: Assemble the Tools and Equipment
Cleaning a graphics unit requires various tools, each with a specific role. Here are the most important tools you may need:
- Screwdriver: It allows you to unscrew the screws that hold different components in your PC. Remember, you must take apart these components to access the graphics unit.
- Pressurized air canister: You will need it to blow off the dust from your GPU. It is much faster than using -tips or a damp cloth.
- Q-tips or cotton buds: These are important for cleaning the nooks and crannies that are difficult to reach. So, you will be using them alongside pressurized air.
- Cleaning cloth: You will use it for final cleaning and wiping to give our GPU a final touch.
- Thermal paste: It is important to keep your graphics unit cool to prevent overheating and overclocking.
- Isopropyl alcohol: You will need to remove dust and dirt and disinfect the essential components within your PC.
Depending on the extent of dirt and dust on your PC, you may or may use all the above tools.
– Step Two: Switch off Your PC.
Turning off your PC is the first step when you want to clean a graphic card. This allows you to work in a safe environment and eliminate the chances of shorting the system. To turn off your PC, click on the Windows start icon, select the power button and click on the Shut Down option.
Remove the power cable that connects to the wall. Flip open the side panel to access the interior of your system unit. Remember, different PCs have different mechanisms of accessing the inside, so follow the manufacturer’s manual. Remove the display cable from both the system unit and the GPU.
– Step Three: Turn off the Power Supply
Let your PC stand for 20 seconds to avoid possible damage to the PC. Now, turn off the power supply unit. Remember, turning off your PC does not turn off the PSU. Even with a switched-off PC, the power supply will still supply little power, which you must stop.
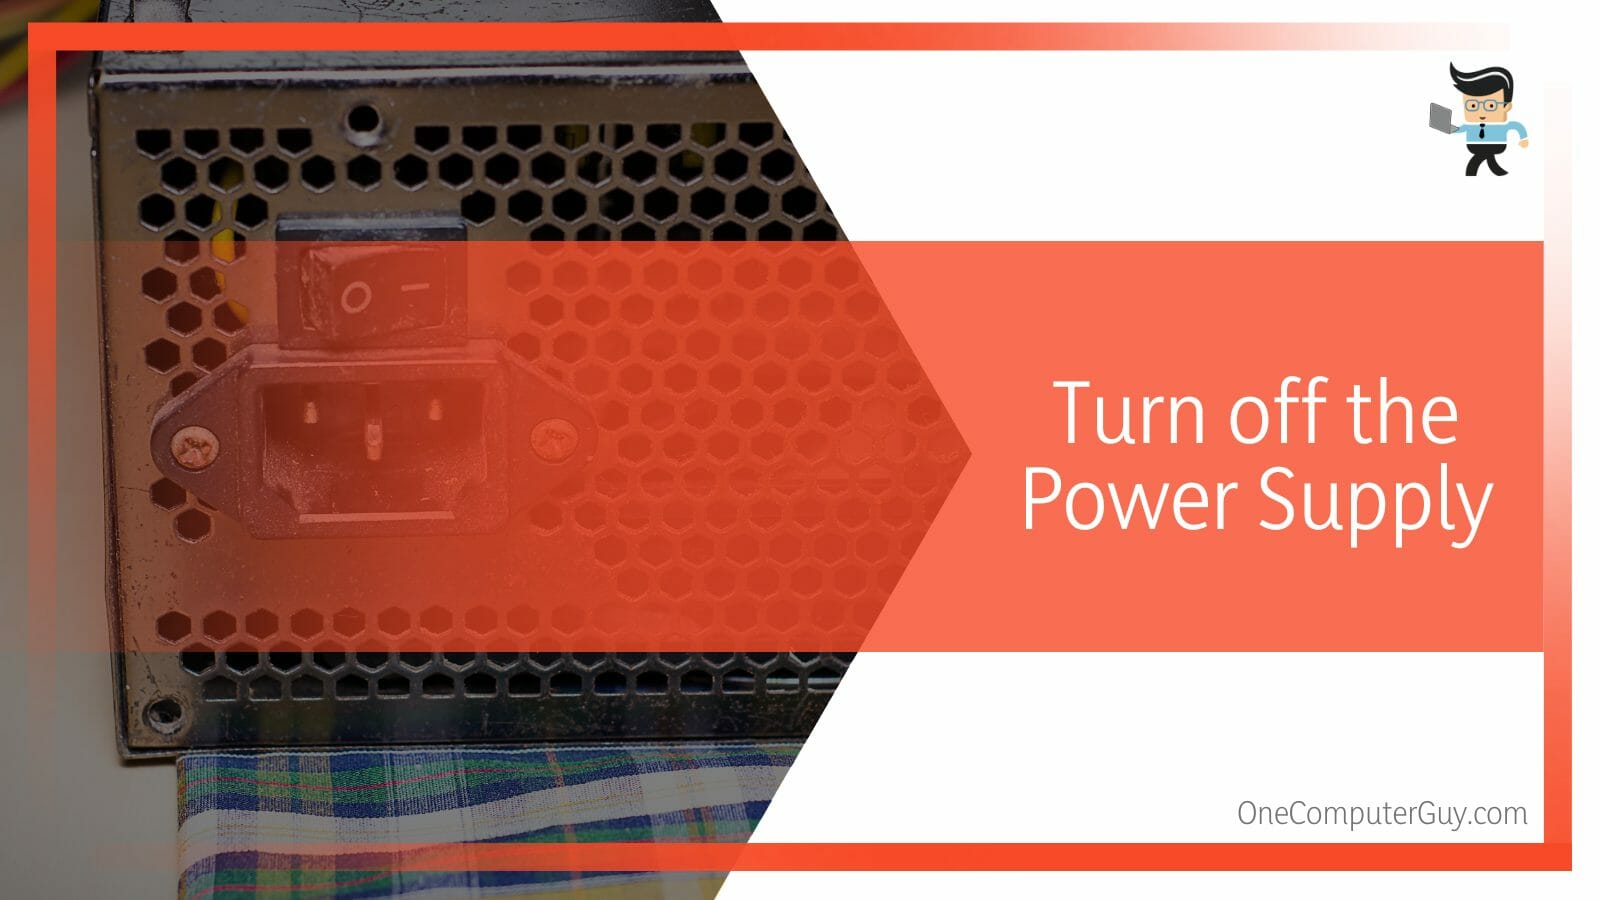
Locate the power switch on the PSU, usually located adjacent to the point you plug it in. Once you locate it, flip the switch to turn off the power supply. You may also remove the power supply power cable.
– Step Four: Get Your GPU off the Motherboard
For effective cleaning, you will need to dismantle the GPU. This is optional, as you may clean your GPU without taking it apart. To discharge all static electricity wear an antistatic wrist strap linked to a grounded object.
Follow the steps below to disassemble your graphics unit from the PCB.
- Remove power cables from the graphics unit. These cables are on the opposite side of the I/O.
- Unscrew all the screws that hold the reinforcement plate or where the GPU is attached to the PCIe bracket. In some versions, you may need to only unclip the GPU.
- Use a screwdriver to unscrew the two small screws that link the GPU fan to the heat sink. Also, remove the remaining four screws securing the spring-loaded heat sink mount.
- After removing all the screws, check whether the GPU is reinforced with a thermal pad or any other sticky thermal interface material. If present, be careful when pulling the card to prevent damaging crucial components.
- Now, insert your hand into the case close to the front of the graphics unit to locate the PCIe slot to which the graphics unit is connected. Move toward the front of the PCIe slot to find latches that hold the graphics card. Pull it back.
- Use steady pressure when detaching clips and reinforcement chips from the graphics unit. Furthermore, apply the same technique when removing the heatsink and fan cover.
- After successfully unlatching the unit, carefully remove the GPU I/O side first because the GPUs have a small hook-like piece that goes into the PCIe socket. Pulling it carelessly can result in breakage. If you pull carelessly, you could break it. Also, detach the fan from the port connecting it to the PCB.
– Step Five: Clean Your GPU
Get your graphics card and place it on a clean uncarpeted surface such as a table or antistatic surface. Take a can of pressurized air or an air pump and blow inside the GPU to remove the dust and any loose dirt. This method will blow all the dust from the fins.
Remember to blow the pressurized air as strongly as needed to dislodge the dust and other debris from the GPU. For better results, blow a few inches from the dirty section. Once the dirt is removed, you can vacuum the unit. This step should be strictly done outside the computer case.
It is worth pointing out that you must not use pressurized air on spin fans. This can be detrimental to the fan’s functioning as it may overload and short-circuit it. So, when blowing the fan, hold it in place.
After cleaning the fans, go to the area between the fin and the graphics uni heatsink. Blow the air to remove any dust that is lodged in this place. Compressed air is ideal as it sends concentrated and pointed gusts of air to remove all stubborn dust.
If you notice some great spots on your GPU, use alcohol. To clean graphics card with alcohol, spray a little alcohol on a microfiber cloth and wipe the exterior of the GPU.
Also, you can dip a swap or Q-tip into the alcohol and use it to clean nooks and crannies of the GPU or areas where pressurized air could not remove dirt.
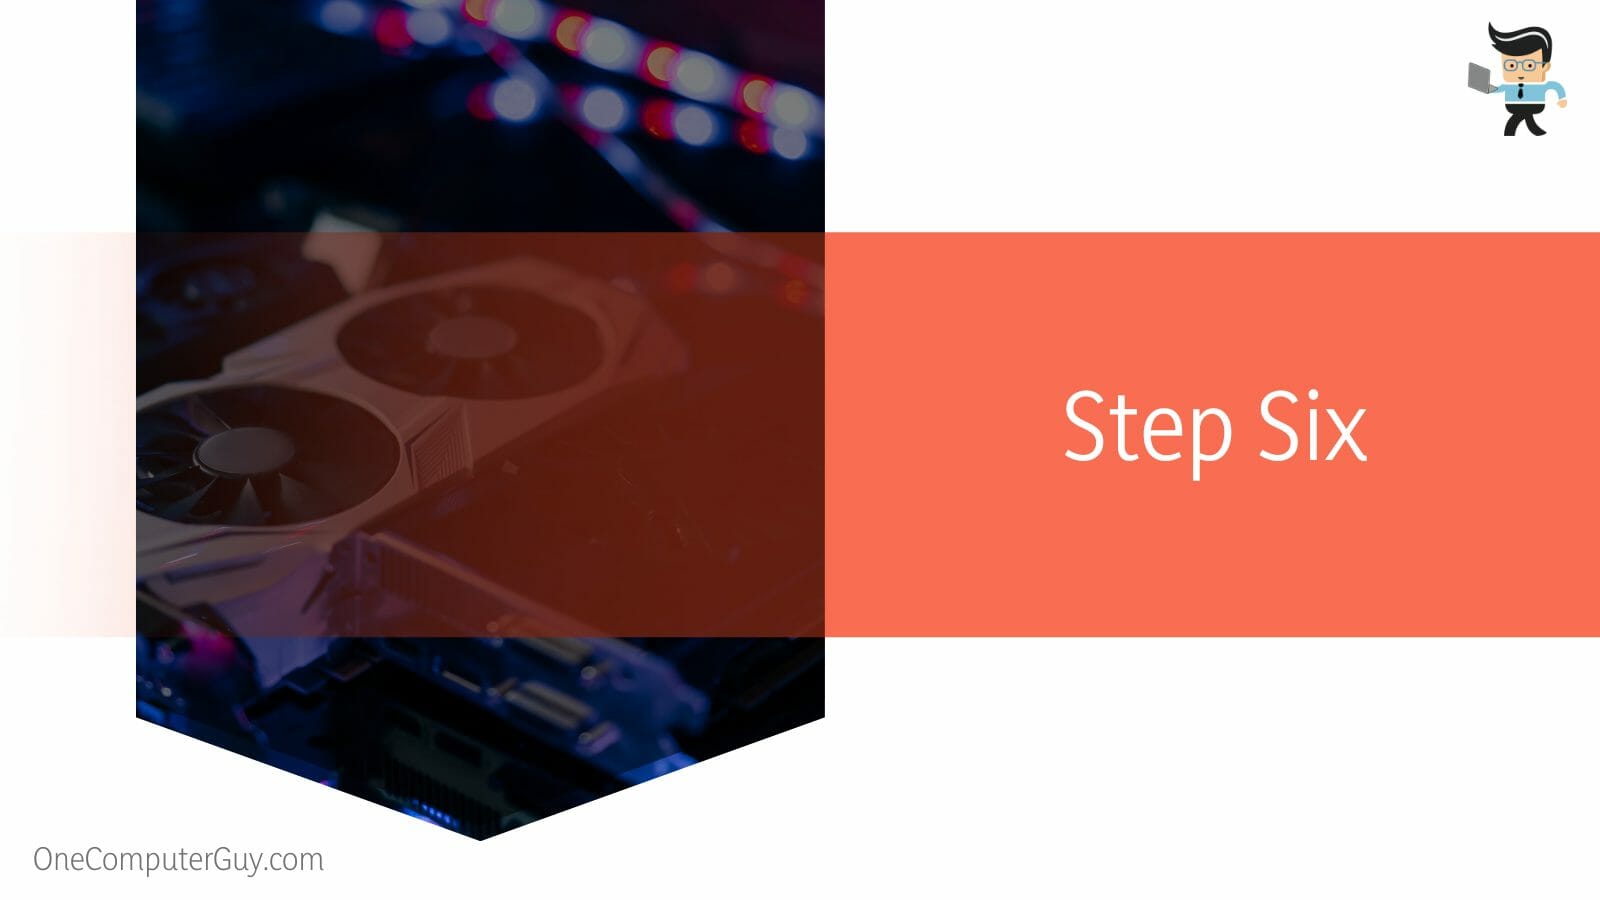
– Step Six: Reassemble Your GPU
Allow your GPU to dry out if you use alcohol. This should take a minute or two. Now, plug the graphics unit back into the motherboard with these quick steps:
- Apply the thermal paste on all the points the graphic unit previously attached. Additionally, use a small layer of paste across the interior parts you may wish to cool down.
- Inspect the state of the four springs attached to the clip made from metal connected to the heat sink over the GPU. The clip and its springs can quickly, and lose power over time. You can remedy this problem by gently bending the bracket upwards and bending the springs.
- Reseat the heatsink to the graphics processing unit. Ensure that the heatsink should be in solid contact with the GPU. Screw the spring-loaded mount firmly.
- Mount the fan cover to the case bracket and reassemble the card’s rear reinforcing plate.
– Step Seven: Test Your GPU
If you use alcohol to clean the graphics unit, let it evaporate completely. Before reassembling.
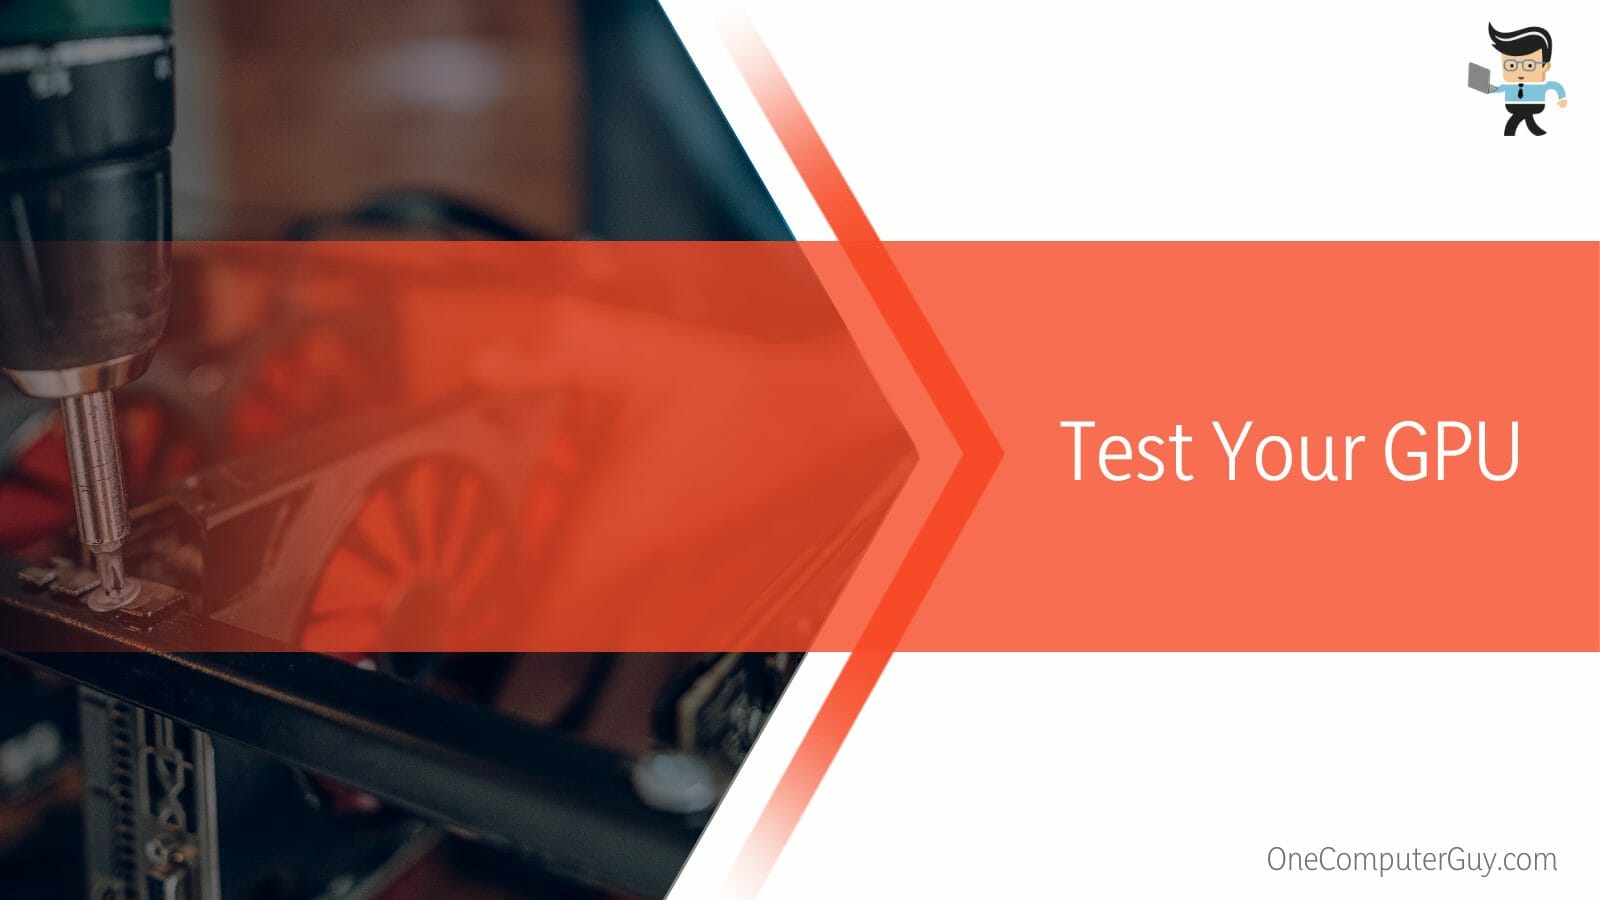
After that, test to see if the GPU connection is working with the steps below:
- Plug the GPU into your PC, attach the monitor to the video port on the graphics processing unit, and turn on your PC. You will receive a signal if your graphics card and GPU are okay.
- Ensure your fan is spinning. If they are not spinning, remove all power cables and allow the fan to dry more before testing again.
With the best GPU cleaning service, you should feel that your computer is running quietly and smoothly, thanks to a well-functioning graphics card. When you search “how to clean GPU Reddit,” many Redditors advocate for 99 percent alcohol and a toothbrush or compressed air, as explained above.
How to Clean Graphics Process Unit Without Taking It Apart?
You can easily clean your GPU without removing it from the computer PCB by using compressed air or 99 percent alcohol, a toothbrush, a swab, a microfiber cloth, and Q-tips. Before applying any of these solutions, make sure that you have unplugged your computer to avoid short circuit.
Here is how to clean GPU without taking it apart:
– Step One
Power off your computer, unplug the power and any other cable and open the case. Use a screw to unscrew the screws on the side panels. Otherwise, unclip the clips to remove the side panel to access the inside.
– Step Two
Turn off the power supply and detach the power cable from the GPU. Turn the System unit or PC on its side. You should be able to spot your graphics unit, especially the fan, unobstructed.
– Step Three
Use controlled bursts of air to remove dirt buildup from the areas around the graphics card. You can also use an electric dust blower to remove the dust.
Use a microfiber cloth to collect the large falling chunks of dust and debris between blasts of air.
– Step Four
If your GPU has tight spaces, use 99 percent alcohol and a Q-tip to reach those tighter spaces. The small Q-tips can reach hidden parts allowing dislodge the dirt hidden. However, you should be careful not to tamper with the circuit.
Also, you can wash the GPU, especially the corrosion-resistant metal fins, with water. These fins are relatively hard to clean with air alone, so water can help clean them thoroughly.
However, carry out this process when the machine is completely off and ensure that the GPU is dry before you reassemble it. Otherwise, it will not work on your PC. Furthermore, if water gets into the GPU heatsink and is not completely dry, it can permanently damage the GPU.
– Step Five
You can also clean the graphics card PCB. Here is how to clean graphics card PCB:
- Use controlled gusts of pressurized air to blow out dust from the surface. Collect the debris and dust using microfiber clothing.
- Dip a toothbrush in alcohol and scrub the area around the GPU. Alternatively, you can dip a cotton swab or soft microfiber clothing into the alcohol and wipe the area around the GPU.
Allow the alcohol on your GPU to evaporate. Reconnect the power cables and any other cables you had removed, and power on the power supply.
– Step Six
Return the System Unit side panel and clip or screw it in place, depending on your PC model. Reconnect power and video cables, and test if your GPU works well.
You should not use pressurized air from the back side of the graphics unit, i.e., where video outputs are if you have a blower type of graphics card. This will push the dirt further inwards. Rather, you should aim at the edges of the fan to get the air inside.
Conclusion
In this post, we have explained the procedure of cleaning a GPU and GPU heatsink and fully answered the question, can you wash GPU with water?
Here are the highlights:
- You can clean your GPU while it still is mounted on the PCB, or your can unmount it for a thorough cleaning
- To clean the video card, you can use canned air or 99 percent isopropyl alcohol and a Q-tip, microfiber cloth, or a swab.
- Switch off the computer and power supply when cleaning an attached GPU to prevent short-circuiting.
- You can clean your GPU with water, but you must let it dry before mounting it. Also, the heat sink must fully dry before mounting the GPU.
With the above steps, it should be easy for you to clean your graphics unit correctly. So, use the procedure to clean it when dust and dirt pile up.
Reference
- https://www.forbes.com/sites/marcochiappetta/2018/12/31/intel-xe-discrete-gpu-concept-art-sports-edgy-optane-like-lighted-design/?sh=65b9a7d45bb6


