
Knowing how to connect HP wireless keyboard without receiver depends on your understanding of how the keyboard works.
While most remote keyboards rely on a receiver, others come with additional technology to allow a connection. This post describes how to connect wireless keyboard without USB receiver.
Contents
How to Connect HP Wireless Keyboard Without Receiver
You can connect HP wireless keyboard without a receiver by ensuring that both devices allow a direct Bluetooth connection. Afterward, turn on Bluetooth on your PC and your keyboard and let the devices search each other. Once they discover, pair them and start using your keyboard flawlessly.
Here is the detailed procedure of how to connect wireless keyboard to laptop or desktop PC without a receiver:
– Step One
Power on your Bluetooth keyboard. To do so, slide the power switch on the keyboard’s backside to the ON side. To know if your keyboard is on, tap on the Num Lock or Scroll Lock keys. If it is powered, these buttons will light up. Also, if the keyboard shipped with a charging station, the light might be there rather than on the keyboard itself.
– Step Two
Set your keyboard to pairing mode. This step might vary with the keyboard brand. But in general, if your keyboard is Bluetooth enabled, you will see a “Connect,” “Pairing,” or “Bluetooth” button. The button is usually located at the keyboard’s bottom or sides.
Now, press this button for approximately 5 seconds. This action sends you to pairing mode. For most wireless keyboards, a blinking LED light will appear to indicate that the keyboard is ready to pair with another Bluetooth device. This light will turn solid once the keyboard is connected to your computer.
– Step Three
Power on your PC and Access the Settings app by pressing the Win Key + I simultaneously. Select Devices and go to Bluetooth & other devices or Add device (Windows 11).
Turn on the Bluetooth by sliding the Bluetooth switch. If it is on, skip this step. Typically, the button must be blue for Bluetooth to be on.
For keyboards supporting Swift Pair technology, you may receive a prompt asking if you want to receive notifications for Swift Pair. If you want the notifications, click Yes and select Connect on the next window. This will automatically connect your keyboard.
Otherwise, click on the “+” sign beside Add Bluetooth or other devices and select Bluetooth from the pop-up window. Your computer will start to scan for available Bluetooth devices. Your keyboard should appear soon.
– Step Four
Click on your HP keyboard to initiate the pairing when it pops up on your computer. If the keyboard does not appear, try the fixes below:
- Turn it off and back on.
- Ensure the keyboard is close enough to your computer to establish a strong connection.
- Press the pairing button again.
After successful pairing, click on the Close or Done button to close the window. Now, your keyboard is ready to use. For those keyboards with a Connect/Pairing light, the light will turn solid once pairing is complete.
Note that depending on your keyboard model, you may need additional steps to complete the pairing process. Furthermore, you can only use this technique if your PC has inbuilt Bluetooth capabilities. Else, you will be forced to use a USB dongle.
Most importantly, not all HP portable keyboards support Bluetooth and wireless technology. So, before trying to connect your keyboard, check the specifications first. But for the best result, get the best Bluetooth keyboard without dongle.
How to Use a Micro USB to Connect a Wireless Keyboard?
To connect your keyboard using a USB to Micro USB, get the correct USB and plug the micro side of the USB into your keyboard. Then, plug the opposite end into your computer or laptop USB port. Ensure you haven’t plugged the cable into the charging port on the keyboard.
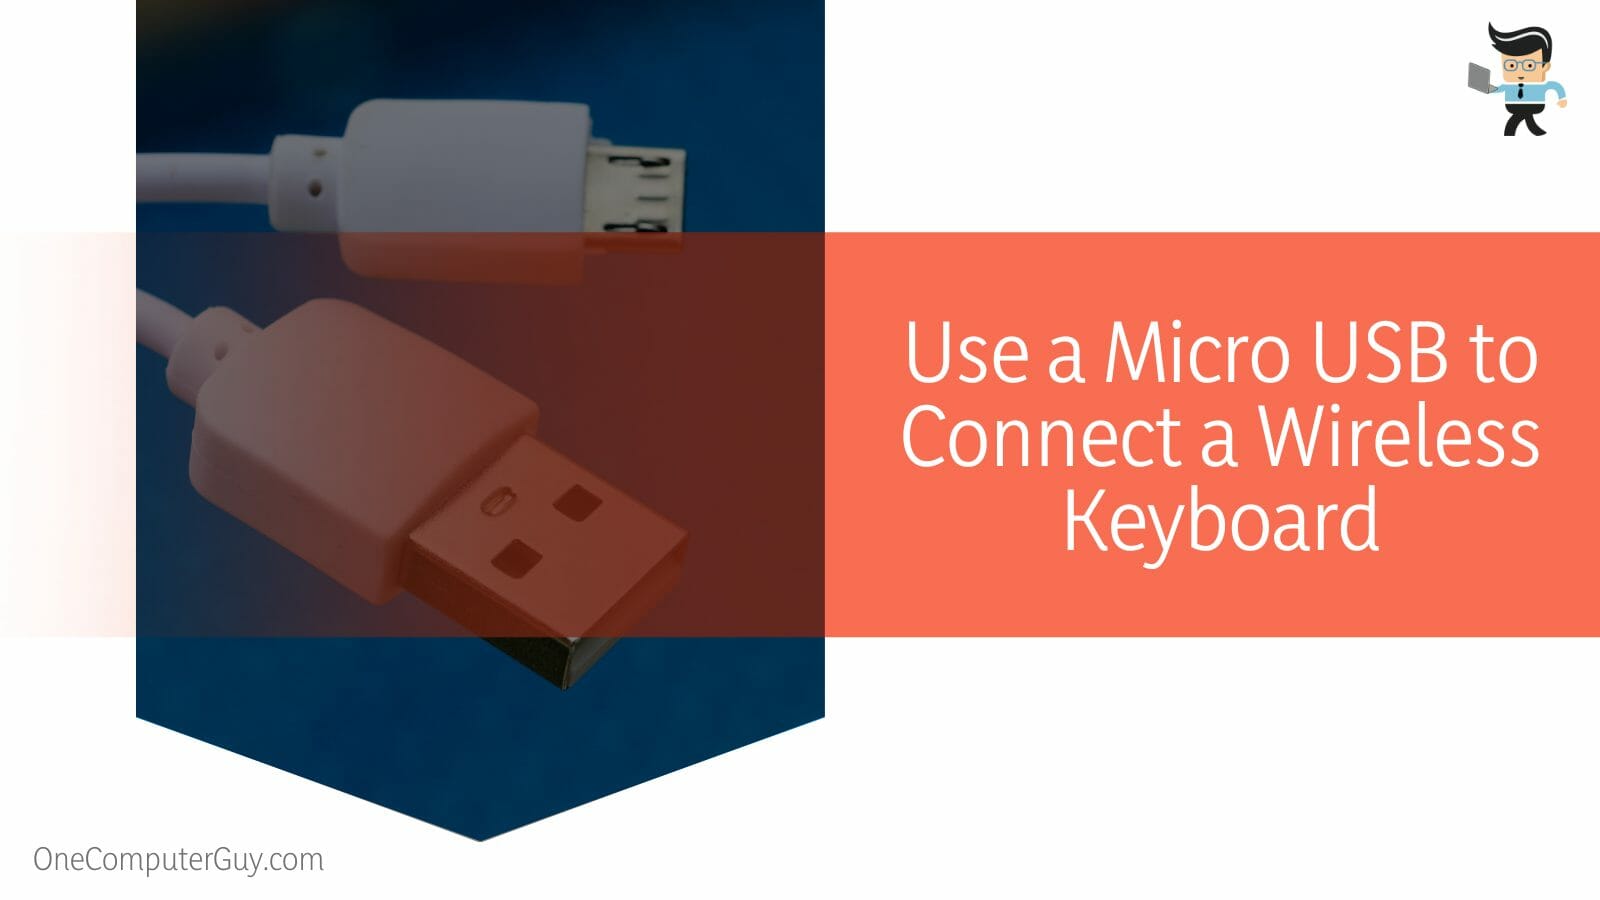
Some keyboards have USB Type-C, while some computers have PS2 ports. A USB to USB Type C or USB to PS2 cable can allow you to connect your keyboard to the PC. But again, ensure it is not an exclusively charging port. Follow the steps below to use USB to Micro USB to connect your keyboard:
– Step One
Shop for the correct cable depending on the ports on your keyboard. Note that not all micro USBs can be used as adapters between different devices to facilitate the transmission of signals and to exchange data.
For this reason, you must buy a cable that can charge and transmit signals between the keyboard and PC to allow you to use it flawlessly. So, check the cable specifications to ascertain it works correctly before buying it.
– Step Two
Once you have the correct one, plug the right side of the cable into the corresponding port on the keyboard. Insert the opposite side to the USB port or PS2 port on the computer. This step depends on the type of port on your PC.
Before plugging in the cable, ensure that your PC and keyboard are off.
– Step Three
Switch on your keyboard: You may need to slide the power button or press it depending on the keyboard model.
Power on your computer. You will need to press the power button for three to five seconds. While your computer is powered on, some buttons on the keyboard will light up, indicating that the keyboard is connected.
If your keyboard uses AAA batteries, e.g., Logitech MX keys, ensure they are new, so you do not run into issues.
How to Use a Wireless Keyboard With a Different Receiver
You will need to use a unifying receiver to connect your keyboard to your computer wirelessly. However, your keyboard should support a universal USB adapter. The process can vary slightly depending on the brand and the model of the keyboard.
So, how do I connect a wireless keyboard to a different receiver?
– For Logitech Keyboards
You can ascertain that your Logitech keyboard supports universal USB by checking for a * sign on your Logitech keyboard. If it does, follow the steps below to connect it to your PC.
- Get a functional Unifying receiver and plug it into your PC.
- Download the Logitech Unifying Software. To do so, head to Logitech’s official support page and find the latest software update. Select Download to get the software. Run and install the application once the download process is complete.
- Click on Next when the application starts.
- Go to your keyboard and turn it off. Move the slider button at the bottom or side of the keyboard towards the “off” direction. For the Logitech multi-device k380, the power on/off switch is on the upper left side.
- Let the keyboard rest for about half a minute before turning it on again. When it turns on, the application will automatically detect the keyboard. Therefore, your Logitech k380 keyboard will start working right away.
This process works for all Logitech keyboards. So, if you want a way on how to connect Logitech wireless keyboard k350 without receiver, follow the steps above.
– For Dell Keyboards
Since this option also works for Dell keyboards, check for a chain icon to ascertain that it supports a universal USB adapter.

Like in the case of the Logitech multi-device k480 and other Logitech keyboards, the procedure is pretty simple but with a few variations, as shown below:
- Plug the receiver into your PC
- Download the latest Dell Universal Receiver Control Panel from Dell’s official support page
- Install the software on your PC and run it
- Click on the Add New Device option.
- Now, use the slider on the keyboard to turn it off and let it rest for about 20 seconds. Long press any key on the keyboard to turn it on.
- Continue pressing the same button for about three seconds to enter the pairing mode.
- Your Dell PC will detect the keyboard and initiate the pairing. So, click on Yes when prompted.
Note that the receiver above allows you to use up to six devices simultaneously. Your wireless mouse and keyboard can share a single receiver simultaneously.
You can also use your mouse without its receiver. For Dell, it works with M7210W, MS5120W, MS3320W, and MS5320W.
Here is the procedure:
- Press the connection mode button twice within three seconds on your mouse until the lights turn on. This indicates that the Bluetooth connection is selected.
- Go to the Window search bar and type Bluetooth. Select Bluetooth & other devices and turn on Bluetooth.
- Go to the “Other devices” section, and click Dell Mouse.
- Confirm the pairing process on your mouse and PC to complete the process.
- Repeat the steps above on your secondary PC to connect the mouse to a second computer.
How to Pair a Wireless Keyboard Without a Receiver in General?
The quickest way to pair your Wireless keyboard with your computer without a receiver is to use Bluetooth technology. For this, you have to either hold or double-press the connection mode button on the keyboard and then connect it to your PC.
The process is relatively easy, and understanding how to connect dell wireless keyboard without receiver can save you a lot of time.
- Double-press the connection mode button within three minutes until the connection light powers on. This indicates that the first Bluetooth connection is selected.
- Go to your Bluetooth-enabled PC and type Bluetooth in the Windows Search bar.
- Click on Bluetooth & other devices and turn on the Bluetooth option
- Select your Dell keyboard from the list of devices and confirm the connection.
- You can also pair the keyboard to a second computer using the same procedure, which is only available on KM7120W.
Note that the procedure for connecting a wireless Dell or HP keyboard is similar to wireless Logitech keyboards. So you can learn how to connect Logitech wireless keyboard without receiver by going through the steps above.
The only difference is the location and name of the Bluetooth. In Logitech, it is called the Easy Switch key, while in Dell, it is called the connection-mode button, but they have the same function.
Conclusion
We have fully explained the process of connecting your wireless, Logitech, Dell, and HP keyboards to your PC without the receiver.
Here are our key points that will help you carry out the process seamlessly:
- Use the PC’s inbuilt Bluetooth technology to connect your keyboard
- Some keyboards can support USB to micro-USB, allowing you to connect the keyboards to your computer.
- If the keyboard keeps disconnecting, ensure your keyboard is closer to the computer or remove electrical devices that might be causing interference.
- You can also use a universal USB receiver to link to more than one device simultaneously.
Follow the steps above to link your wireless Dell, HP, Logitech, or any other wireless brand keyboard to your PC without the receiver.


