
How to connect brother printer to computer is the essential knowledge you need to have when you need to use your printer to print out an image or document from your main device. If you need to learn how you can link the peripheral to the main device, then you might be frustrated because you would be unable to utilize the device properly.
Once you have gotten your printer connected to your Windows computer, then you can easily use it to print out the content that you need, but the process might be unfamiliar if you have yet to gain technical experience.
Keeping that in mind, we have crafted the article below to guide you through pairing your computer and printer in a straightforward way that you will surely understand!
Contents
How Can I Connect My Brother Printer to My PC?
You can connect your Brother Printer to your PC by downloading and installing the relevant software package.
– Installing Printer Software
Installing the necessary software is the first step when you want to know how to connect brother printer to computer. To install the brother printer software, you must first put the radio button to “Advanced installation.”
Once you do so, you must ensure that you agree to all of the given license agreement terms. Then you just simply have to select the button that reads “Next.” Now, you must head over to the “Privacy Policy” window.

Once in it, you must select the “Next” button to access the next windows. Once you have entered the next windows, you must uncheck the checkbox that will read “Install Brother Printer Drivers.” After doing so, you must click the “Next” button. And lastly, you have to select the preferred printer model, and once you have done this, you can press the “Click” button.
To add a printer model, you must head to the “Printer connection method” window. From there, you have to select the option that reads “Setting up for printing via a wireless network.” After doing so, you will have to wait until all the drivers and software components are updated and the changes are worked on.
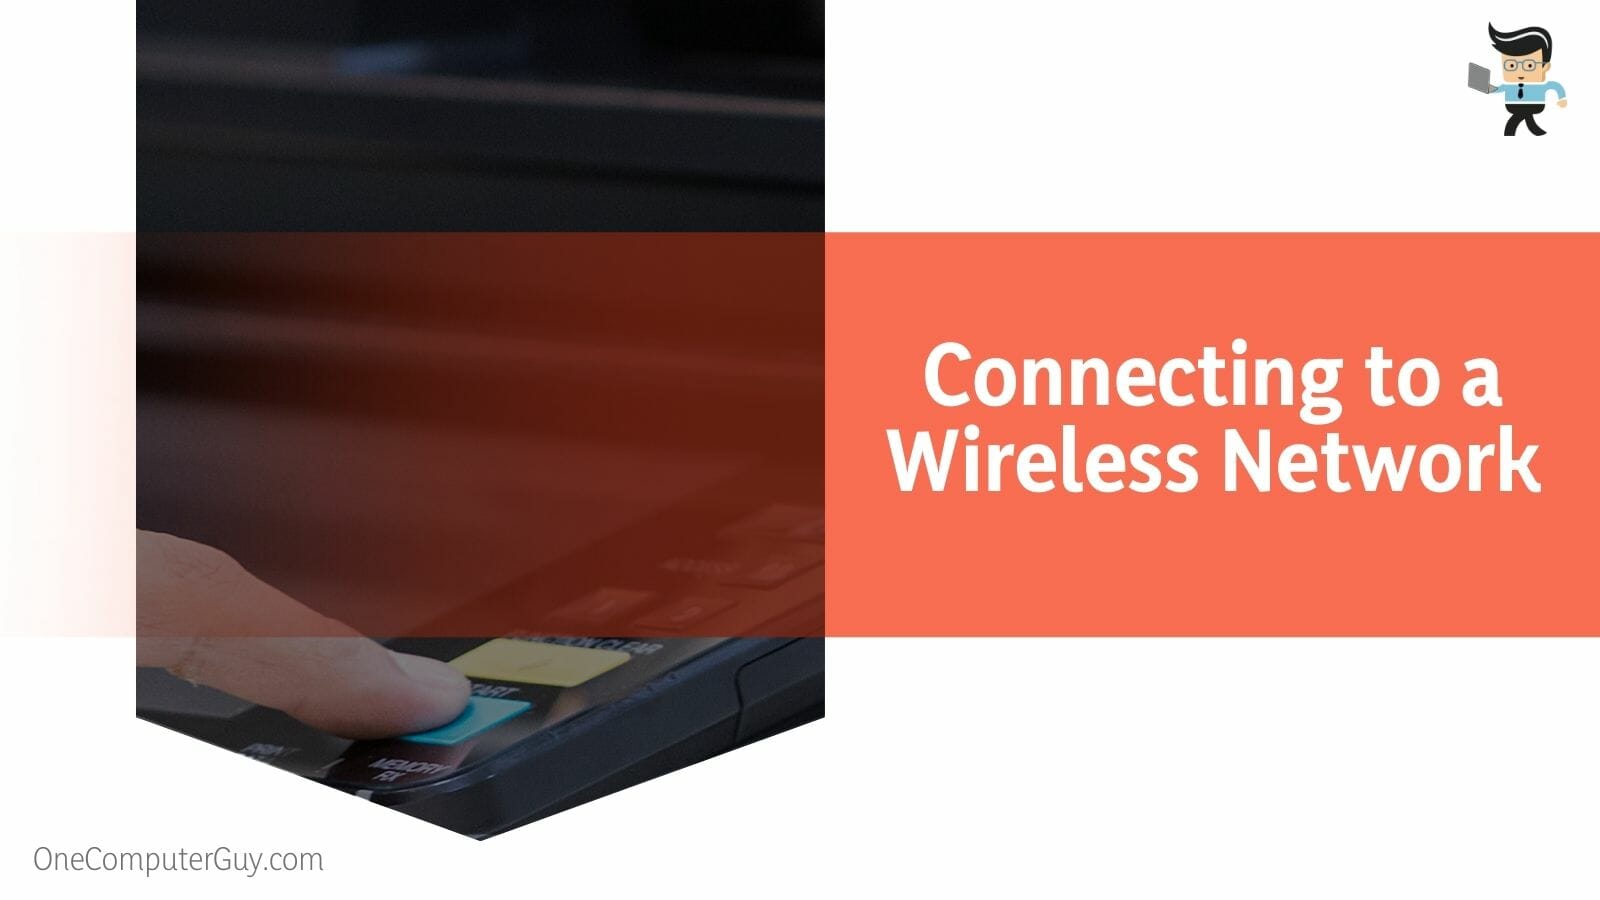
– Connecting to a Wireless Router
If you want to link the Brother printer to your Wi-Fi, you first need to head over to the Settings tab. From there, you will have to change the printer settings to factory settings. Once you have done as mentioned, you have to switch off your printer by pressing the power button for a few seconds. After waiting for a while, you have to switch on the printer.
To switch the printer on, you must hold the power button until you see the green and orange LEDs on your printer. You can now connect the brother printer to your preferred wireless networks. You must press the WPS Button on the printer to do so.
You just have to click the WPS button when using the Wi-Fi router. However, you might need to hold it down until it switches on, depending on the model of the printer you are using. Once you do so, the printer will connect to the chosen wireless network in a few minutes.
– Connecting to Windows 10
To set up the printer to your Windows 10 PC with an interface USB cable, you must start by connecting the printer. Once you connect the printer, you will see that the windows named “Print setup” that would have been there previously will vanish. Then, soon after, the software installation will automatically continue.
Afterward, you have to head to the “Wireless Discovery” window. You must locate the radio button option and reset it to ‘Automatic.’ Now you have to select the item and then simply type down the name and password of your wireless network from Wi-Fi. Once you have done as told above, you can select the “Next” button.
The installer will automatically connect the Brother Printer to the Wi-Fi router.
How To Connect Brother Printer to Windows 11? Error Free Solutions
You can connect the brother printer to windows 11 by selecting the “Start” button. Then you must head to the “All Programs” segment and scroll through until you locate the “BROTHER” folder. Once you locate the mentioned folder, you have to run it through the “Wireless Printing Setup” service. Lastly, you have to click the “Next” option and then wait for the next procedure to be over.
Moving on, you must select the options or detect the Wi-Fi router. To do so, you must locate the radio button and set it to “Automatic.” After that, you have to select “Next.” Once you do so, you will see the name of a wireless network; you have to check if it is yours and then just click “Next.”
You will now see a window read as “Successful Wireless Setup.” Once you see this window, you can disconnect the USB cable from Windows 11 and the printer.
How Can I Connect My Brother Printer to WI-FI?
You can connect your Brother printer to Wi-Fi by downloading the printer package and setting it up for wireless installation. After this, you will need to disable the direct printing option from the peripheral and set it up to connect to a wireless network.
– Connecting to Wi-Fi
First of all, you need to go to the company’s website by using the given link. After that, you have to select the ‘Search’ bar and type down the name of the model in it. Then, you have to select the ‘Search’ button. The system version is automatically detected soon after unless the software is required for the 64-bit Windows 11 or Windows 10.
Now, you have to select the vital software package that will be located in a section that will be labeled “Driver-Installation kit of the device software.” After that, you have to run the necessary installer file.
You must wait for the program to extract the given files and unpack the packages during the process. Now when you open the windows that allow selecting the device that has to be used, you have to look through till you find the essential series of printers.
Then, you have to select the option of “Wireless installation.” When in the next window, you must select the option that reads “Install Printer Software.” Make sure you don’t select the “Start Installation” option since it will be more outstanding than the other option.
– Connecting to a Wireless Network
To start up, after the “Product Options” window appears, you have to head over to the radio button. From there, you have to set it to “Disable direct printing.” Make sure to remember that the only devices that can connect to your brother printer will be the ones in your network Wi-Fi. After setting the radio button, you have to press “Next.”
Soon after, you will see a window named “Successful Network Setting” open. Then you will have to disconnect and set up the cable from the computer and the Brother printer. After that, you have to press “Next.” If you do as told, you will get a message that will congratulate you for successfully installing and will offer you to print a test page.
– Connecting to Local Wi-Fi
Download the latest printer drivers on the devices and reboot the printer and computer. Now, go to the printer control panel, press the Wi-Fi button, and hold for seconds.
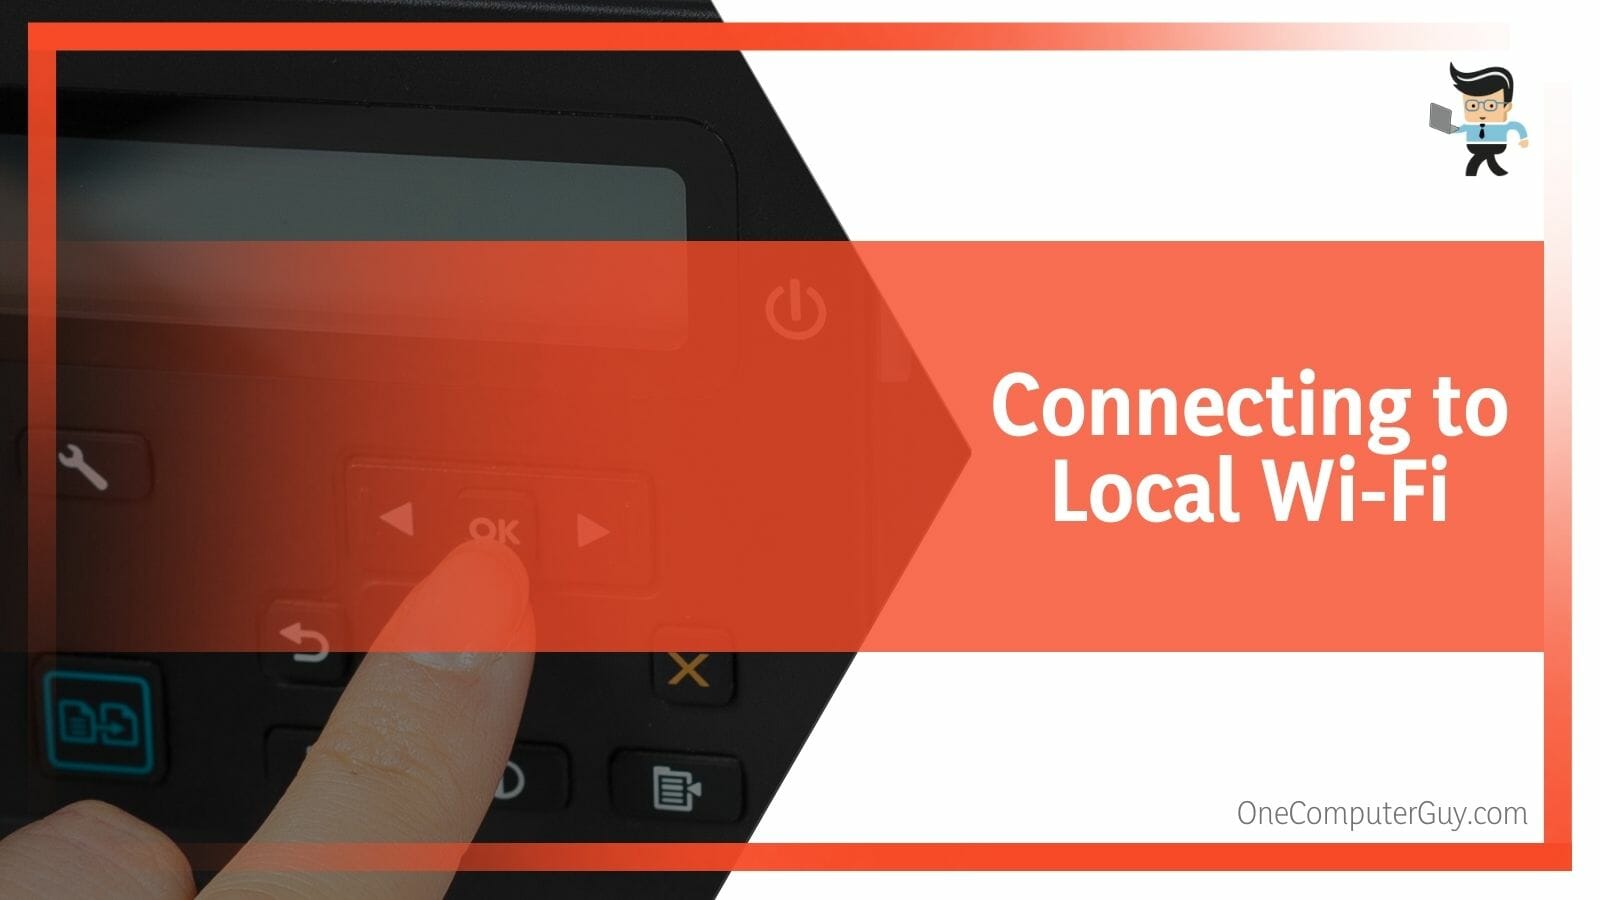
A Wi-Fi light starts blinking on the printer and checks the available Wi-Fi routers. Click on local Wi-Fi and enter the Wi-Fi username and password along with SSID information.
Conclusion
This guide discussed several methods for connecting your Brother printer to a wireless network and getting it to function on your Windows computer.
While techniques prove too similar, below is a summary of the points detailed in the article:
- If you want to connect the Brother printer to Wi-Fi, you will need to download the printer package and set it up for wireless installation.
- Once you have deactivated the option that allows a direct printer from the printer, you can easily set it up to connect to and work with a wireless connection.
- You need to download and install the relevant software to connect the printer to your Windows computer.
- Be it Windows 10 or above, you will have to download the right printer drivers and then connect it to your wireless router to set it up for use.
With the abovementioned techniques, you can now easily connect your Brother printer to your preferred computer. As long as you ensure the Wi-Fi connection is stable, the discussed methods should help you link your computer to the peripheral without a hitch!


