
How to split in After Effects when you have no prior experience with it, and you cannot outsource your work? Well, do not worry because we got your back in this article.
After Effects is a leading software in VFX and motion graphics by Adobe Inc. and is very famous in its industry. In this article, we bring you all the information on the split function in After Effects that can be used in variations with audio and video and other effects like trimming, layering, and much more.
Contents
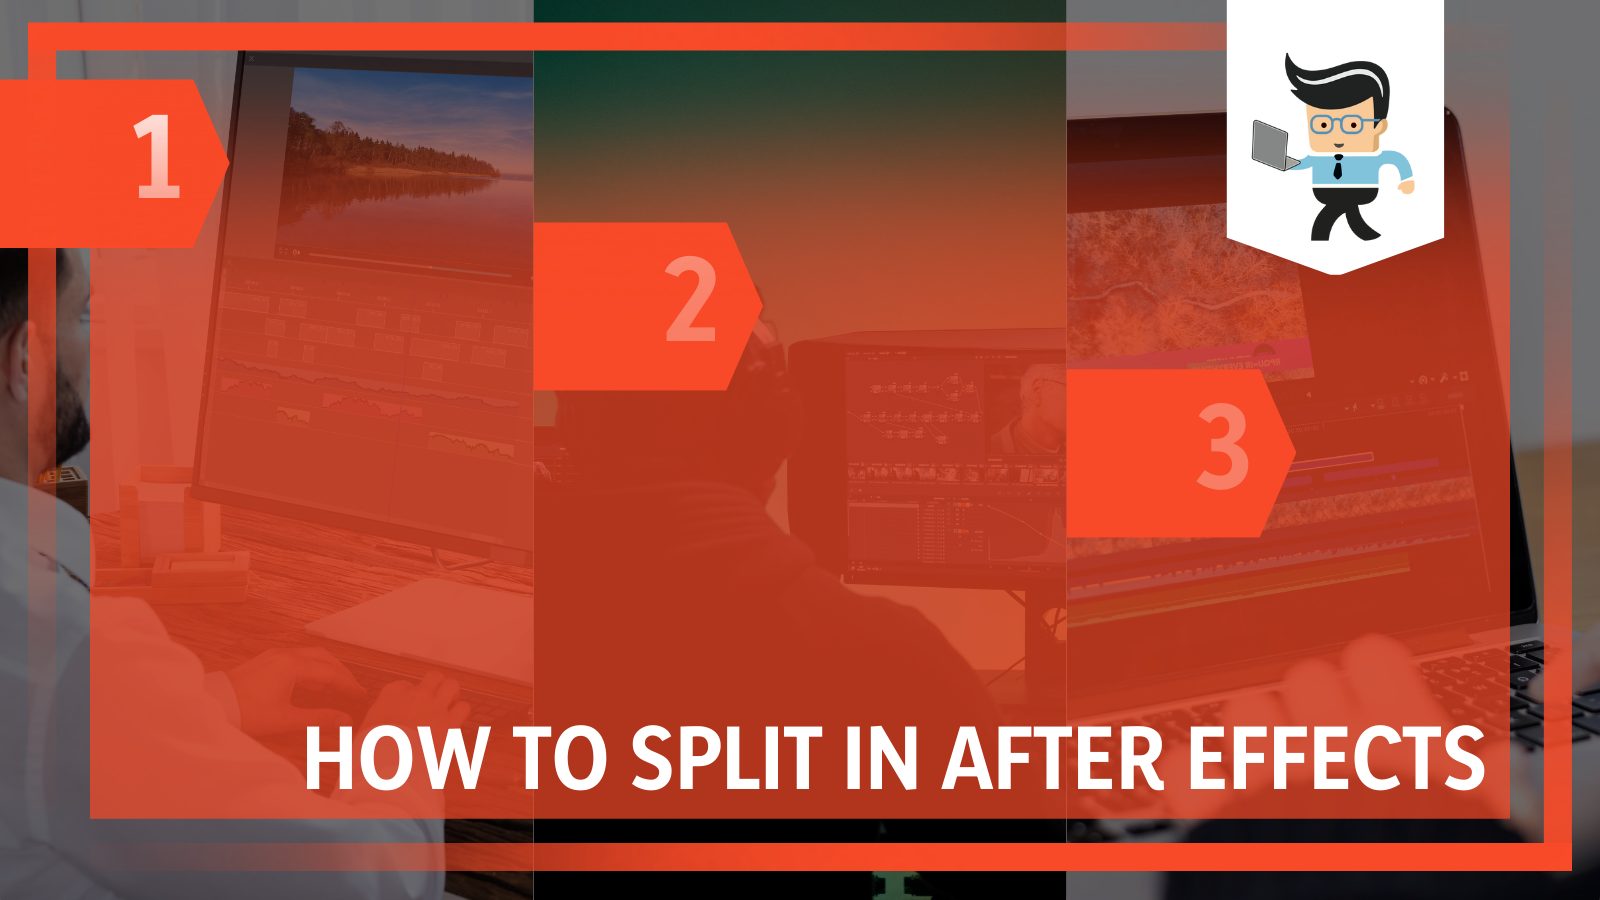
How To Split in After Effects? 3 Simple and Easy Steps
After Effects is software from the infamous software giant Adobe Inc., started in 1993. Since its rise to fame, it has knocked off all competitors and has been standing at the number one position despite being a paid software and also not being a very easy software to work with.
But professionals keep coming back to it, and most have never moved on from it because of its software genius and incredible powers. There are so many things and functions that you can perform on the After Effects software that it may take you some time to circle back through all of them.
Video editing is a very profound and useful skill to have these days because it is so much in need in almost all professional sectors. Other than professional sectors, people have been very creative with it for their personal projects and endeavors.
Surely the software houses a lot of different features under its sleeve, and splitting a video is one of them.
Following are the steps to follow if you want to split any video in Adobe After Effects software:
1. Import the File
Before getting into splitting, make sure that you have the latest version of After Effects installed and if you are working on a laptop, make sure that it is connected to a power source.
It is entirely up to you if you want to use the free version or the paid version, which is Adobe Premiere or the Premiere pro version of the software. Now, the very first step is to import the file that you want to split into two or more files.
Splitting is a technique that will effectively separate the audio from the video file so that you have a separate video and audio file in the end.
The file you choose can be of any resolution, depending mostly on what you want to use and what you want the end result of it to be. After Effects accepts a wide variety of different types of video formats, so you should not have any problem if the format of your file is different.
Just Make sure you select the correct file and its format because the split clip will have the same format as its parent file if not changed otherwise.
The audio that will be split will also have its own format, which can be meddled with later. Now that you have previously thought of a plan on where you want to split your file from, and the file has been selected, move to the second step.
2. Edit>Split
This is the most crucial step in the process. Here we will apply the splitting tool to the file that you have uploaded. As we have learned already that splitting will effectively split the audio from the video, leaving a clean and crisp audio file on one hand and a video file on the other.
When you upload a video, the software will prompt and ask you if you want the audio to be in a separate file by default.
You can always choose this feature here and be done with the world. Nut, in case the dialogue box did not show up, you can head to the settings panel in the top left corner and go into the Edit video option. From the drop-down menu, you can select the Split option and witness magic happening. The single uploaded file will “split” into two files of audio and video.
3. Save
The last step in this tutorial is to save the files however you like. There is no need to save the original file as you would already have the file in your system. What you need to save is the audio file and the video file with no sound. These two files will be of utmost importance and can have applications in various places.
The video is without any sound, so it is up to you now to be creative and add any sort of aesthetically pleasing sound behind it or, according to, however the video is.
The same goes with the audio, as it can also be used at any place you want. Please make sure that the files that you are saving are in the correct format and that they do not need any tinkering.
How To Trim After Splitting in After Effects Without Errors?
You can trim any file after splitting without errors in Adobe After Effects by using the Trim tool. It is fairly easy to use and will trim the video up to seconds in action. Consequently, you can trim up to the utmost precise mark without a problem.

Trimming is an important tool of any video editor software. It is what adds that dynamic touch to a very streamlined or dull video. If used properly, trimming can change the very sense and aesthetic of the video. This is why trimming is considered one of the most important jobs of a video editor.
If you want to trim any video in Adobe After Effects, follow the following step-by-step guide, which is written in the easiest yet helpful way:
1. Import the File
Like the splitting section, most of the things will be similar, but we shall still go over them. Make sure that your application is up to date. Upload the file that you wish to trim and get working. The format of the file depends entirely on you. While the software accepts a variety of formats, so any format should be fine.

Make a plan on how to effectively trim and where to trim the video from. The best way to get around this is by watching the video in full at first and then deciding on the trimming.
Make sure you do not save changes to the current file and save them in a new video, as you should keep the original video on you for safekeeping.
Now that all of the initiations are set and in motion, you can move on to the next step.
2. Edit>Trim
This is, as you guessed, the most important step of the process. Here you will be trimming the video at hand. When you first upload the video, a dialogue will appear asking if you want to split the file into its audio and visual parts.

If you want to proceed with the trim in that way, then click yes. If you wish to trim the file as a whole package, then click no. From the settings, go to the edit option and select the tab Trim.
Now you will be able to trim any video, audio, or file that you have uploaded without any hassle. Make good cuts by playing the video again and again.
Make sure that the video is not trimmed halfway through a beautiful shot or someone talking. So make sure you trim with the utmost sound and with a creative mind.
3. Save
The last step that we have is the save option. Whatever tweaking you have done while trimming the video, save the changes and then save the video. This will not be the original video that you saved but the edited video. It is smart to keep the edited and original versions of the video in two different places.
FAQ
– Do You Need To Use A Special System For Splitting In After Effects?
No, and Yes, the answer actually depends on the type of file you plan to split in the after effects software. The software itself is not light in memory and takes up much usage while working at full throttle; therefore, having a PC with good storage is sometimes crucial.
The software should work fine on a low-memory laptop or a system without any huge problems, but if you have to work with high-resolution files that will most definitely slow down your system, then you should think about getting a new system that will be capable of handling the computation.
Other than that, any normal system with an internet connection should work just fine.
– What Can You Use Instead of After Effects to Split Files?
There is various high-end software that you can use instead of After Effects to split files, like Blender, Nuke, HitFilm Pro, Apple Motion, Wondershare FilmoraPro, and Wondershare Filmora X. The abovementioned tools are great to use and have their own place in the industry.
Keep in mind that all of this software is built for professional work and if you need to get started on one as a rookie, try getting help from people teaching the software on Youtube, Udemy, or Skillshare. Their tips and tricks will come in handy because they have been working with the said software for ages now.
– Can I Use After Effects For Free to Split Files?
Yes, you can use After Effects to split files for free, but only for seven days which is the free trial period offered by Adobe Inc. after that, you would have to pay a standard fee of $20.99 per month. You can opt into making a yearly payment also.

It is not free because Adobe is a huge name, and it has made premium editing software for a very long time. While they do offer a grace period of seven days to test the software, some might agree that it is a small period of time, but it is a standard period.
Besides that, the premium version comes with various other top-notch Adobe software that is great for multiple uses.
Conclusion
Splitting a file into its visual and audio counterparts and trimming a file into various clips is fairly easy and can be done using the above mention processes but if you missed anything, here is a conclusion of the processes:
- Adobe After Effects can be used to perform various edits on a video, including splitting, trimming, joining, and various other effects.
- For splitting the file into video and audio parts, use the Split option from the settings or accept the first prompted message that appears when you upload the video.
- For trimming, use the Trim option from the settings and trim up to the accuracy of a second.
- You can save the files in the formats that they were uploaded in.
Here we have come to the end of the article about splitting and trimming in Adobe After Effects. We hope that it was an effective and helpful read for you. Happy Editing!


