
If you need to enable motherboard HDMI, it can be a little confusing. There are a few different methods out there that get this job done, but each one has a slightly different focus.
 If you want to use your HDMI port on your motherboard, you will need to do any of these steps to make it work. Don’t try to use any of the shortcuts out there, as they can overheat your motherboard and cause a bigger problem.
In this guide, we will walk you through the different methods to use motherboard HDMI with graphics card that is safe.
Contents
- When Do You Need To Enable HDMI Port on Motherboard?
- What Do You Need To Do Before Enabling an HDMI Port on Your Motherboard?
- How To Enable Motherboard HDMI: Easy Steps To Get It Done
- My Motherboard HDMI Isn’t Working: Now What?
- Conclusion: Enabling a Motherboard HDMI Is Pretty Simple but Needs To Be Done Carefully
When Do You Need To Enable HDMI Port on Motherboard?
There are many times when you will need to enable the motherboard HDMI.
Some of these situations include:
- You have limited ports on your dedicated graphics card, and you want to expand your capabilities
- The HDMI port on your graphics card is damaged
Some people claim that using the HDMI port on the motherboard is faster and more efficient than using another HDMI port, but that depends on many factors and isn’t a comprehensive solution.
It is important to note that only a few processors have integrated graphics, be it Intel, AMD, or some other brand. It is more common in Intel motherboards. If your AMD processor came with a “G” designation, then it has integrated graphics. An example of this type of processor is the AMD Ryzen 3 3200G.
What Do You Need To Do Before Enabling an HDMI Port on Your Motherboard?
The first thing you need to do when enabling your HDMI port is to know whether or not your CPU has integrated graphics. If it does, you will need to access your computer’s BIOS to enable the integrated graphics.
Go into your Advanced Settings and look for the phrase “IGPU Multi-Monitor.” You will have to save your settings, reboot your computer, then connect the monitors.
 Before doing anything, you should also install the latest integrated graphics drivers so that your system is up to date.
Take note that not all motherboards, including older systems and cheaper systems, will support onboard video ports, even if you have a dedicated graphics card installed. The motherboard will permanently and irreversibly disable the motherboard HDMI if you have the graphics card installed in a PCIe slot.
To determine whether or not this is the case for you, you can look in your motherboard’s user manual or look through the BIOS. You should know the make and model of your motherboard and everything related to your graphics.
You may not need all of this information, but it is better to have it beforehand than try to look for it when you have your computer pulled apart. The quicker you can do this, the lesser the chance that you’ll have a buildup of dust, debris, and other dangerous particles.
How To Enable Motherboard HDMI: Easy Steps To Get It Done
There are four basic steps to follow when you want to enable your motherboard HDMI.
Each step is a bit tricky and requires you to have some basic computer knowledge, but it isn’t impossible. Be ready to carve out some time to do this, and make sure to be gentle.
Remember that your motherboard is delicate. Clean your hands before touching and don’t disconnect anything.
– Check Whether You Have Integrated Graphics in Your CPU
The first thing you need to do is ensure that your CPU actually has integrated graphics. You’ll need to do this because the HDMI port found on your motherboard runs from the integrated graphics and not to your GPU, as many people think. You only need the integrated graphics for your HDMI, nothing more.
To do this, follow these steps:
- Open the “Settings” menu in Windows 10.
- Select “System” and then select “About.” You will have to look for your processor model here and click that.
- Go to Google, enter your processor model number, and check whether or not you have access to integrated graphics. If you can’t find it, look for the “tech sheet” and do a “Control + F” and search for “integrated graphics.”
– If this method doesn’t work, you can right-click on the “This PC” option and go into the “Properties” menu. This will tell you your model number and then search for that number with the phrase “IGPU.”
– Use the BIOS To Enable Integrated Graphics
Once you are sure that your CPU can support integrated graphics, you move onto this next step. Remember to be very careful and follow each step as it is written.
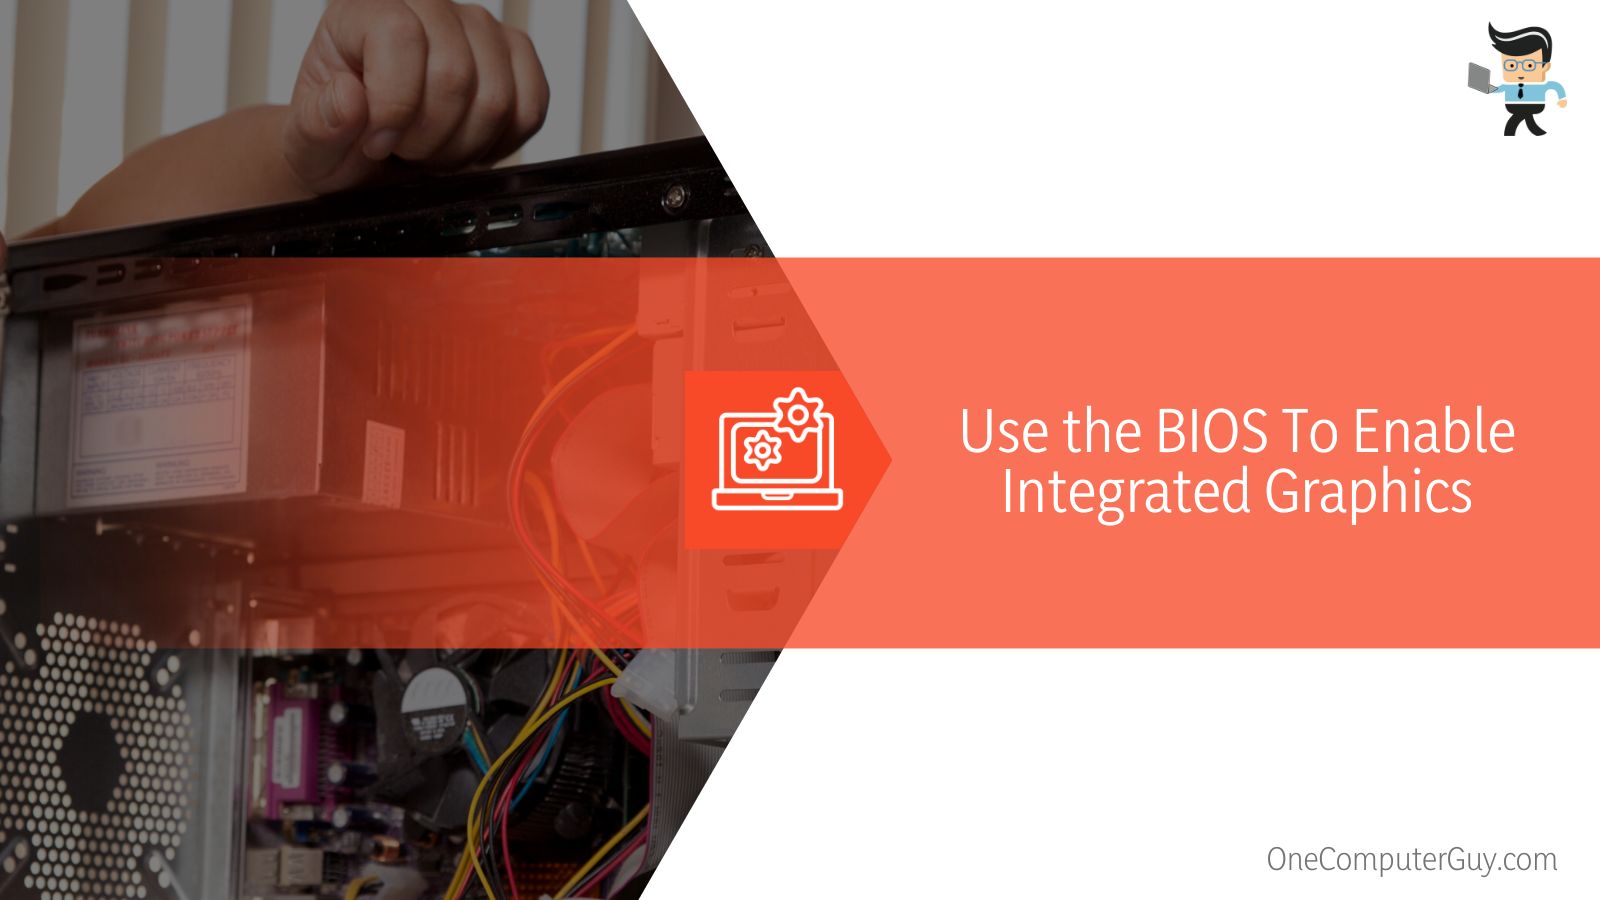
- Go into the BIOS and turn on your integrated graphics. You need to restart your computer after you do this, so be sure to close all other applications and save your work.
- As soon as the computer reboots, press the correct key to get into BIOS.
– The keys for this will depend on your settings and computer, but the most common keys include Escape, Delete, F1, F2, F8, or F12. You should be able to find what your BIOS key is in your motherboard’s manual. - Take caution here. You need to be very careful when you are changing anything in the BIOS or even navigating it because it has to do with all the inner workings of your computer. Even if you’ve worked on BIOS before, know that they look very different for every motherboard.
- Look for a menu, tab, or section that says, “Advanced.”
- Once you are in this menu, look for the settings related to the IGPU or multiple displays.
If the settings are disabled, you can change them to “enabled.” Enabling this should turn on the motherboard HDMI and make everything work. - Be sure to save your changes or press “Enter” to confirm you want to do this.
- Restart your computer and allow it to fully boot up before you do anything else.
– Get Your Monitor Connected and Start Setting Up
Your next step is to connect your monitor so that you will be able to use the HDMI port on your motherboard.
- Plug your primary monitor into the HDMI port on the back of the video card. If you have a secondary monitor, you should plug that one into the HDMI port found on your motherboard.
- If you have any other monitors, you can plug the HDMI cables into those monitors as well.
- When you boot up into Windows, your monitors should be automatically detected. Take a few seconds to ensure that everything is configured correctly for the displays. You will have other opportunities to do this, but this is the easiest time to do it. Right-click on your desktop and choose “Display Settings” to do this. You can also adjust any other settings for your monitors. It is best to do everything at once so nothing gets reverted when you make other changes.
– Install the Updated Integrated Graphics Drivers
Now you will have to go through the process of detecting other monitors and checking for updates. The drivers for the onboard graphics may not be installed properly, or they can even be outdated.
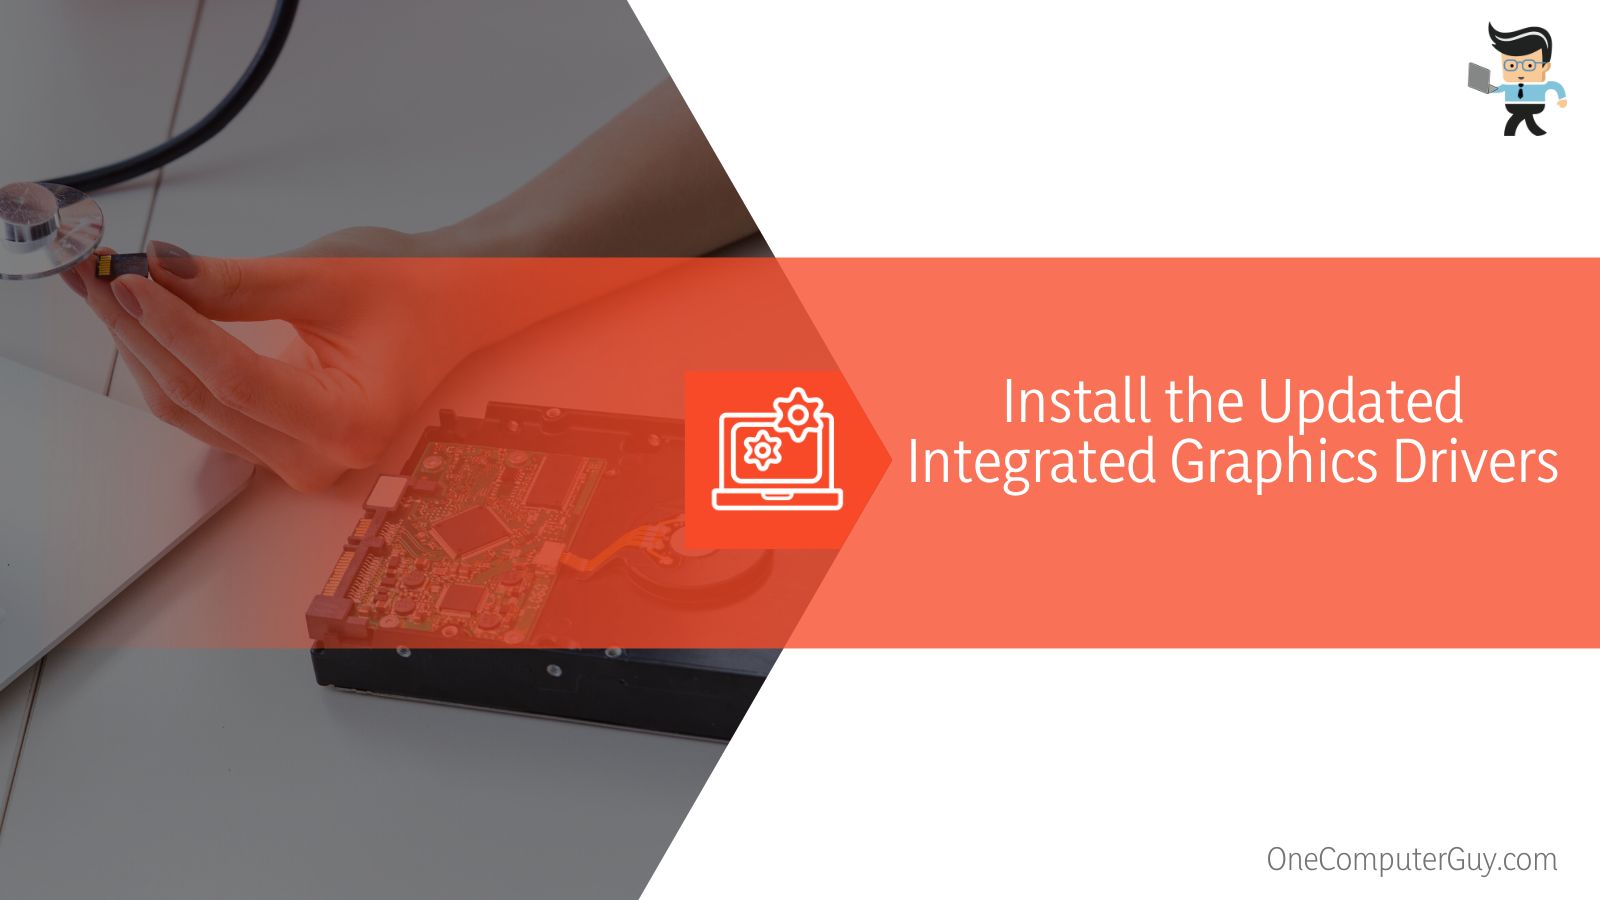 To do this, follow these steps:
- Open up the “Device Manager” in Windows.
- Under the section that says, “Other Devices,” look for an unidentified device. You may see more than one. If you do, repeat these steps separately for each one.
- Install the latest driver for each of these devices. You may have to navigate to the website of your CPU manufacturer or allow Windows to automatically search for updates (much faster).
- Once all of the updates have been downloaded and installed, restart your computer. Wait for the monitor to be detected, then repeat the process.
When you’re done working your way through this list of unknown devices, you should be able to use your motherboard HDMI without any problems.
Unfortunately, some settings will revert away from the motherboard HDMI port, but you won’t have to go through all of these steps as the device should be identified right away.
My Motherboard HDMI Isn’t Working: Now What?
Your HDMI cord mainly transfers audio and video data from the motherboard to the monitor. If something goes wrong, it usually first appears as an error with one of those components.
Either you hear the media without seeing it, or you will see it without hearing it. Sometimes it won’t transmit any data at all.
There are a few common errors that occur:
- The HDMI is disabled
- You haven’t properly connected the dual monitors
- The motherboard, monitor, or HDMI cord are damaged in some way
With any luck, you will get an error message that tells you what is wrong with your setup. However, if you can’t receive that message, you may just have to guess and check to see what works.
– Motherboard HDMI Has No Signal
You will get this error when you have an HDMI cord that isn’t working properly for some reason. Since the monitor is working, you can rule that out of the equation.
Check the cord for any issues like warping and bending. You can also go through the steps above to ensure you have the proper setup.
– Model Number Motherboard HDMI Not Working
Once again, you don’t have to worry about the monitor if you get this error. Instead, check out the HDMI cord and see if there are any physical issues. The number one cause of this problem is loose fitting. Test the HDMI by connecting it to another computer and seeing if it works.
If you don’t see any physical issues, boot your PC into the BIOS mode and follow the steps listed above.
– Motherboard Cannot Detect Monitor
If this message displays on your monitor, there likely isn’t an issue with the monitor. Remove the monitor that is connected to your PC. Open up the Device Manager and go to your “Monitors” section (it could be a tab or a folder). You will see a list of all of your monitors. Uninstall all of them except the one you are currently using. Connect the monitor again and try to set it up.
 In general, you want to keep your HDMI connections tight and clean. Any dust or debris will cause issues and can even cause loosening over time. When setting up your monitors, try to avoid coiling any wires or bending anything. You can use cables to keep everything organized. Test cords to see if they work.
If you have a black screen on every monitor you try, something is wrong with your motherboard, and you will have to start troubleshooting there. Ensure that you didn’t overheat your computer, your power supply is working (both the cord itself and the outlet it is plugged into), and nothing else has shorted out.
If everything is working properly, but you still can’t use a monitor, it could be that you don’t have integrated graphics capabilities with your motherboard. See above for the instructions on how to check whether or not this is possible with your motherboard.
Conclusion: Enabling a Motherboard HDMI Is Pretty Simple but Needs To Be Done Carefully
Whenever you do something that requires working in the BIOS or touching your motherboard in any way, you have to pay attention to everything you do. Do it slowly, use clean hands, and focus only on the task at hand.
If you’ve never done it before, start using only one or two monitors, even if your GPU has multiple HDMI ports. It is best to connect extra monitors to these extra ports. You do have to be slightly concerned with overheating and overloading your system.
While you absolutely can use multiple monitors with your HDMI ports, including those on your GPU and on your motherboard, you should expect to see lagging, dropping performance, and some slight problems.


