Clone SSD to larger SSD reflects a process adopted by many to improve the overall performance of their desktop/computers. If you’re planning something similar and wish to learn everything about cloning a SSD to a bigger SSD, you’re at the right destination.
 In the following write-up, we’ll discuss cloning SSD to larger SSD in quick, easy steps.
Contents
How to Clone a SSD to a Larger SSD
When your clone SSD to bigger SSD, you make your computer more efficient and faster. Not to mention, some cloning applications also come with built-in backup features that can help you save copies of your drive to another drive. That drive will do nothing but sit there as a redundant backup, which can help instill a safe and secure element in your system.
Let’s learn how you can do that real quick.
-
Set Up Your Enclosure
You can start by installing the new SSD in the USB enclosure. It is very easy to install the SSD and barely takes about five minutes to get the enclosure ready. If you are having trouble setting up the enclosure, you can refer to the user manual that comes with the enclosure.
Once you are done, you can move forth and connect the enclosure to the laptop using the USB cables. The cable doesn’t come with any prerequisites, and you can use the one of your choice and laptop suitability.
If your laptop does not have a USB port, you can use any other type of cable to conclude the process.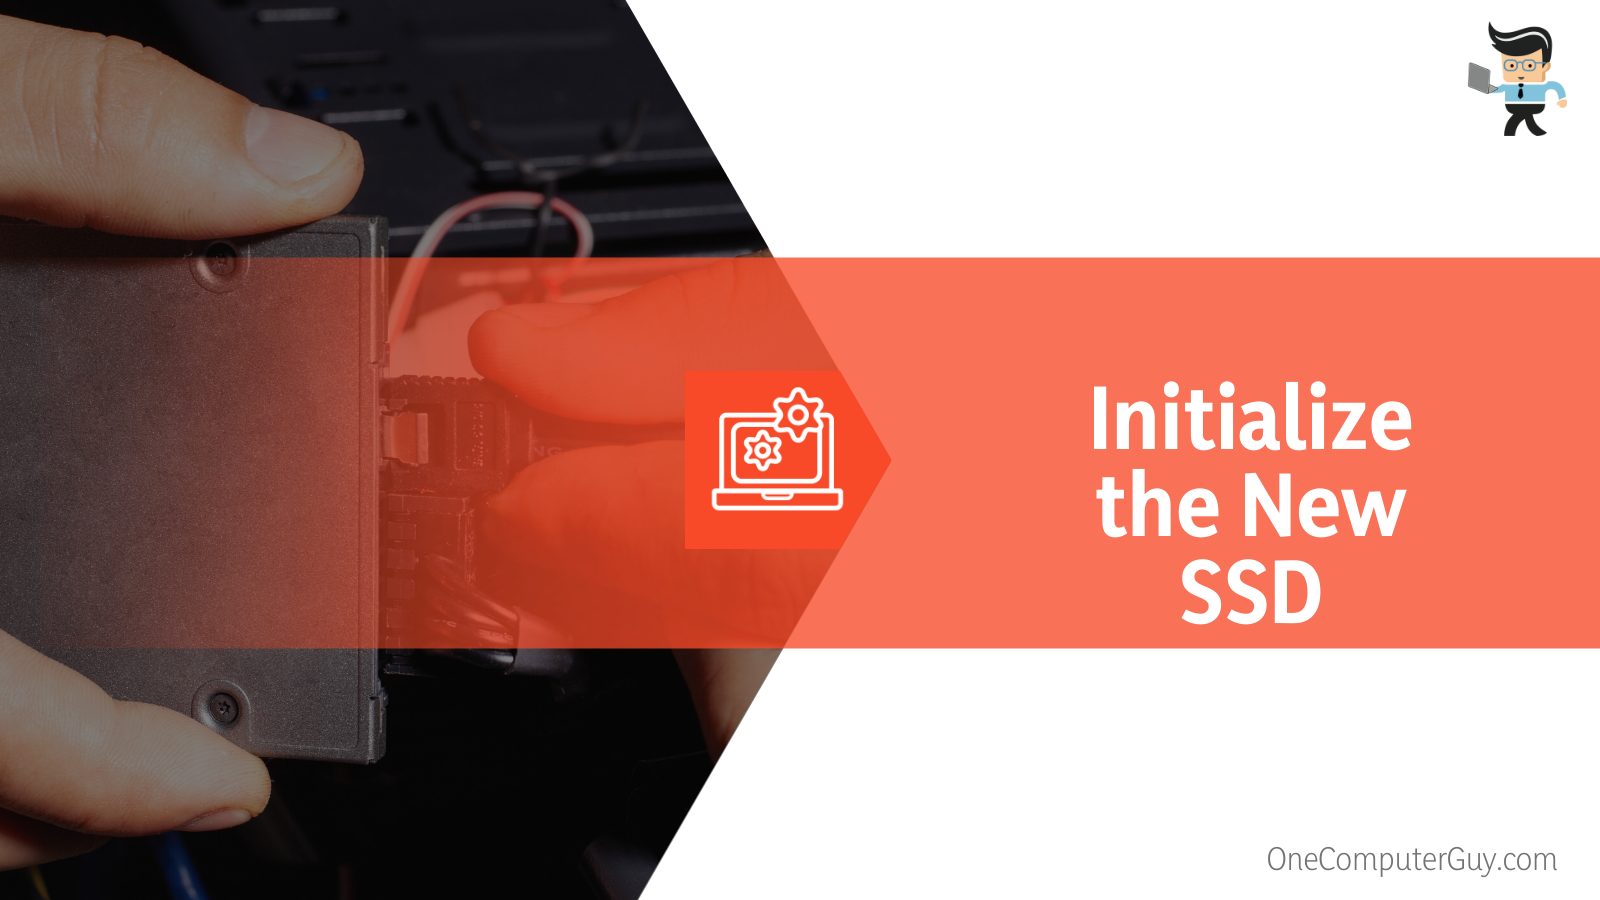
-
Initialize the New SSD
Before you clone SSD to larger SSD, you must first initialize the new SSD. To initialize the new SSD, you will need to navigate to the disk management section. This will require you to first right-click on the start button. Upon right-clicking, you will notice a number of options popping up. You will have to find the disk management option within these and proceed by selecting it.
Upon clicking on the disk management option, you will automatically see the Initialize Disk prompt. Ensure that you select the GPT and click on the “OK” option, which will present you with your new SSD.
-
Install Cloning Application
After you have set up the enclosure USB and initialized the new SSD, you can move forward with the main cloning process. For this process, you can side with using an application of your choice. You can find amazing online tools and utilities that help you sort backups and clone your hard drive.
Some of the applications to clone SSD to larger SSD are also free of cost, and you can easily download them from the website. Once you have installed the tool on your PC, you have to simply run the application. Most of the applications present you with a dashboard that displays all the hard drives that are connected to your PC.
From this dashboard, you have to identify the internal SSD that you wish to clone. Once you have spotted the internal SSD, you can get an idea of the drive you want to clone to a larger SSD. Later in the process, the larger installed SSD will become your main internal SSD. The SSD section that you have installed will initially be complete.
– Tool Preferences
If you are cloning from a smaller drive to a larger drive, you will be better off using an online partition assistant tool. This is because cloning from a smaller SSD to a larger SSD means that you will have to turn the entire drive you are cloning into a partition on the larger drive.
The access in this instance will be a separate partition that is not being used. It will show up as a second drive in the new hard drive that you clone. You can therefore use the partition assistant to extend that volume to become the entire length of the drive.
You can also use the Windows disk management tool for partition purposes as well. The AOMEI Back upper is a tool that many people will often use to clone a SSD to a larger SSD.
-
Start Cloning Process
To start the cloning process, select the desired disk. Make sure to choose everything because it is crucial to clone the drive as it is on the new one. Once you find the new drive, delete all the existing partitions, pick what’s sitting inside and click on the clone option.
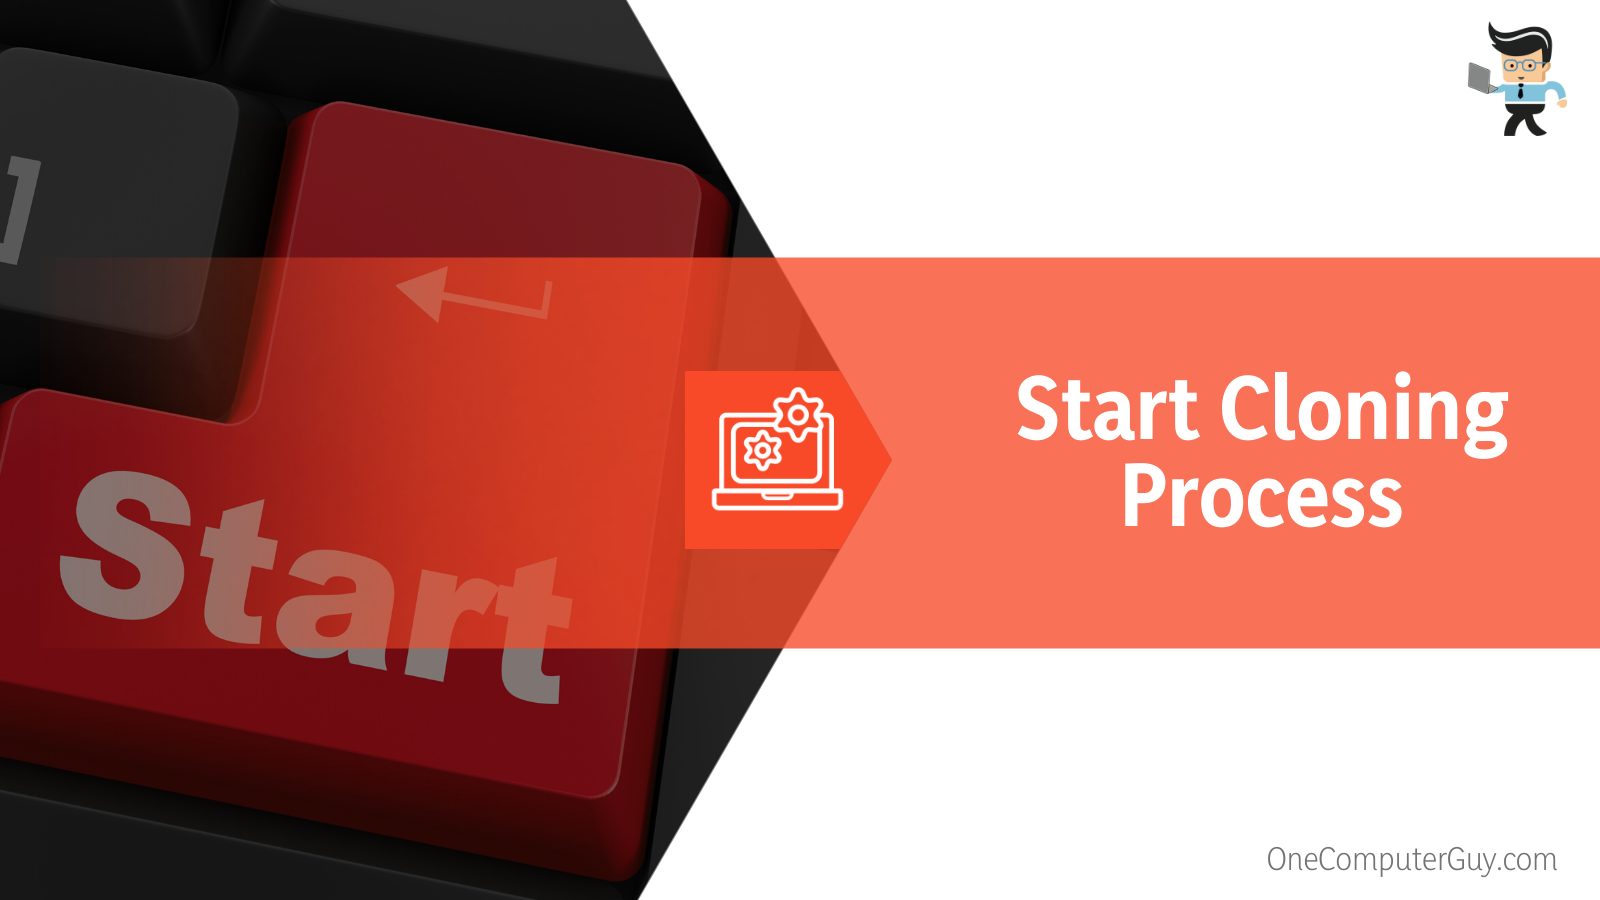 After the process starts, all you have to do is wait. After that, move on to physically swap the drives.
– Using External Docks
The drive type has no role to play in the cloning process. The only thing it determines is the speed at which one drive is copied to the other drive. As the nature of the concerned drive does not matter when you are cloning a smaller SSD to a larger one, you can actually use an external dock to accomplish the task.
While starting the cloning process, you have to first make sure that your drives are reinstalled, either through an external interface or through the computer. If it is an NVME, you can simply insert the drive in the slot, clone it, and pull it out, as discussed above. However, using an external dock is simpler.
– Clone SSD to Large SSD Windows 10: Disk Cloning
After you have inserted the drive into the computer, you will have a popup. On the left side of that option, find and click on the clone button. Next up, select the option called “Disk Clone.”
Windows 10 has a very specific partition type and install, which means that you cannot simply clone SSD to a larger SSD by using any tool.
Rather, you need to ensure that you use a tool that is capable of cloning the disk exactly as it is set up. This involves the partitions, drive types, file types, and more to make sure that Windows will, in fact, boot. Otherwise, you can get a clone to drive, but when you go to boot, then it will not work.
If you are cloning to a larger drive, you will not have to worry about partition management because the partition will eventually occur at the end of the drive. This is because the drive partition for the source is larger than the actual destination. Larger partition size is not a problem as long as the data does not exceed the amount of storage on the drive that you are dealing with.
As long as the data is less, and the partition is larger from the source, the partition will define the entire length of the drive, and the data will copy without filling up the whole drive.
Most online applications will, however, tell you that the drive is too small. This is why you must make sure that you have enough volume before you clone the SSD. Once you select the source, you’ll have to proceed towards your destination disk. One of the things that this will do is format and remove all the partitions that you have on your drive, thus reducing the efforts of pre-formatting and daunting re-sizing tasks.
– What Happens After You click “Start Clone”?
Once you hit the “Start Clone” option on the online tool designed for cloning SSD to Larger SSD, it will start to pre-allocate the data and verify that there is enough space on the new drive before it starts copying or formatting. Making sure everything is aligned before the cloning process helps you avoid data destruction prior to completion.
 While waiting for the cloning process to conclude, you are likely going to notice that it gets to around 73% quickly, and them seems like freezing after reaching that point. This is where you need to be patient.
If you are going from a spinning drive to an SSD, there are two common scenarios to encounter. You are either going from a spinning disk to an SSD, or you are going from a smaller migrate SSD to larger SSD. For the former scenario, the copying speed is going to be fairly slow as compared to the latter, especially on a hard drive.
Most hard drive cap out at about 100 megabytes to 150 megabytes per second when it copies a larger file. Depending on your drive, it can even take several hours.
-
Swap Your Drives
When you purchase the enclosure, it will likely come with an additional screwdriver. If you pop open the laptop, you will find your internal SSD to be underneath the metal heat sink. Bolted on top of the drive will be a screw. Unscrewing the SSD screw will help you take out the internal SSD drive.
As simply as you took the internal SSD out, you can just as easily insert the new larger SD drive in the laptop. Installing the new SSD simply requires you to insert the drive and cover it with the metal heat sink. After covering the heat sink on the SSD, you can reinstall the screw and finish the physical installation of the new larger SSD to your laptop. To finish the process, all you have to do is reassemble the laptop and turn it back on.
-
Post-Clone-Completion
After you have successfully cloned the drive and reinstalled it into your computer, you will witness that the larger hard drive will not show the rightful space that it should be. For instance, one terabyte drive can show up as a 500 GB drive. This happens because you may need to add the unallocated space onto the C drive.
- To do this, all you have to do is right-click on the start button and go to disk management.
- Once you open the disk management option, you will quickly notice the unallocated space.
- After spotting that space, you have to simply right-click on the Windows C partition and select the “Extend Volume” option.
Once you finish this process in which you upgrade SSD to larger SSD, you will note that your Windows partition is showing up as a 1 terabyte drive.
Pre Requisites: Things You’ll Require for Cloning
To clone SSD to larger SSD, you don’t need a whole lot of technical hard drives and equipment. All you would need is a larger SSD and a USB enclosure. The enclosure is integral, as it not only allows you to clone the existing drive onto a new one but also helps you repurpose the SSD as a high-speed USB flash drive.
Overall, the items that you will need to include:
- Larger SSD
- USB Enclosure
- Screws
- USB Cable
- Screw Driver
Wrapping Up
Hopefully, the above-mentioned information gave you an idea of how you can clone SSD to larger SSD without much of a hassle. Cloning your smaller drive to a larger one is also a cost-effective way to increase your PC’s capacity and, in turn, make it faster.
Before you set out to initiate the cloning process, keep in mind that there are two basic methods:
- The first method requires you to directly plug the drive inside the PC; however, this method is only possible if your laptop or computer comes with a situated port for this purpose.
- Alternatively, you can also upgrade SSD to larger SSD by using an external dock.
- There are a number of tools that help cloning a SSD to a bigger SSD, choose one that serves all your requirements.
Both methods will nonetheless require you to make configurations and follow the repurposing steps. Make sure to follow them and seamlessly migrate SSD to larger SSD.


