| The following page details the steps necessary to create a WindowsXP VPN Server | |
| 1. | Go to Start / Settings / Network Connections |
| 2. | Start the New Connection Wizard |
|
|
|
| 3. | Click on the Next button |
| 4. | Select Set up advanced connection |
|
|
|
| 5. | Click on the Next button. |
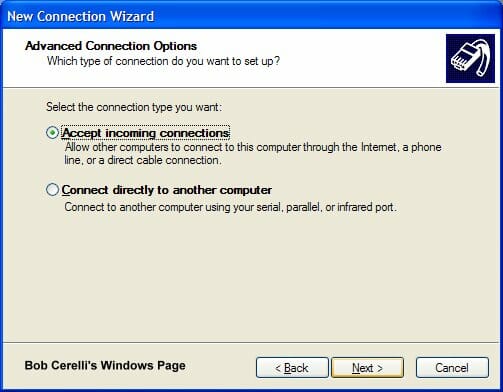
| 6. | Click on Accept incoming connections |
|
|
|
| 7. | Click on the Next button |
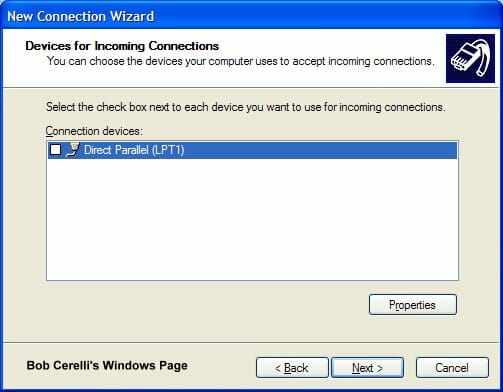
| 8. | At the LPT1 page, skip it and just click on the Next button. |
|
|
|
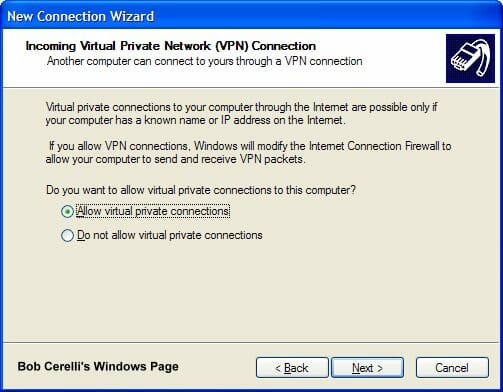
| 9. | Click on Allow virtual private connection |
|
|
|
| 10. | Click on the Next button |
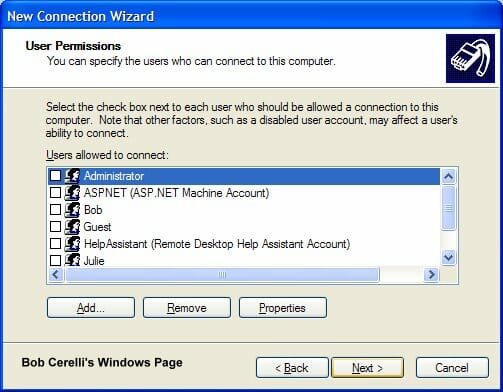
| 11. | Add user accounts that you want to be able to connect to your WindowsXP computer. |
|
|
|
| 12. | Click on the Next button. |
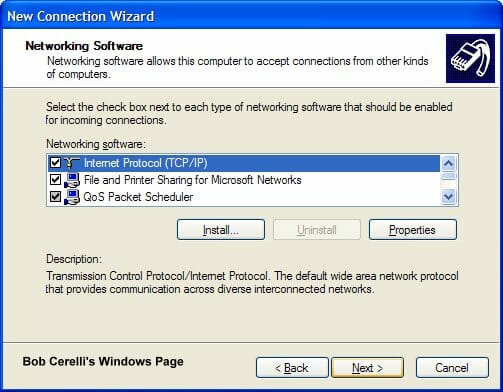
| 13. | Highlight Internet Protocol (TCP/IP) and click on Properties |
|
|
|
| 14. | Determine how you want the remote computers to get their IP address |
|
|
|
| 19. | The above example will assign IP addresses to each client. Make sure the IP scheme is the same as on your server. |
| 20. | Submitted by Andy Bloss If the VPN server is behind a router, Port Mapping will need to be done on the router. Standard port usage is 1723 for PPTP. You might also need to configure your router for PPTP Passthrough. Port usage for IPSec is 500, 50-51. These ports will have to be forwarded to the VPN server’s IP |


This site is copyrighted. No portion may be reproduced without my written permission.


