|
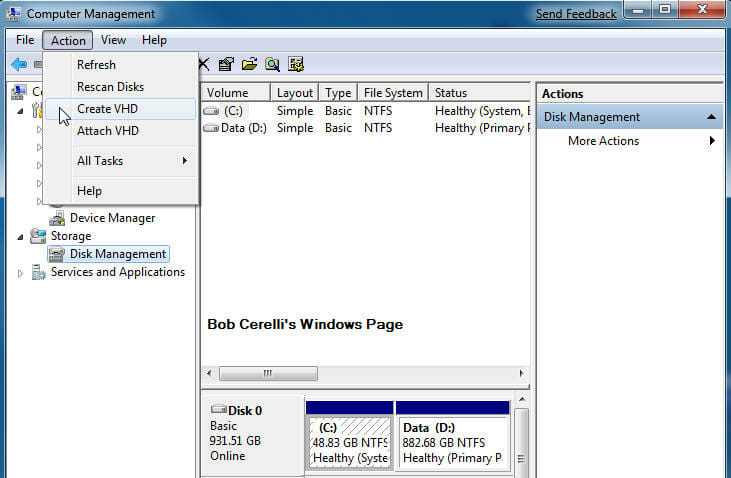
With Windows 7’s Virtual Hard Drive, you can create disk images without the need for 3rd party programs like Windows Virtual PC
|
| 1. |
Right click on My Computer |
| 2. |
Select Manage |
| 3. |
Select Disk Managment |
| 4. |
Click on Action / Create VHD |
|
 For the use of Bob Cerelli’s Windows Web Site For the use of Bob Cerelli’s Windows Web Site
|
| 5. |
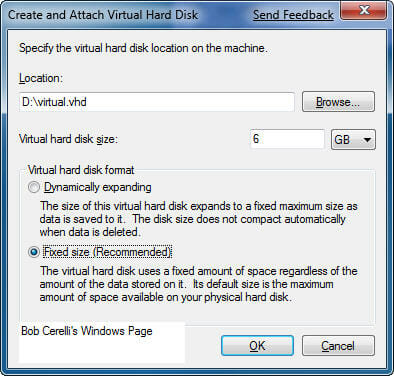
Set the Location, Size and Type of Virtual Hard drive you want to create |
|
 For the use of Bob Cerelli’s Windows Web Site For the use of Bob Cerelli’s Windows Web Site
|
| 6. |
This simple creates the file that will be used for your Virtual Hard Drive |
| 7. |
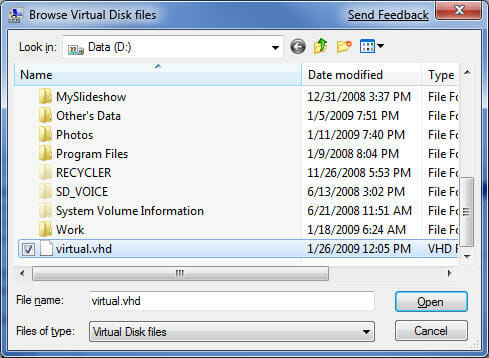
To attach to that file, click on Action / Attach VHD, and Browse to the file you just created |
|
 For the use of Bob Cerelli’s Windows Web Site For the use of Bob Cerelli’s Windows Web Site
|
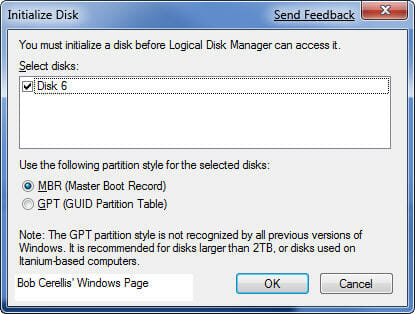
| 8. |
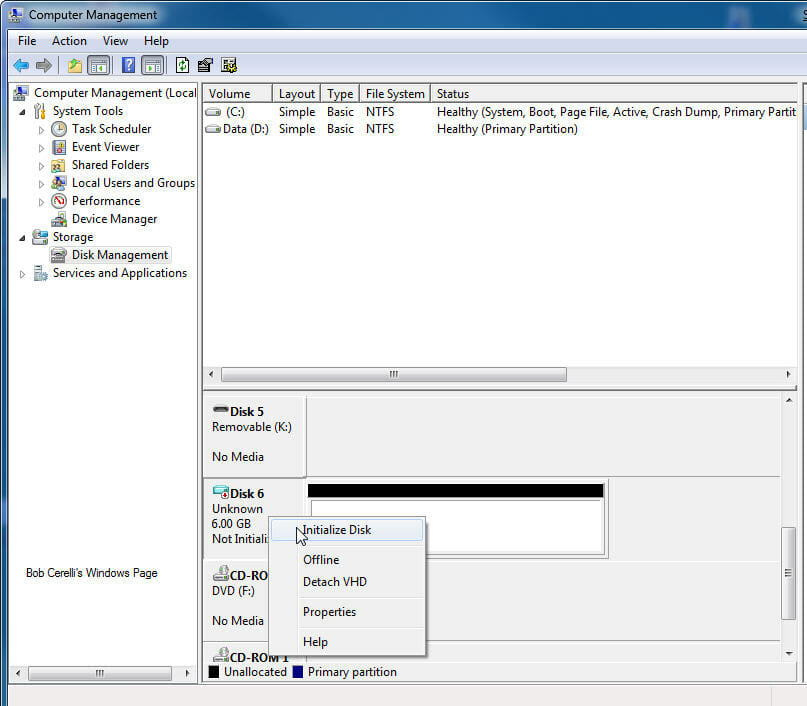
To initialize the disk, right click on the appropriate Disk # and select Initialize Disk |
|
 For the use of Bob Cerelli’s Windows Web Site For the use of Bob Cerelli’s Windows Web Site
|
| 9. |
Confirm the Disk # and select the style you want |
|
 For the use of Bob Cerelli’s Windows Web Site For the use of Bob Cerelli’s Windows Web Site
|
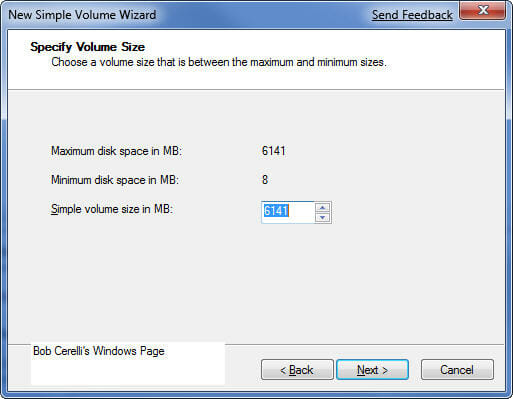
| 10. |
From here you can format the drive as you would a regular hard drive |
| 11. |
Right click on the Unallocated space and select New Simple Volume. Assign the size |
|
 For the use of Bob Cerelli’s Windows Web Site For the use of Bob Cerelli’s Windows Web Site
|
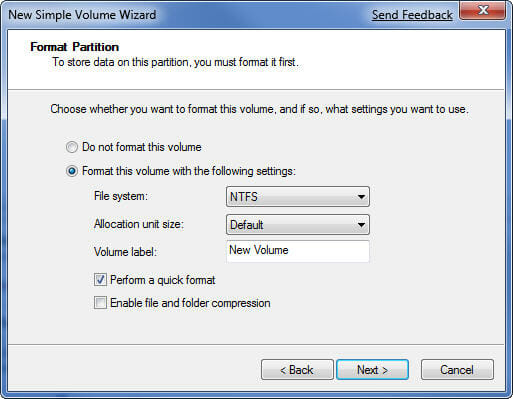
| 12, |
Assign the Drive Letter, whether you want to format with NTFS, and the label |
|
 For the use of Bob Cerelli’s Windows Web Site For the use of Bob Cerelli’s Windows Web Site
|
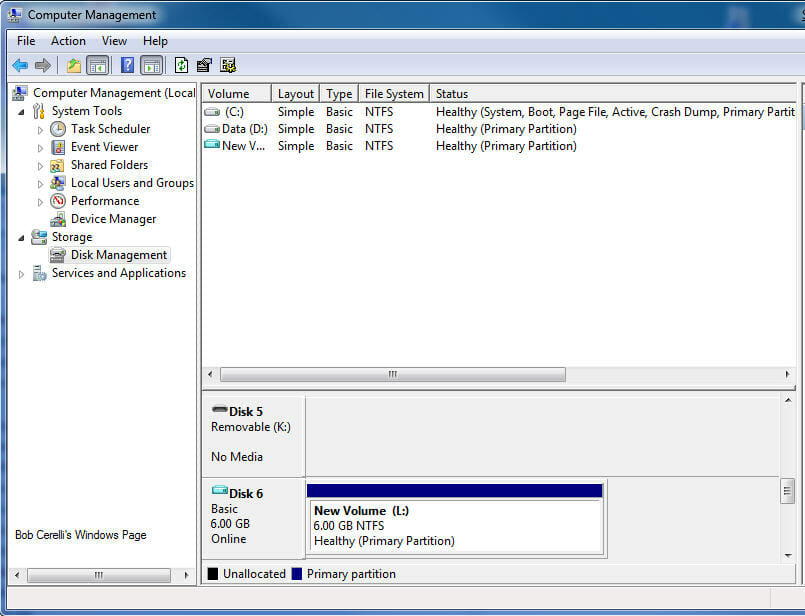
| 13. |
Now you will see the new Virtual Drive as a new drive letter |
|
 For the use of Bob Cerelli’s Windows Web Site For the use of Bob Cerelli’s Windows Web Site
|


