There have been several changes in the way Windows 7 networks |
|
| 1. | Open the Control Panel |
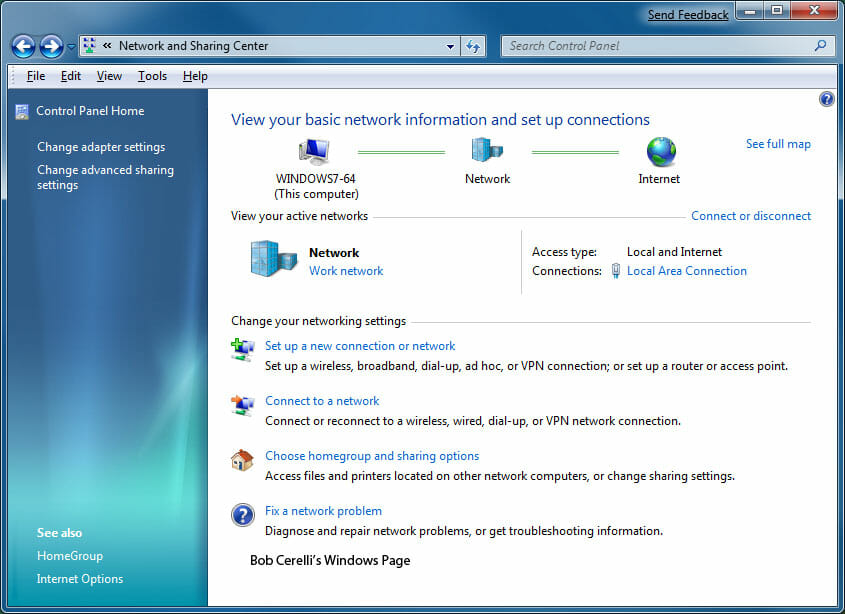
| 2. | Go to Network and Internet / View network status and tasks |
|
|
|
| 3. | From here you can set whether the computer is on Home or Work network, The Local Area Connection settings (IP address for example), VPN Connection etc. |
| 4. | On the top left, click on Advanced sharing settings |
| 5. | From here you change change general settings for how sharing is enabled or disabled |
|
|
|
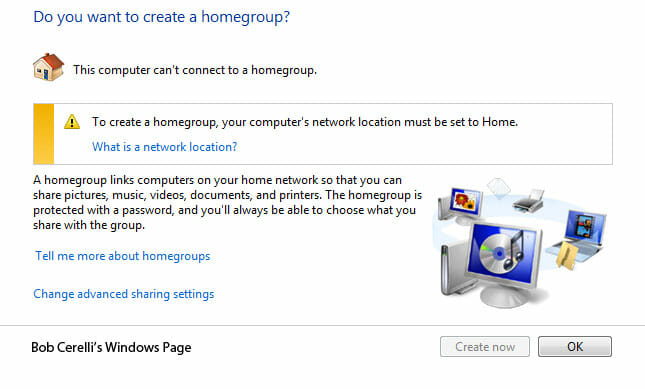
| 6. | Back at the Network and Sharing Center, you can click on HomeGroup at the bottom left |
| 7. | “A homegroup makes it easier to share files and printers on a home network. You can share pictures, music, videos, documents, and printers with other people in your homegroup. Other people can’t change the files that you share, unless you give them permission to do so.
When you set up a homegroup, you select the libraries and devices that you want to share. You can prevent specific files or folders from being shared, and you can share additional libraries and devices later. You can help protect your homegroup with a password, which you can change at any time. Using a homegroup is one of the easiest ways to share files and folders on a home network, but there are other ways to do this. For more information, see File sharing essentials. Computers must be running Windows 7 to participate in a homegroup. Homegroups are only available on Home networks” |
|
|
|

This site is copyrighted. No portion may be reproduced without my written permission.


