| The following page details the steps necessary to create a Windows7 Remote Desktop Connection
Remote Desktop allows you to take control of another computer on your local network or across the Internet |
|
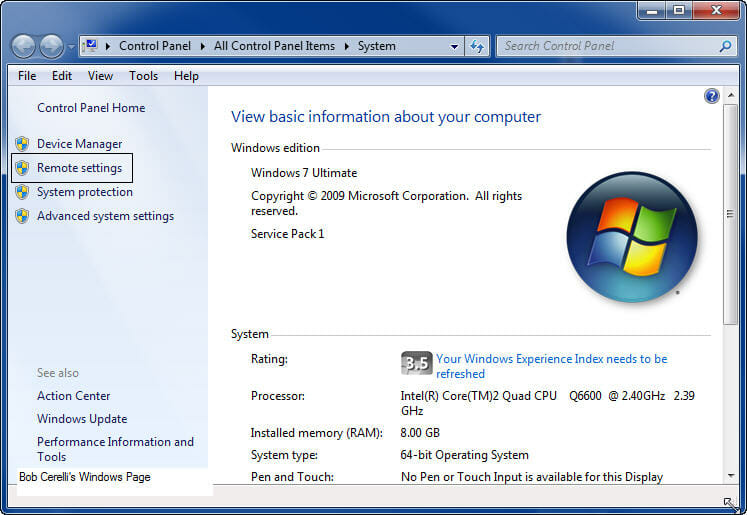
| 1. | From the Start Menu, right click on Computer |
| 2. | Select Properties |
 |
|
| 3. | Click on Remote Settings on the left side |
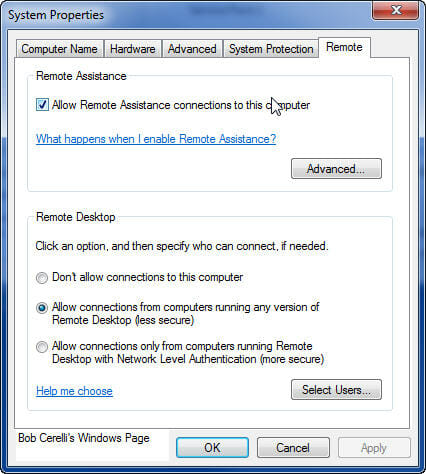
| 4. | Select the level you want to use for Remote Desktop |
 |
|
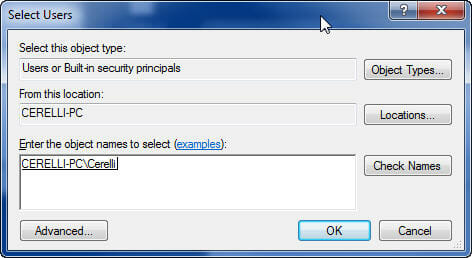
| 6. | Click on the Select Users button |
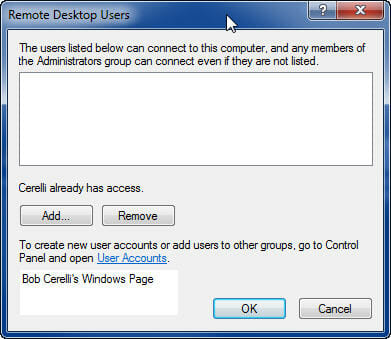
| 7. | Click on the Add button |
 |
|
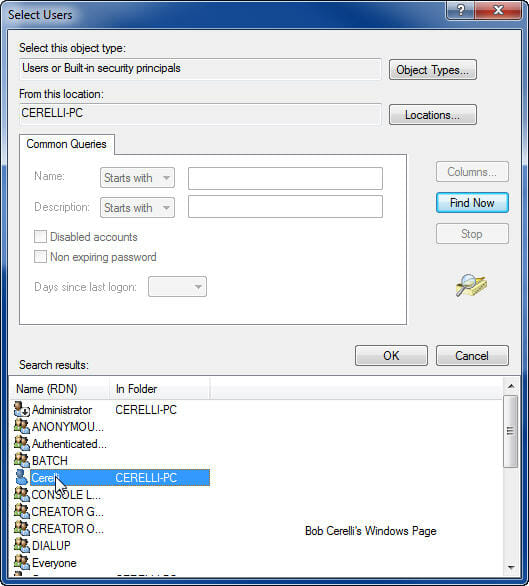
| 8. | Click on the Advanced button |
| 9. | Click on the Find Now button |
| 10. | Select the users you want to be able to have remote access to the host |
 |
|
| 11. | Click on the OK button |
 |
|
| 12. | Click on the OK button until you are at the following screen and then click on OK one more time. |
 |
|
Assigning at Static IP LAN Address |
|
| 1. | If you are behind a router using NAT, you then need to assign a static IP address for your LAN |
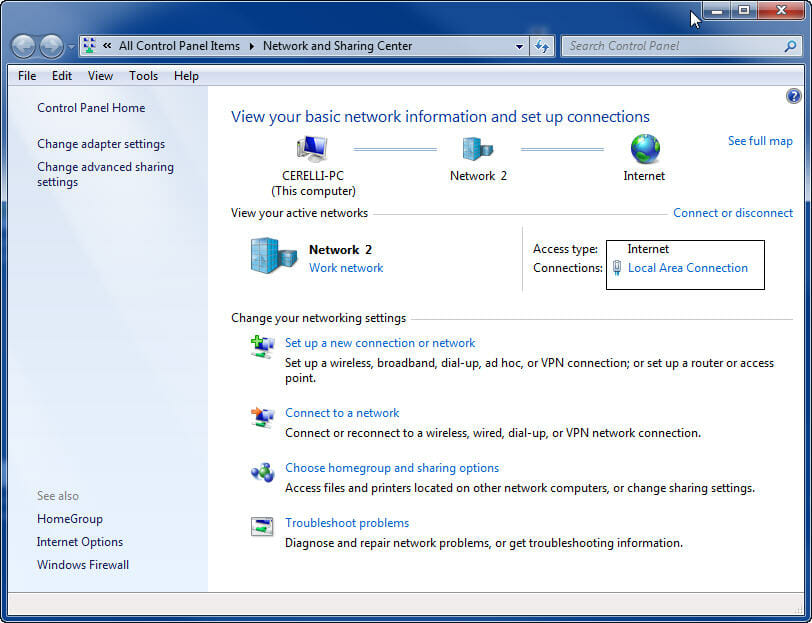
| 2. | Go to the Control Panel / Network and Sharing Center |
 |
|
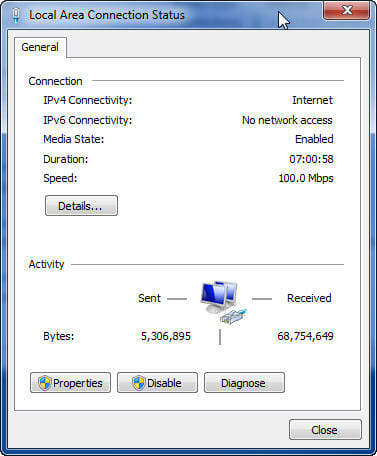
| 3. | On the right side, click on Local Area Connection |
 |
|
|
4. |
Click on the Properties button |
 |
|
|
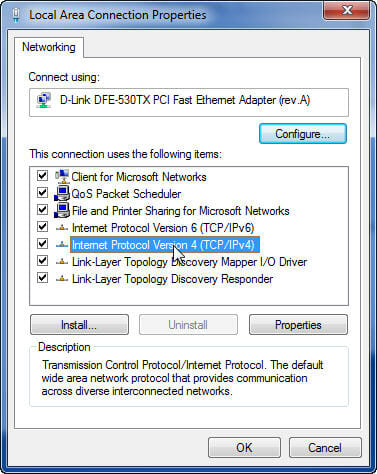
5. |
Double Click on the Internet Protocol Version 4 (TCP/IPv4) |
|
6. |
Enter in all the unique IP information for your computer. The following is only an example. |
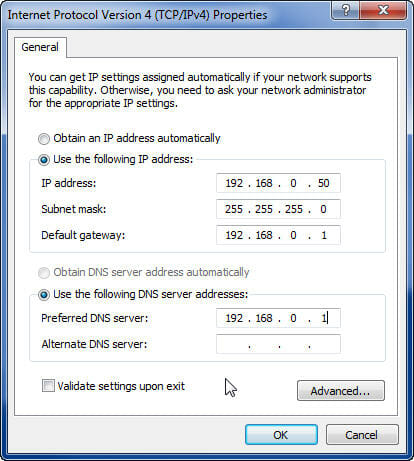 |
|
|
7. |
Click on Ok, Ok and Close buttons |
| 8. | Then you need to configure the port mapping on your router |
| 9. | The default port of 3389 needs to be mapped to whatever IP address was assigned to the computer |
Changing the Default Port for the Host |
|
| 1. | If you have more than one computer on your LAN that you want to access remotely over the Internet, they both can’t be using the same default port of 3389. |
| 2. | Start Registry Editor. |
| 3. | Go to: HKEY_LOCAL_MACHINE\System\CurrentControlSet\Control\TerminalServer\WinStations\RDP-Tcp |
|
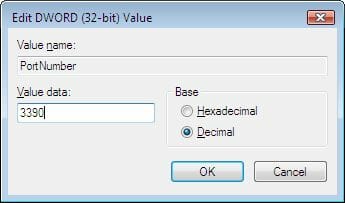
4. |
On the right side, scroll down and right click on PortNumber |
|
5. |
Select Modify |
|
6. |
Click on Decimal |
|
7. |
Enter in the new port number you want to use. |
| 8. | This new port number would also need to be configured on the router to map to the local computer’s LAN IP address |
|
|
|
This site is copyrighted. No portion may be reproduced without my written permission.


